Having completed several smaller projects (furniture, mostly), I wanted to see if I could build something big. Something that would require my commitment for a much longer period of time than any project I had undertaken in the past. Something that would teach me about patience, precision, dedication, making and fixing mistakes, and working with friends.
I started looking through boat books I took out from the library. My favorite was one by Greg Rossel called Building Small Boats.The example design he uses throughout the book is a 12’8″ Catspaw Dinghy. Knowing nothing about boats, I thought it looked pretty. It was decided. (Only later did I discover the coincidence that the boat was modeled after the Columbia, the name of the very river on which I learned to sail).
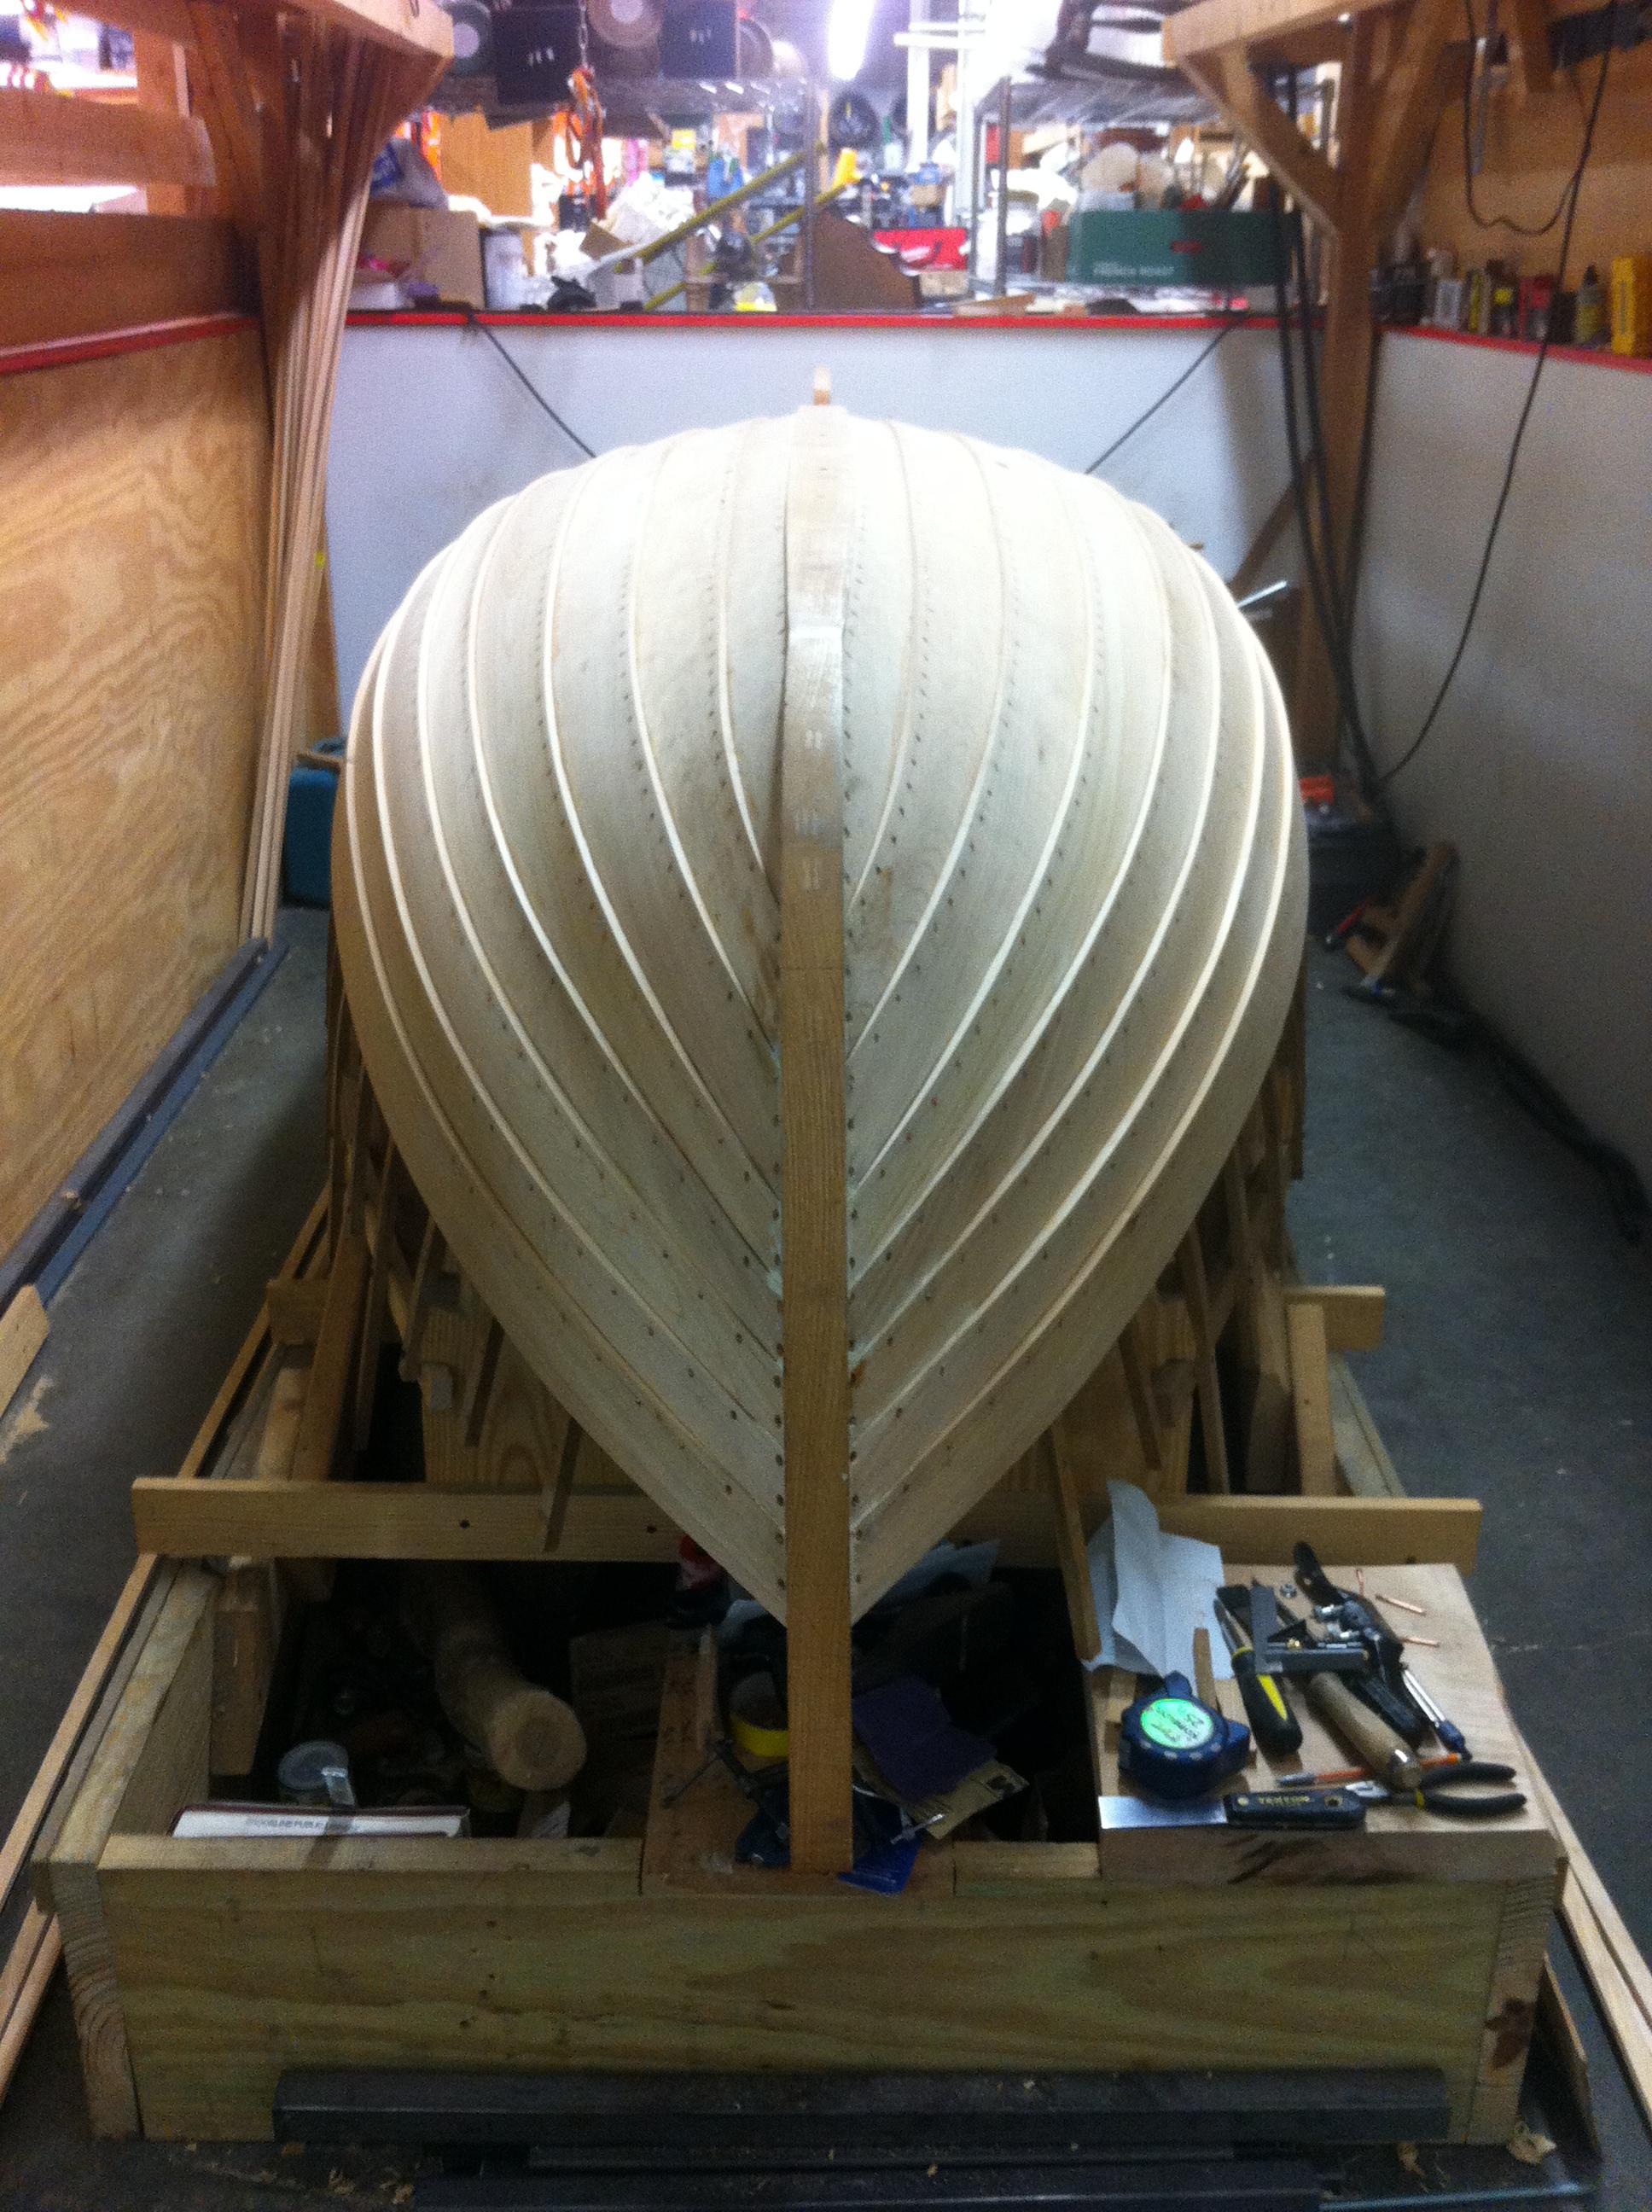
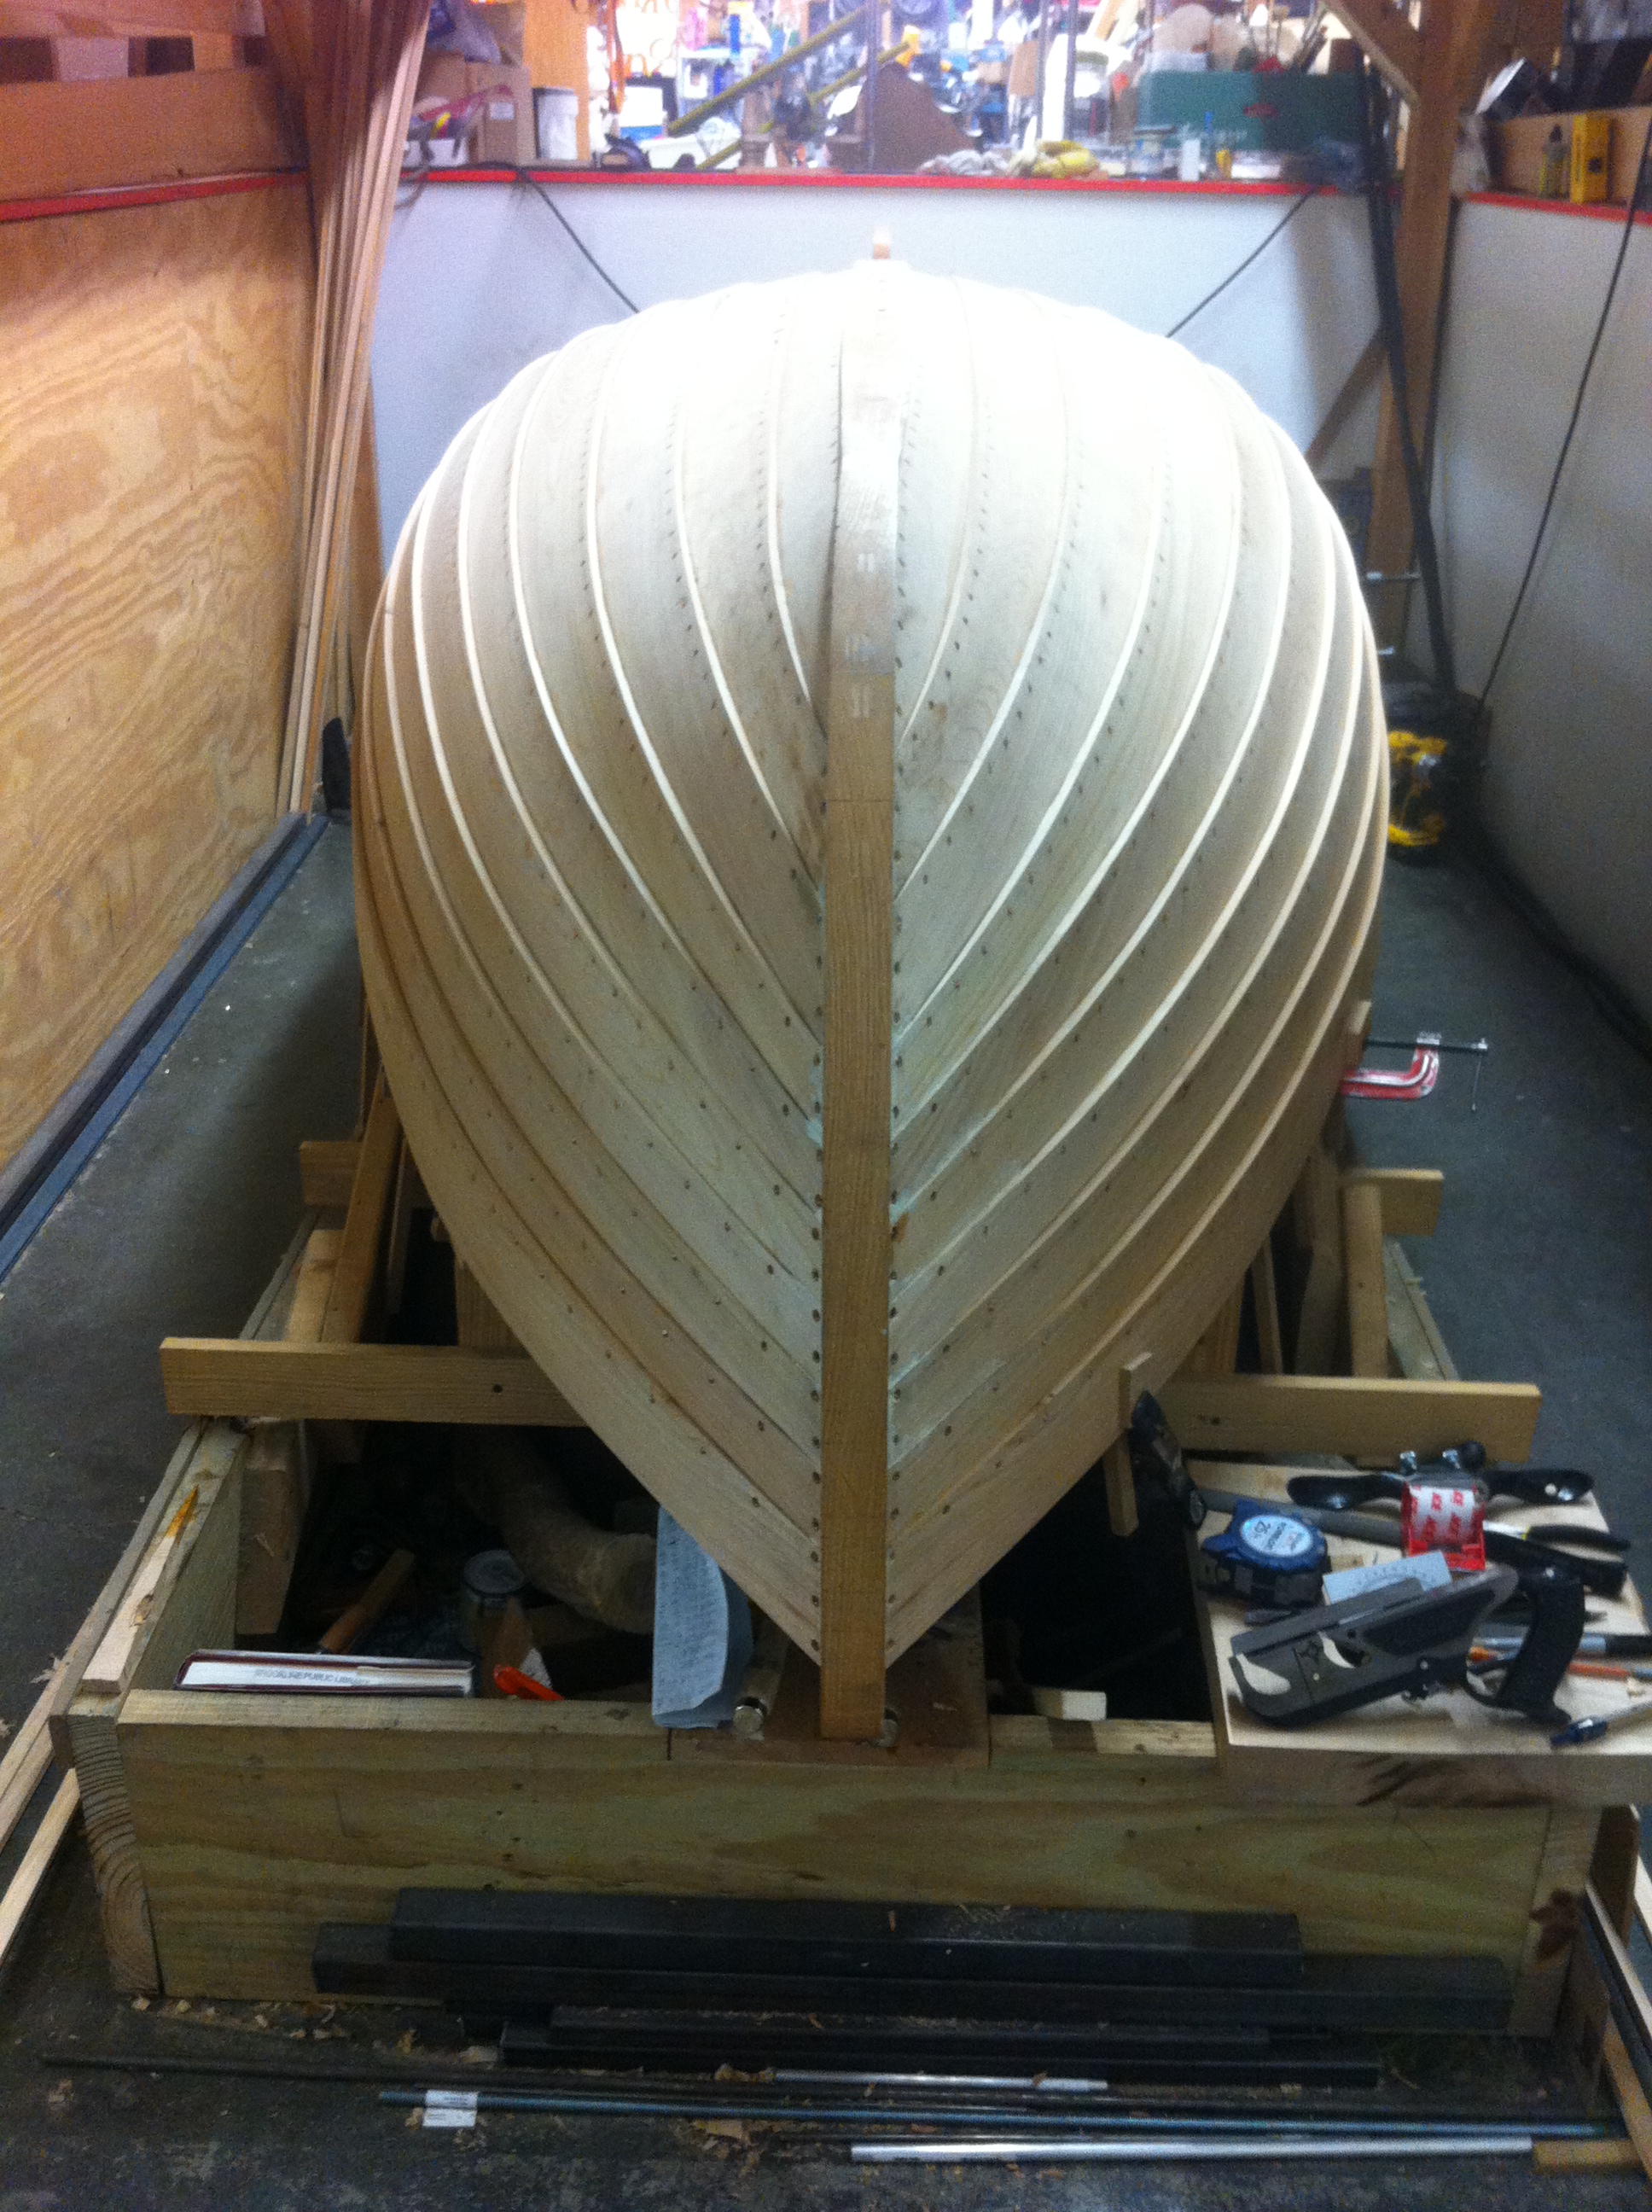
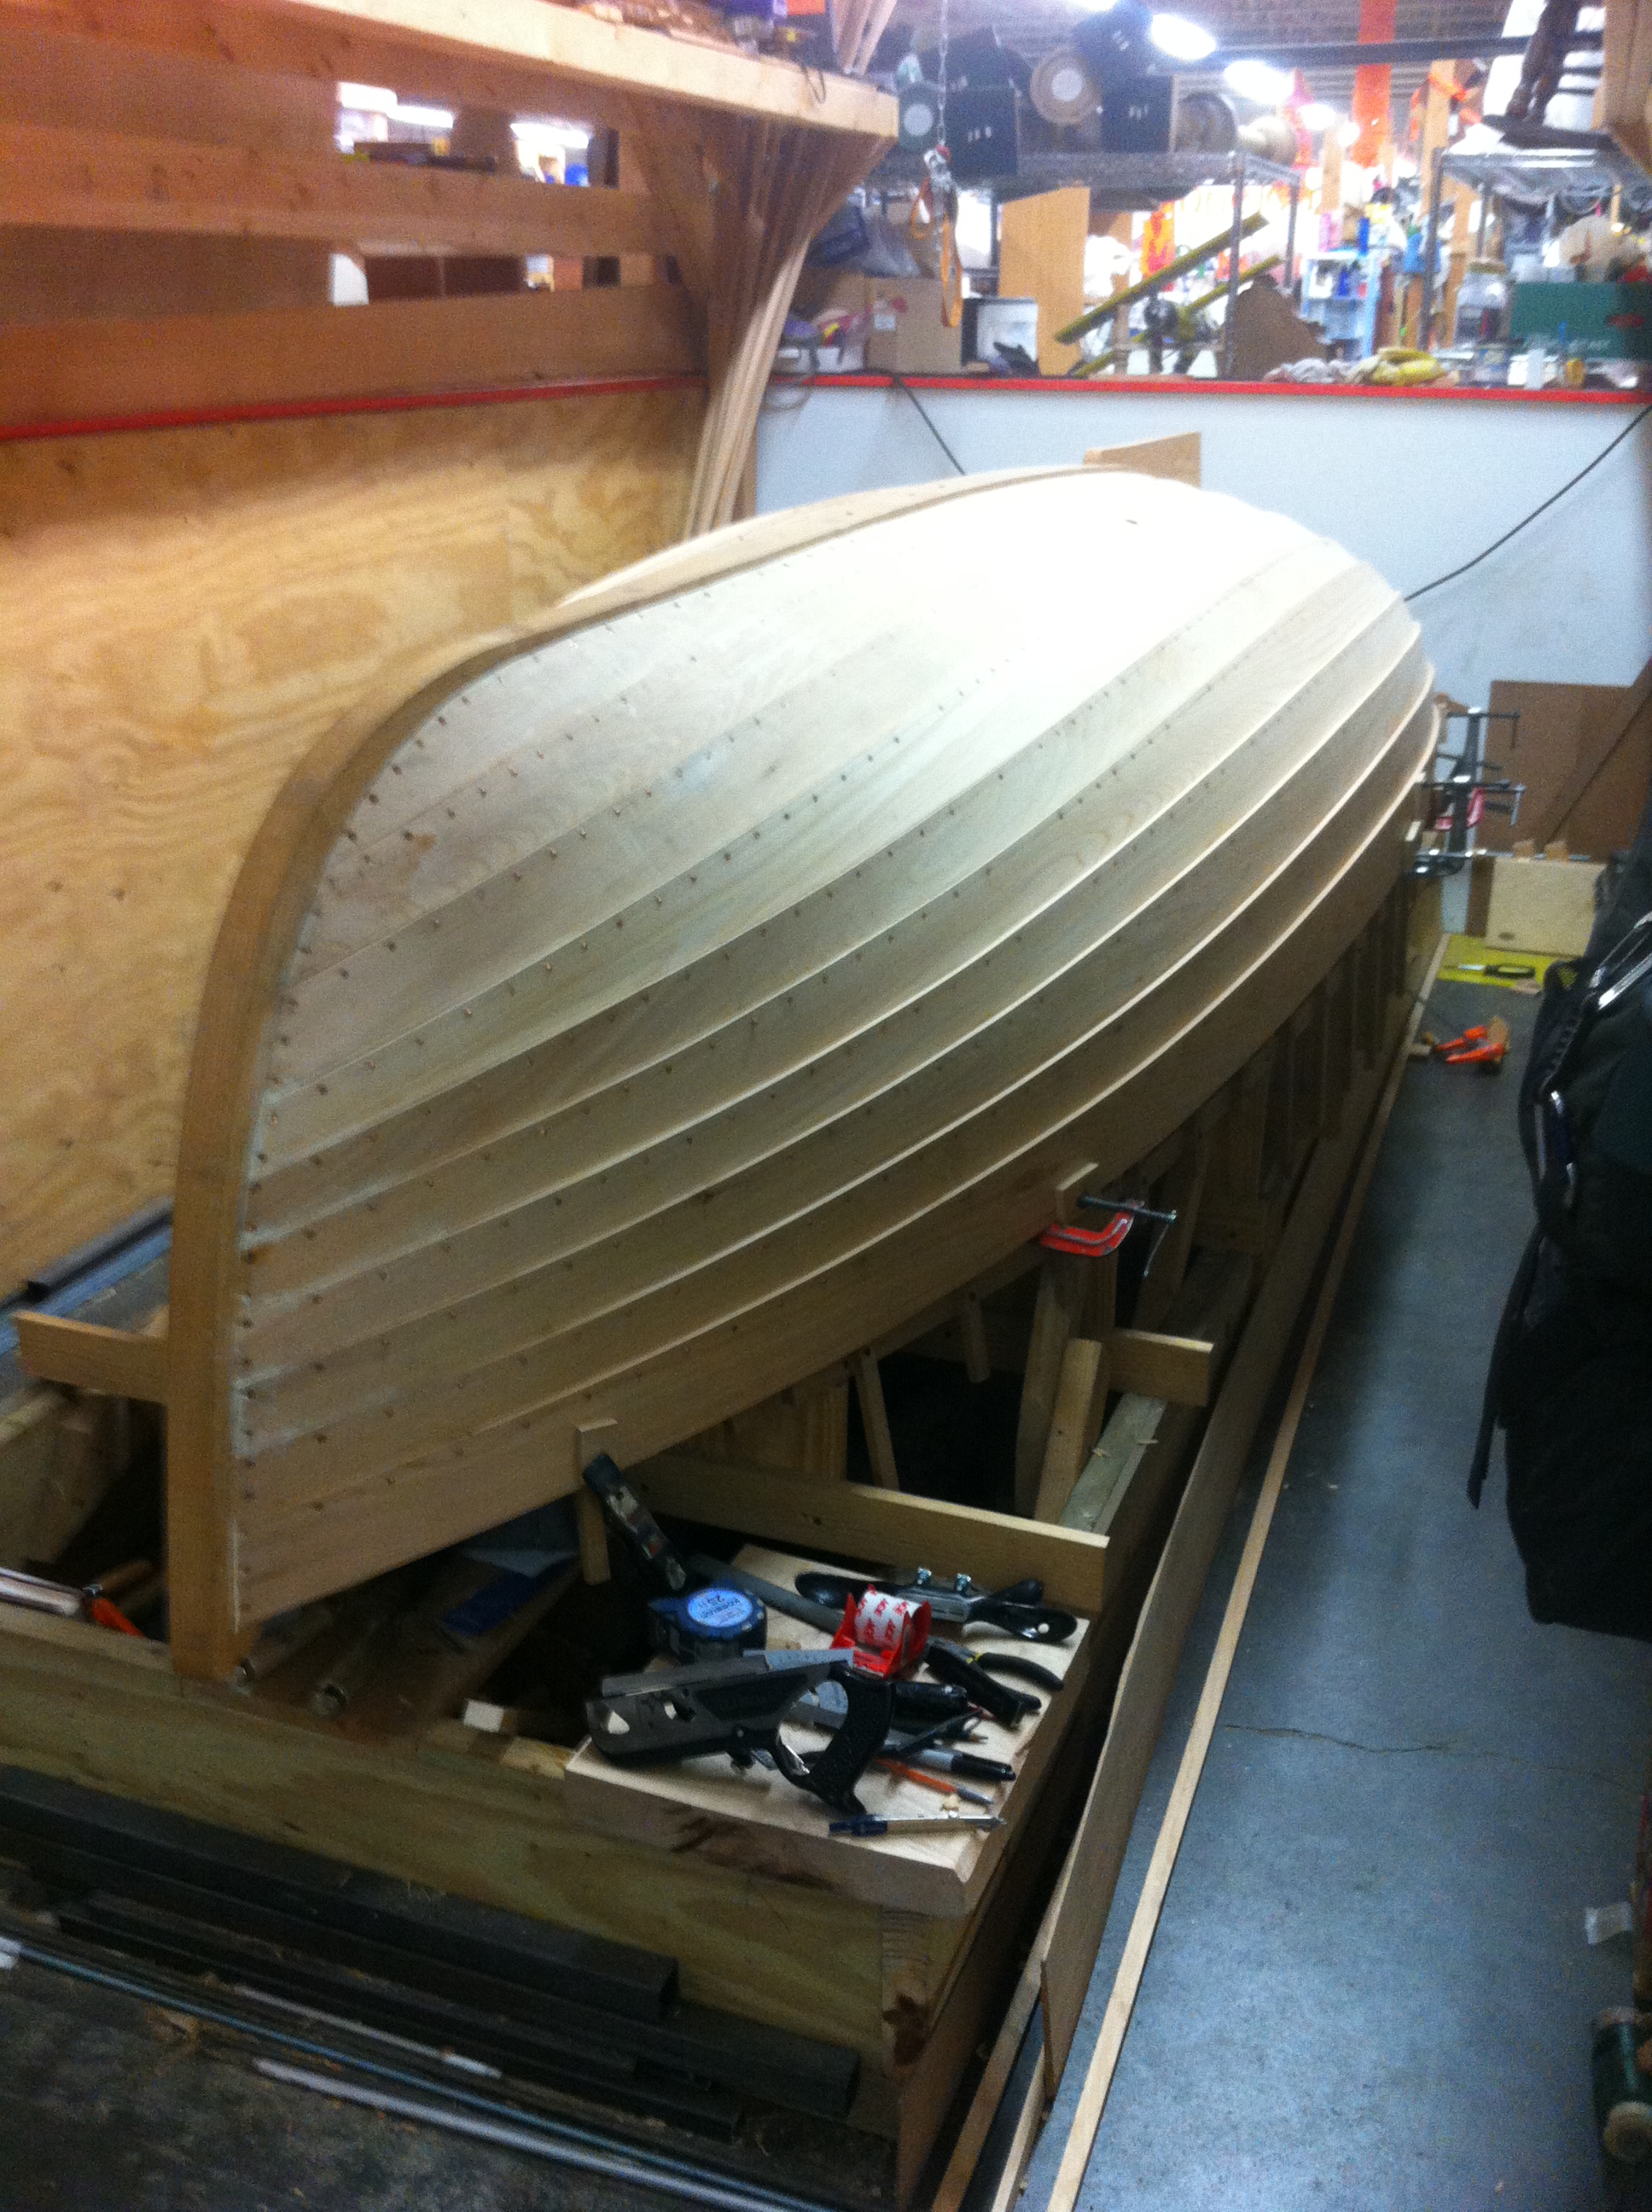
Boat in progress
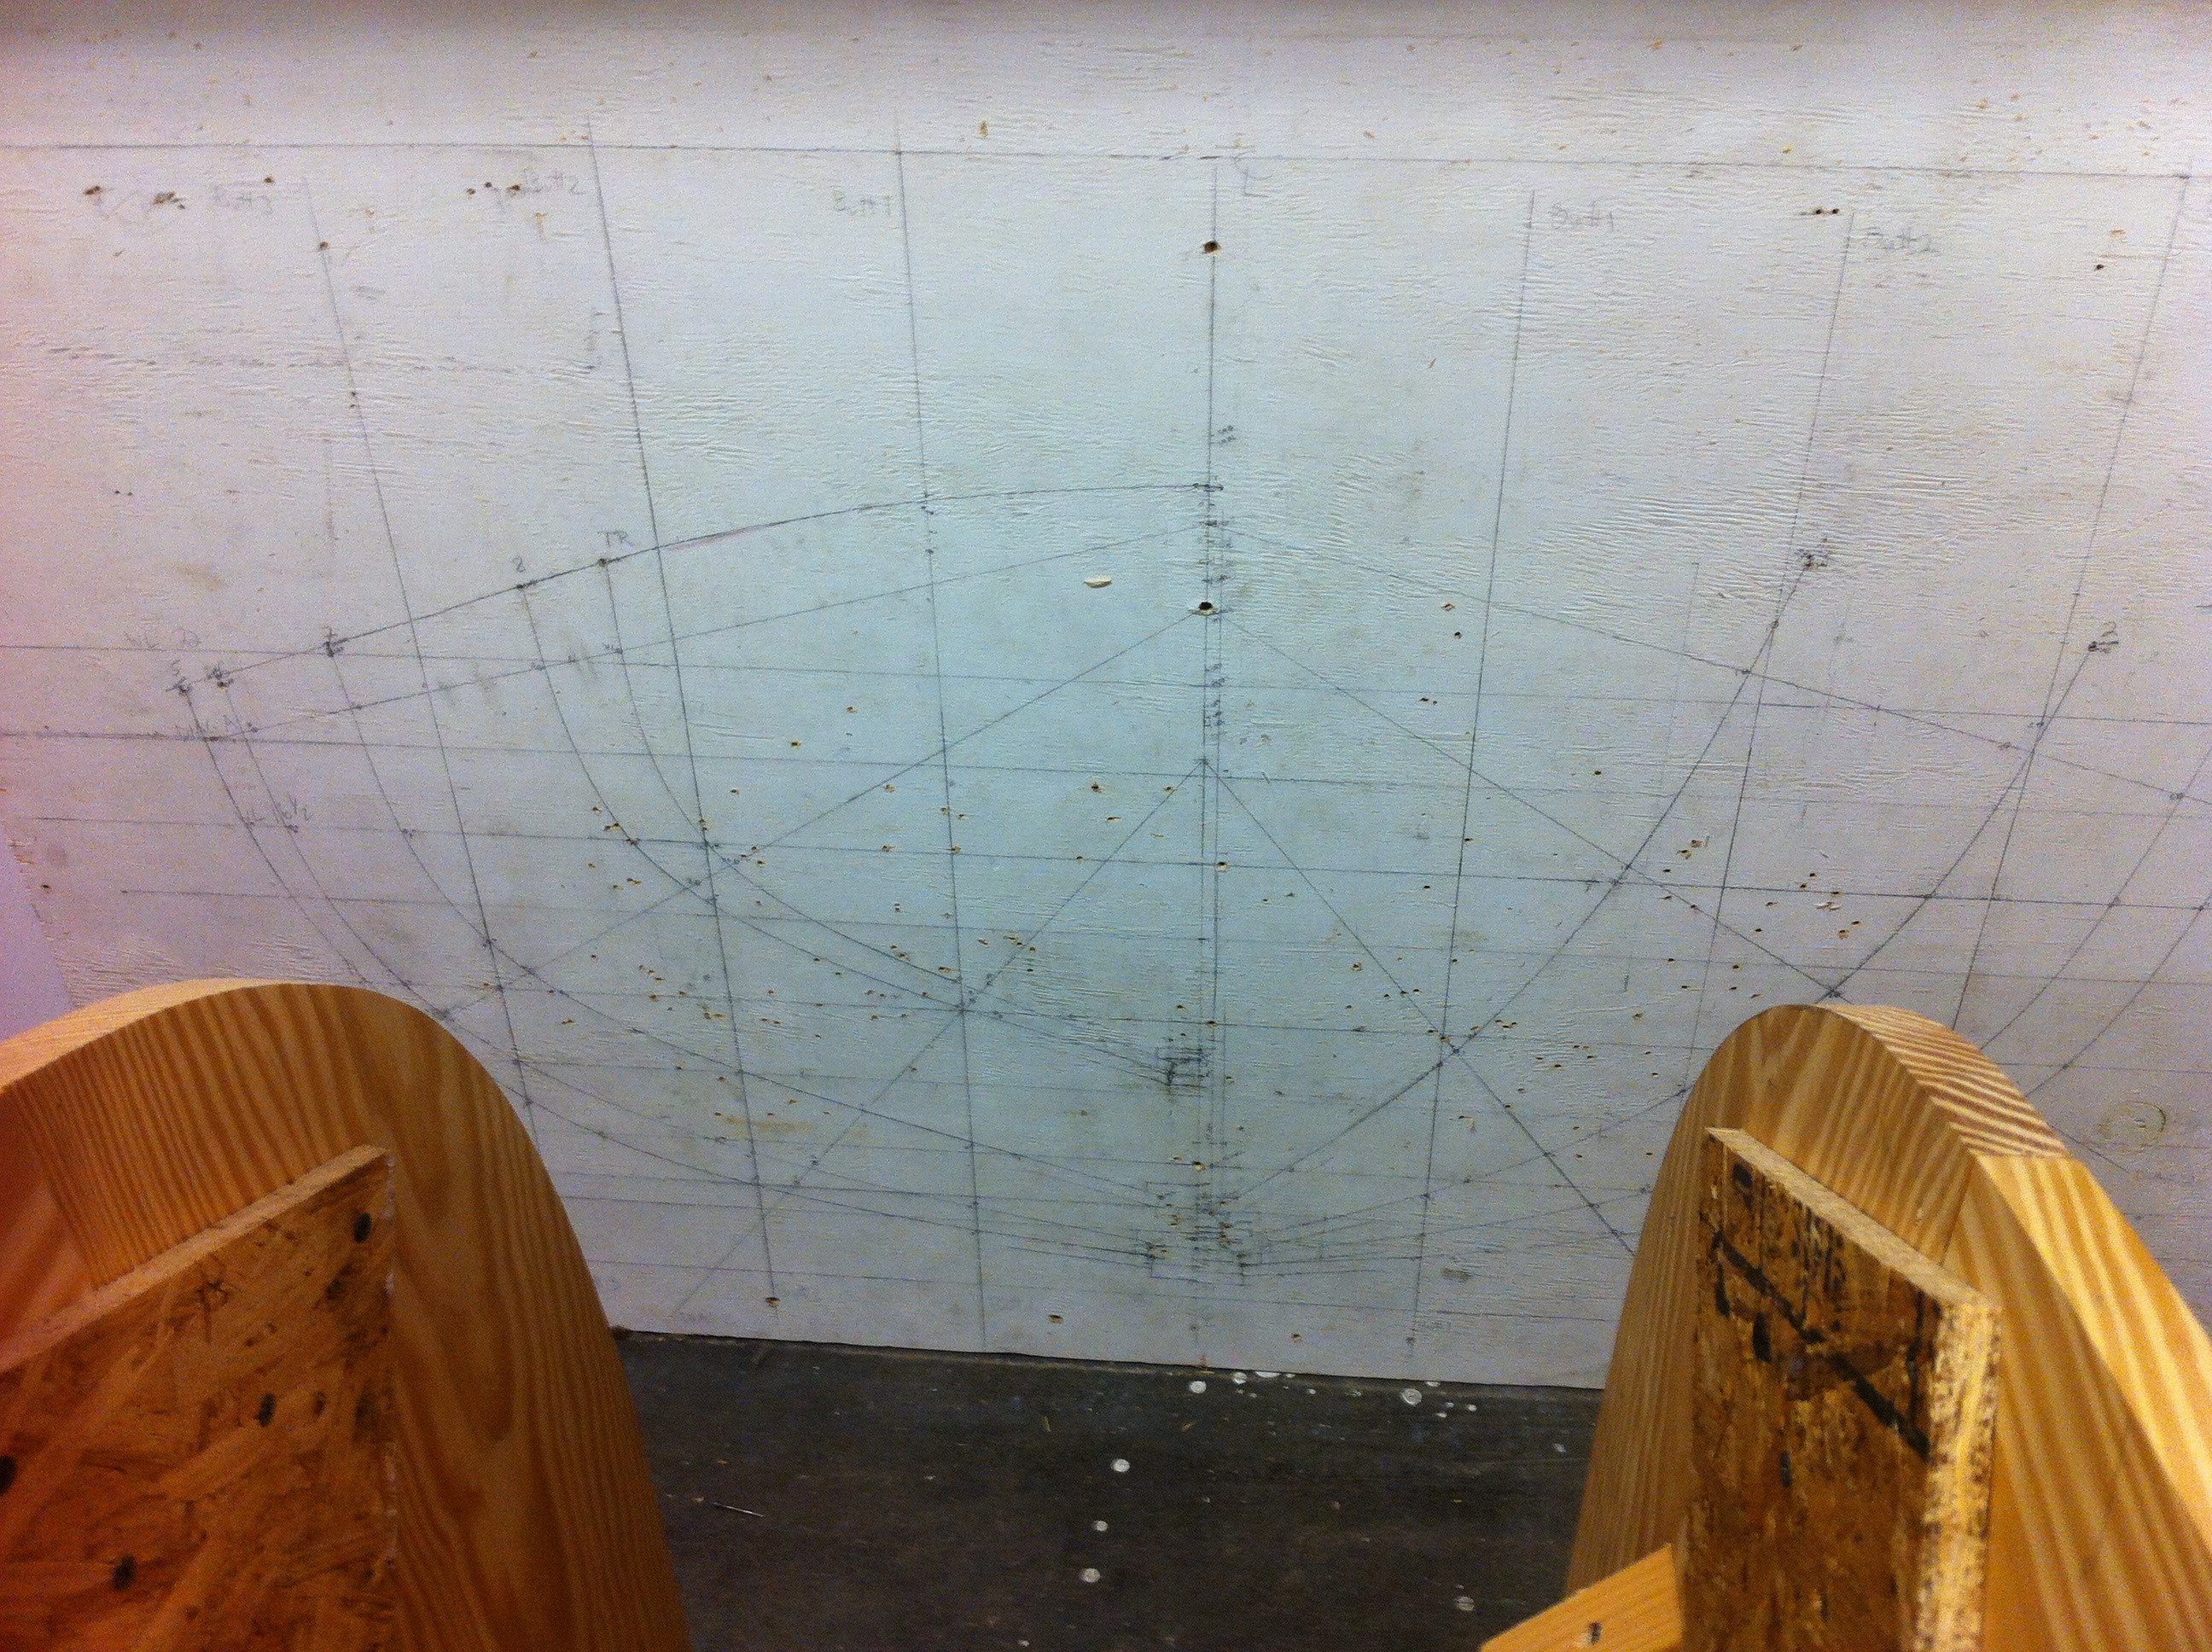
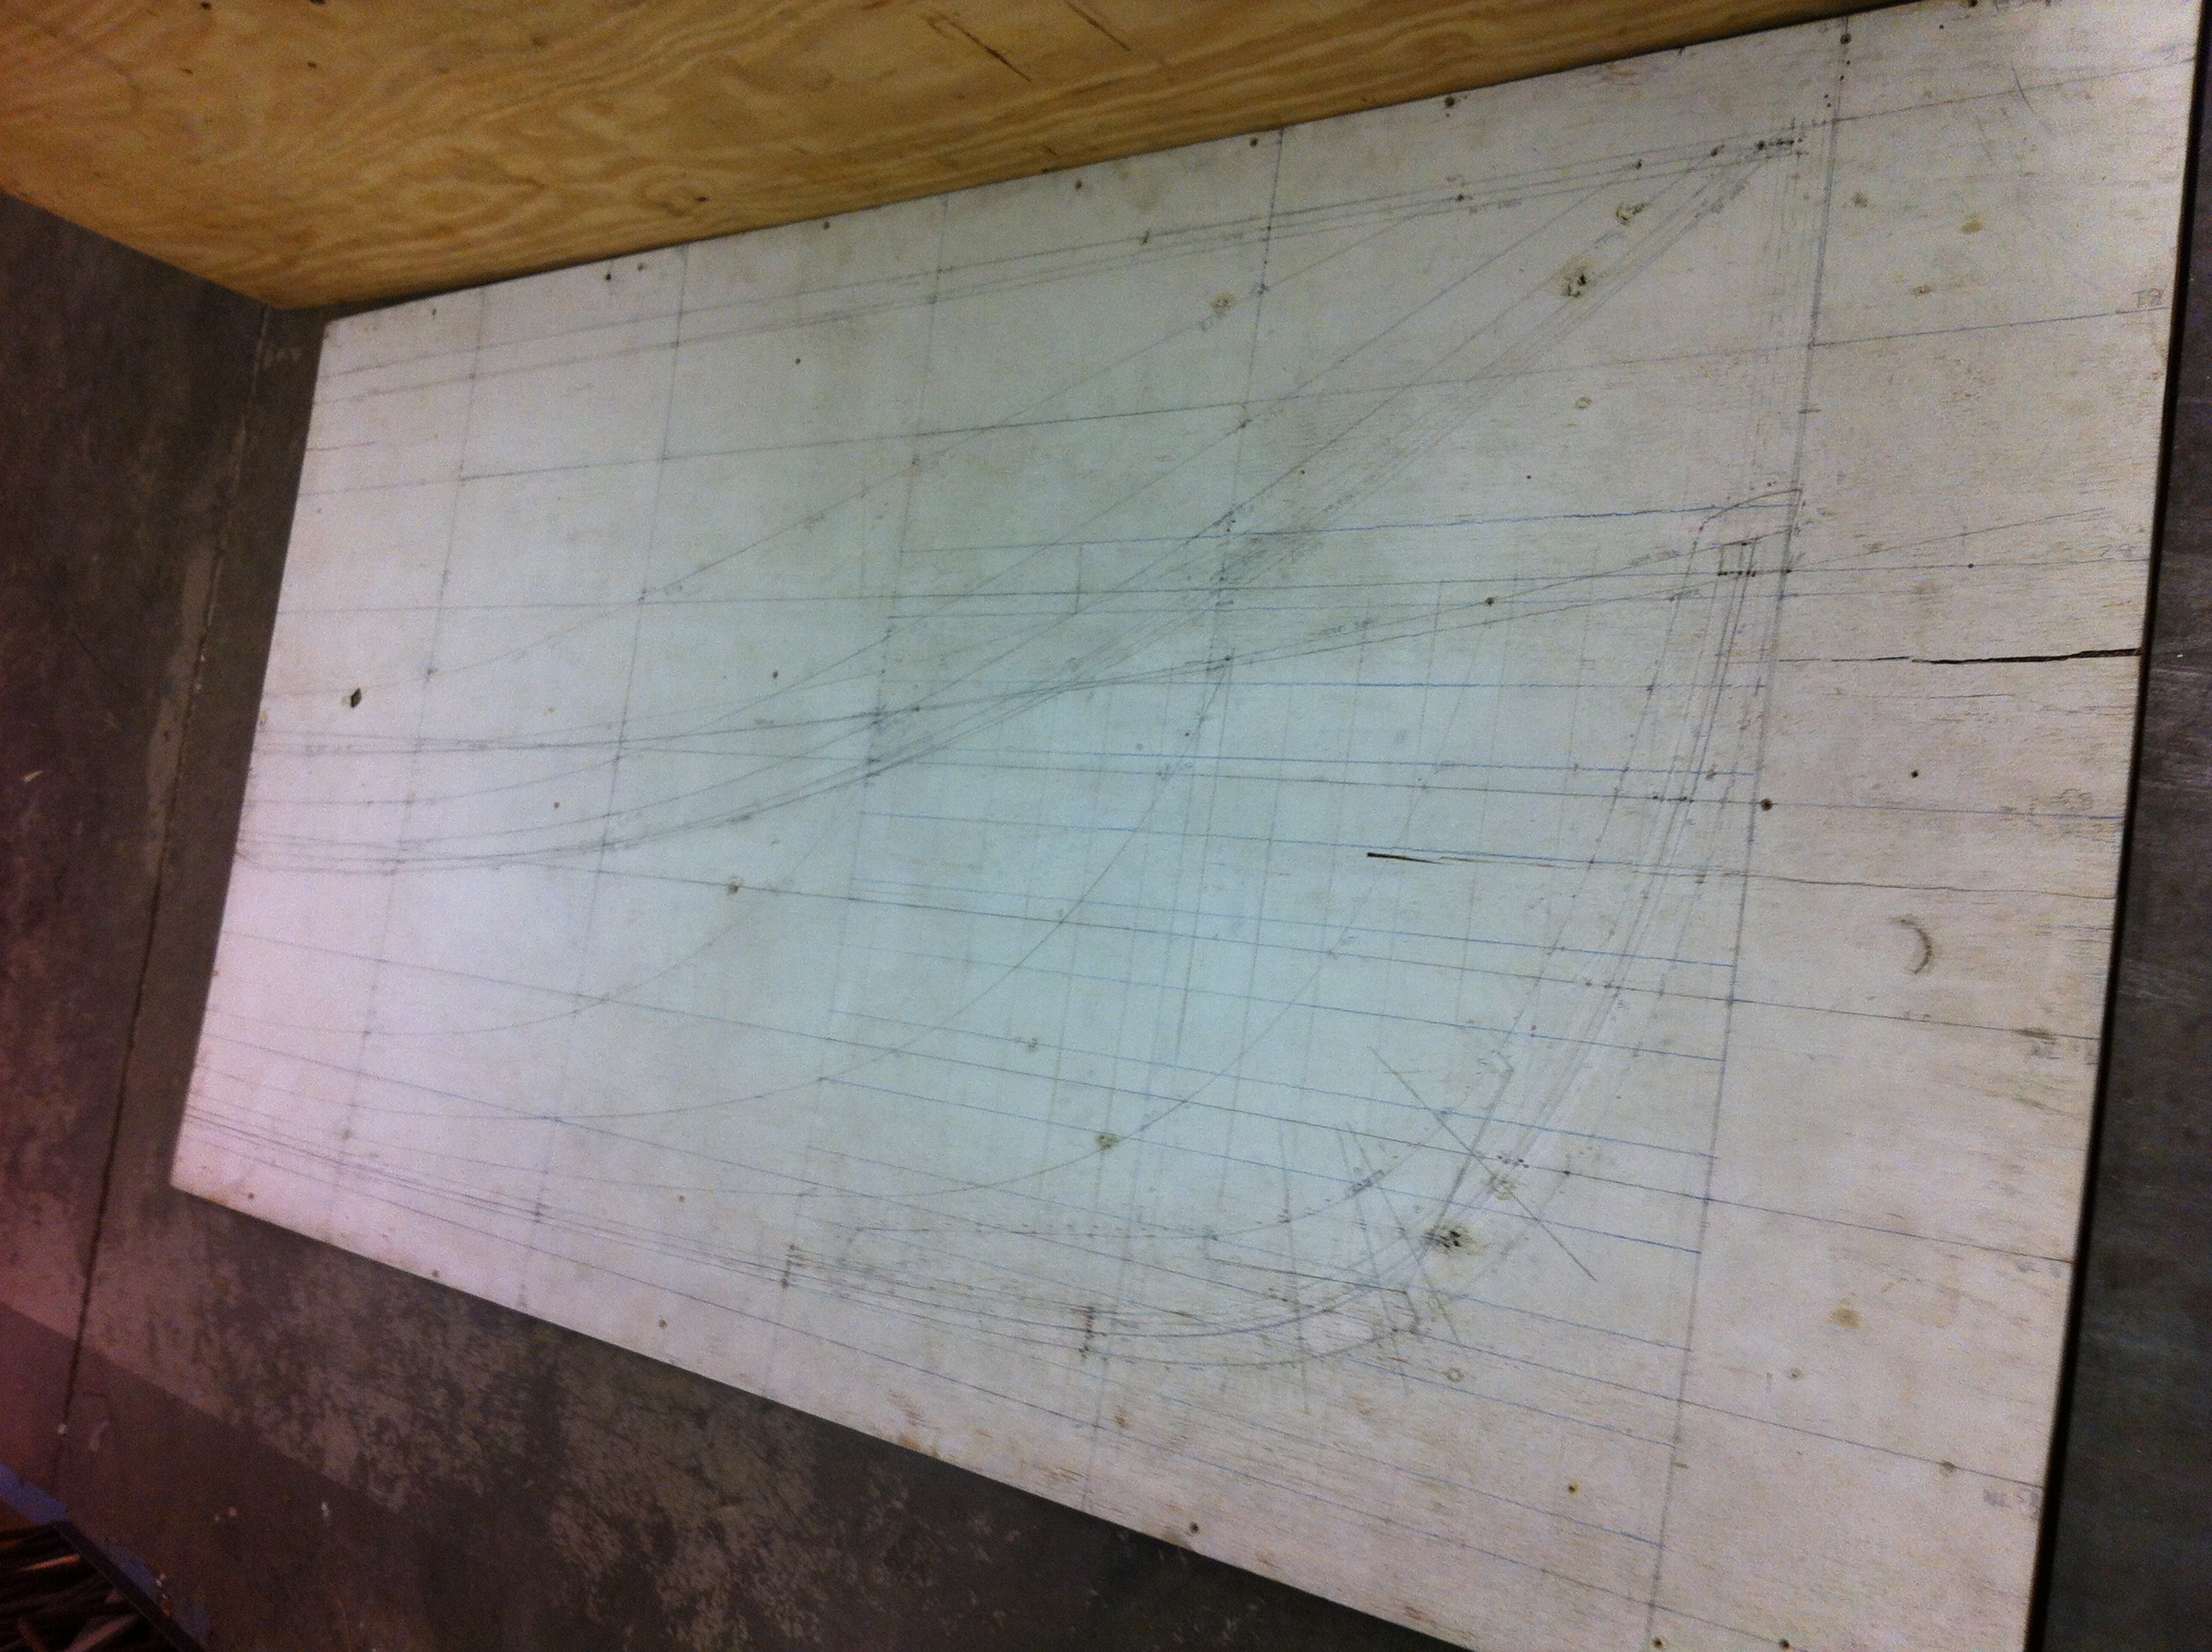
1. Lofting from the table of offsets: this is a full-scale 2D drawing of the boat in all 3 views (profile, half-breadth, and body views).
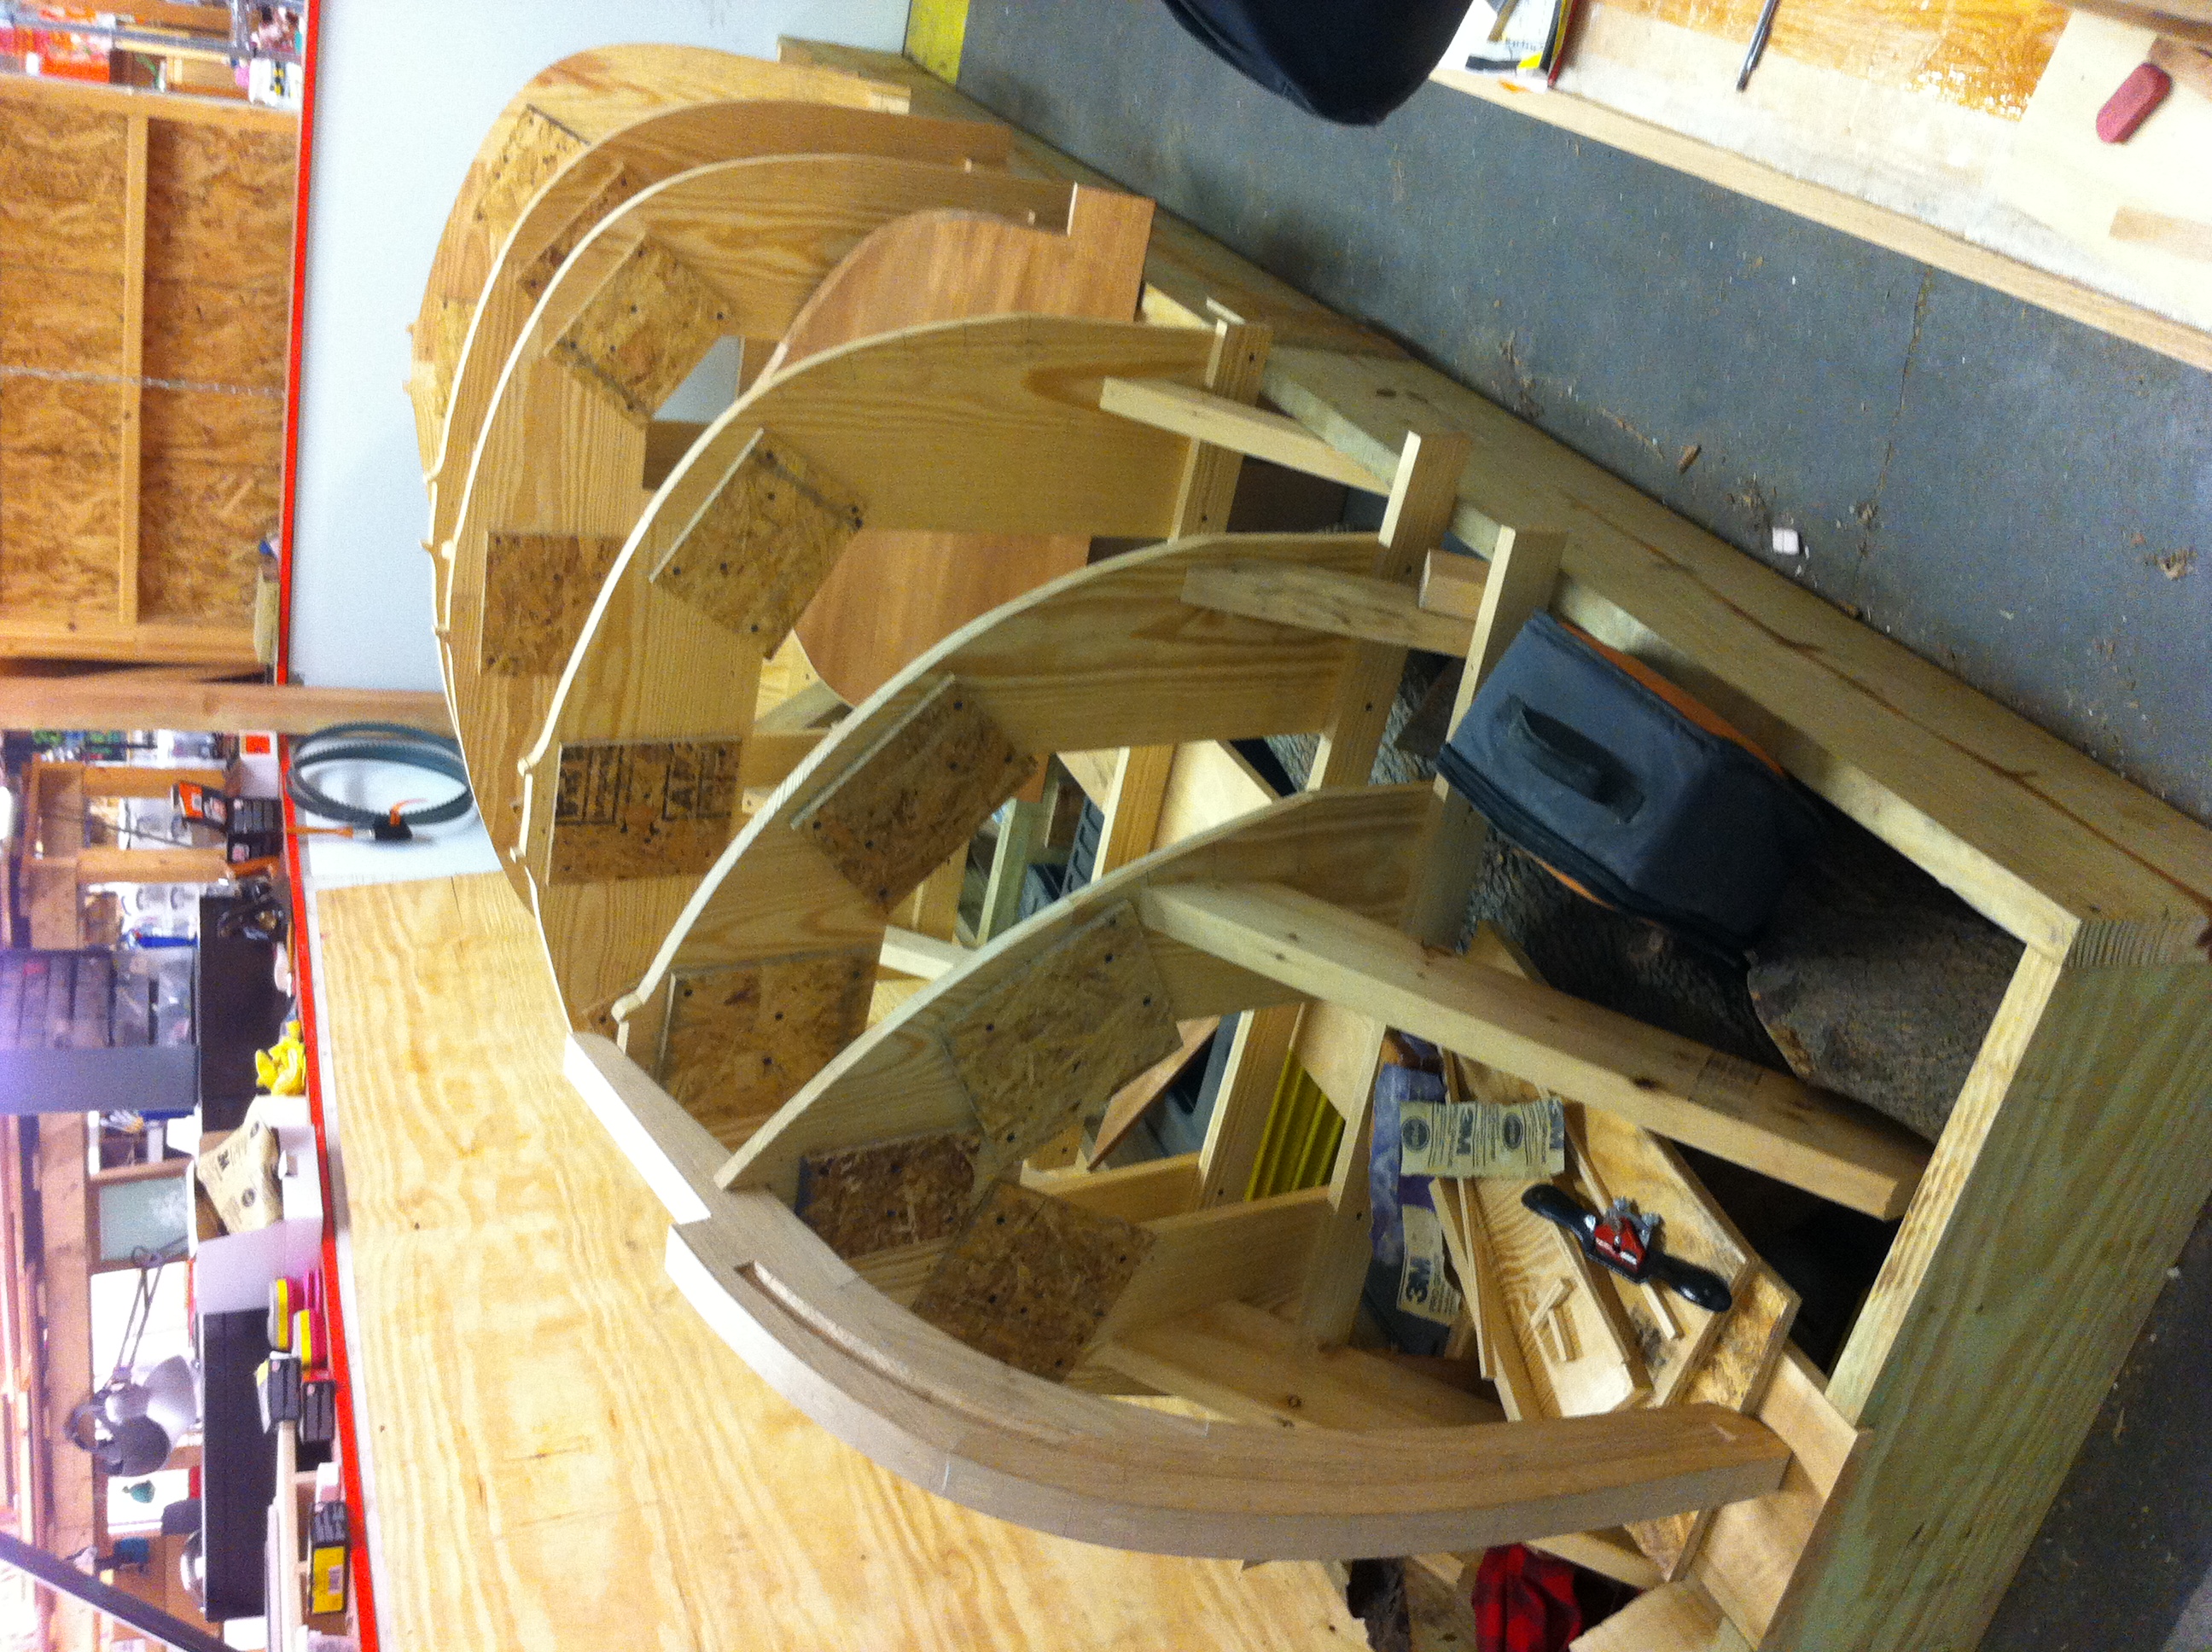
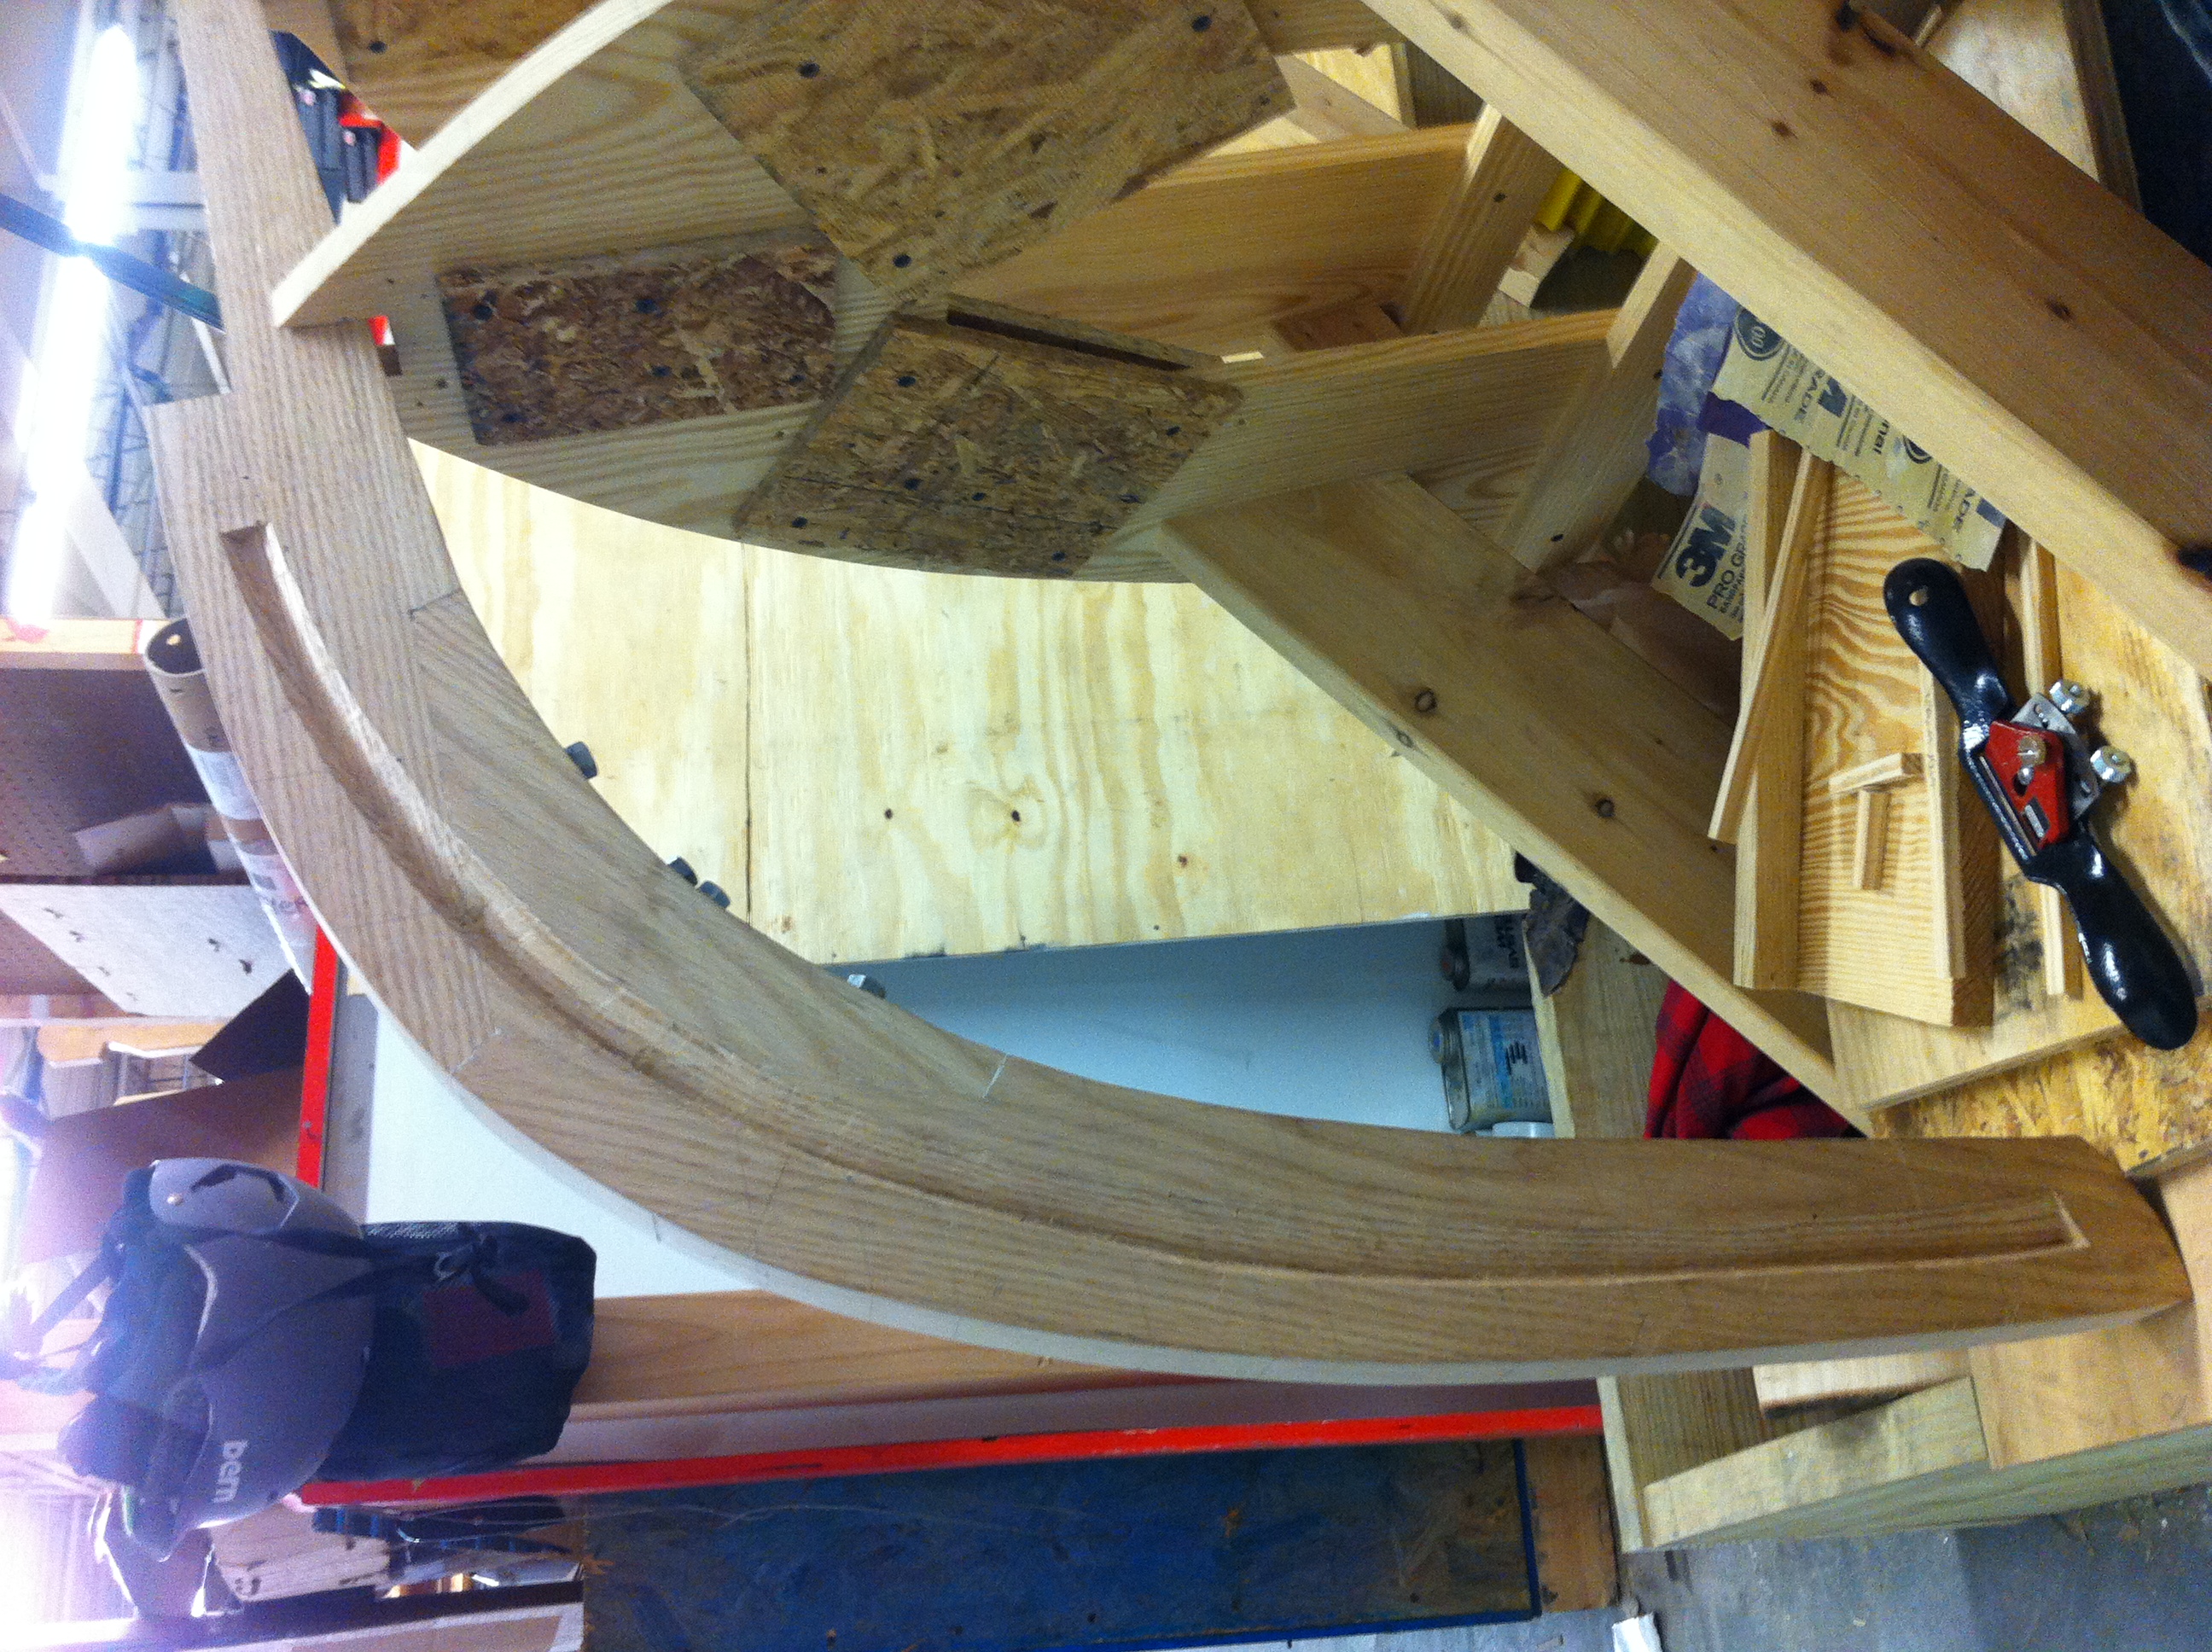
2. Making of the molds
3. Oak stem (front of the boat). The chiseled out rabbit is where the planking will slide in
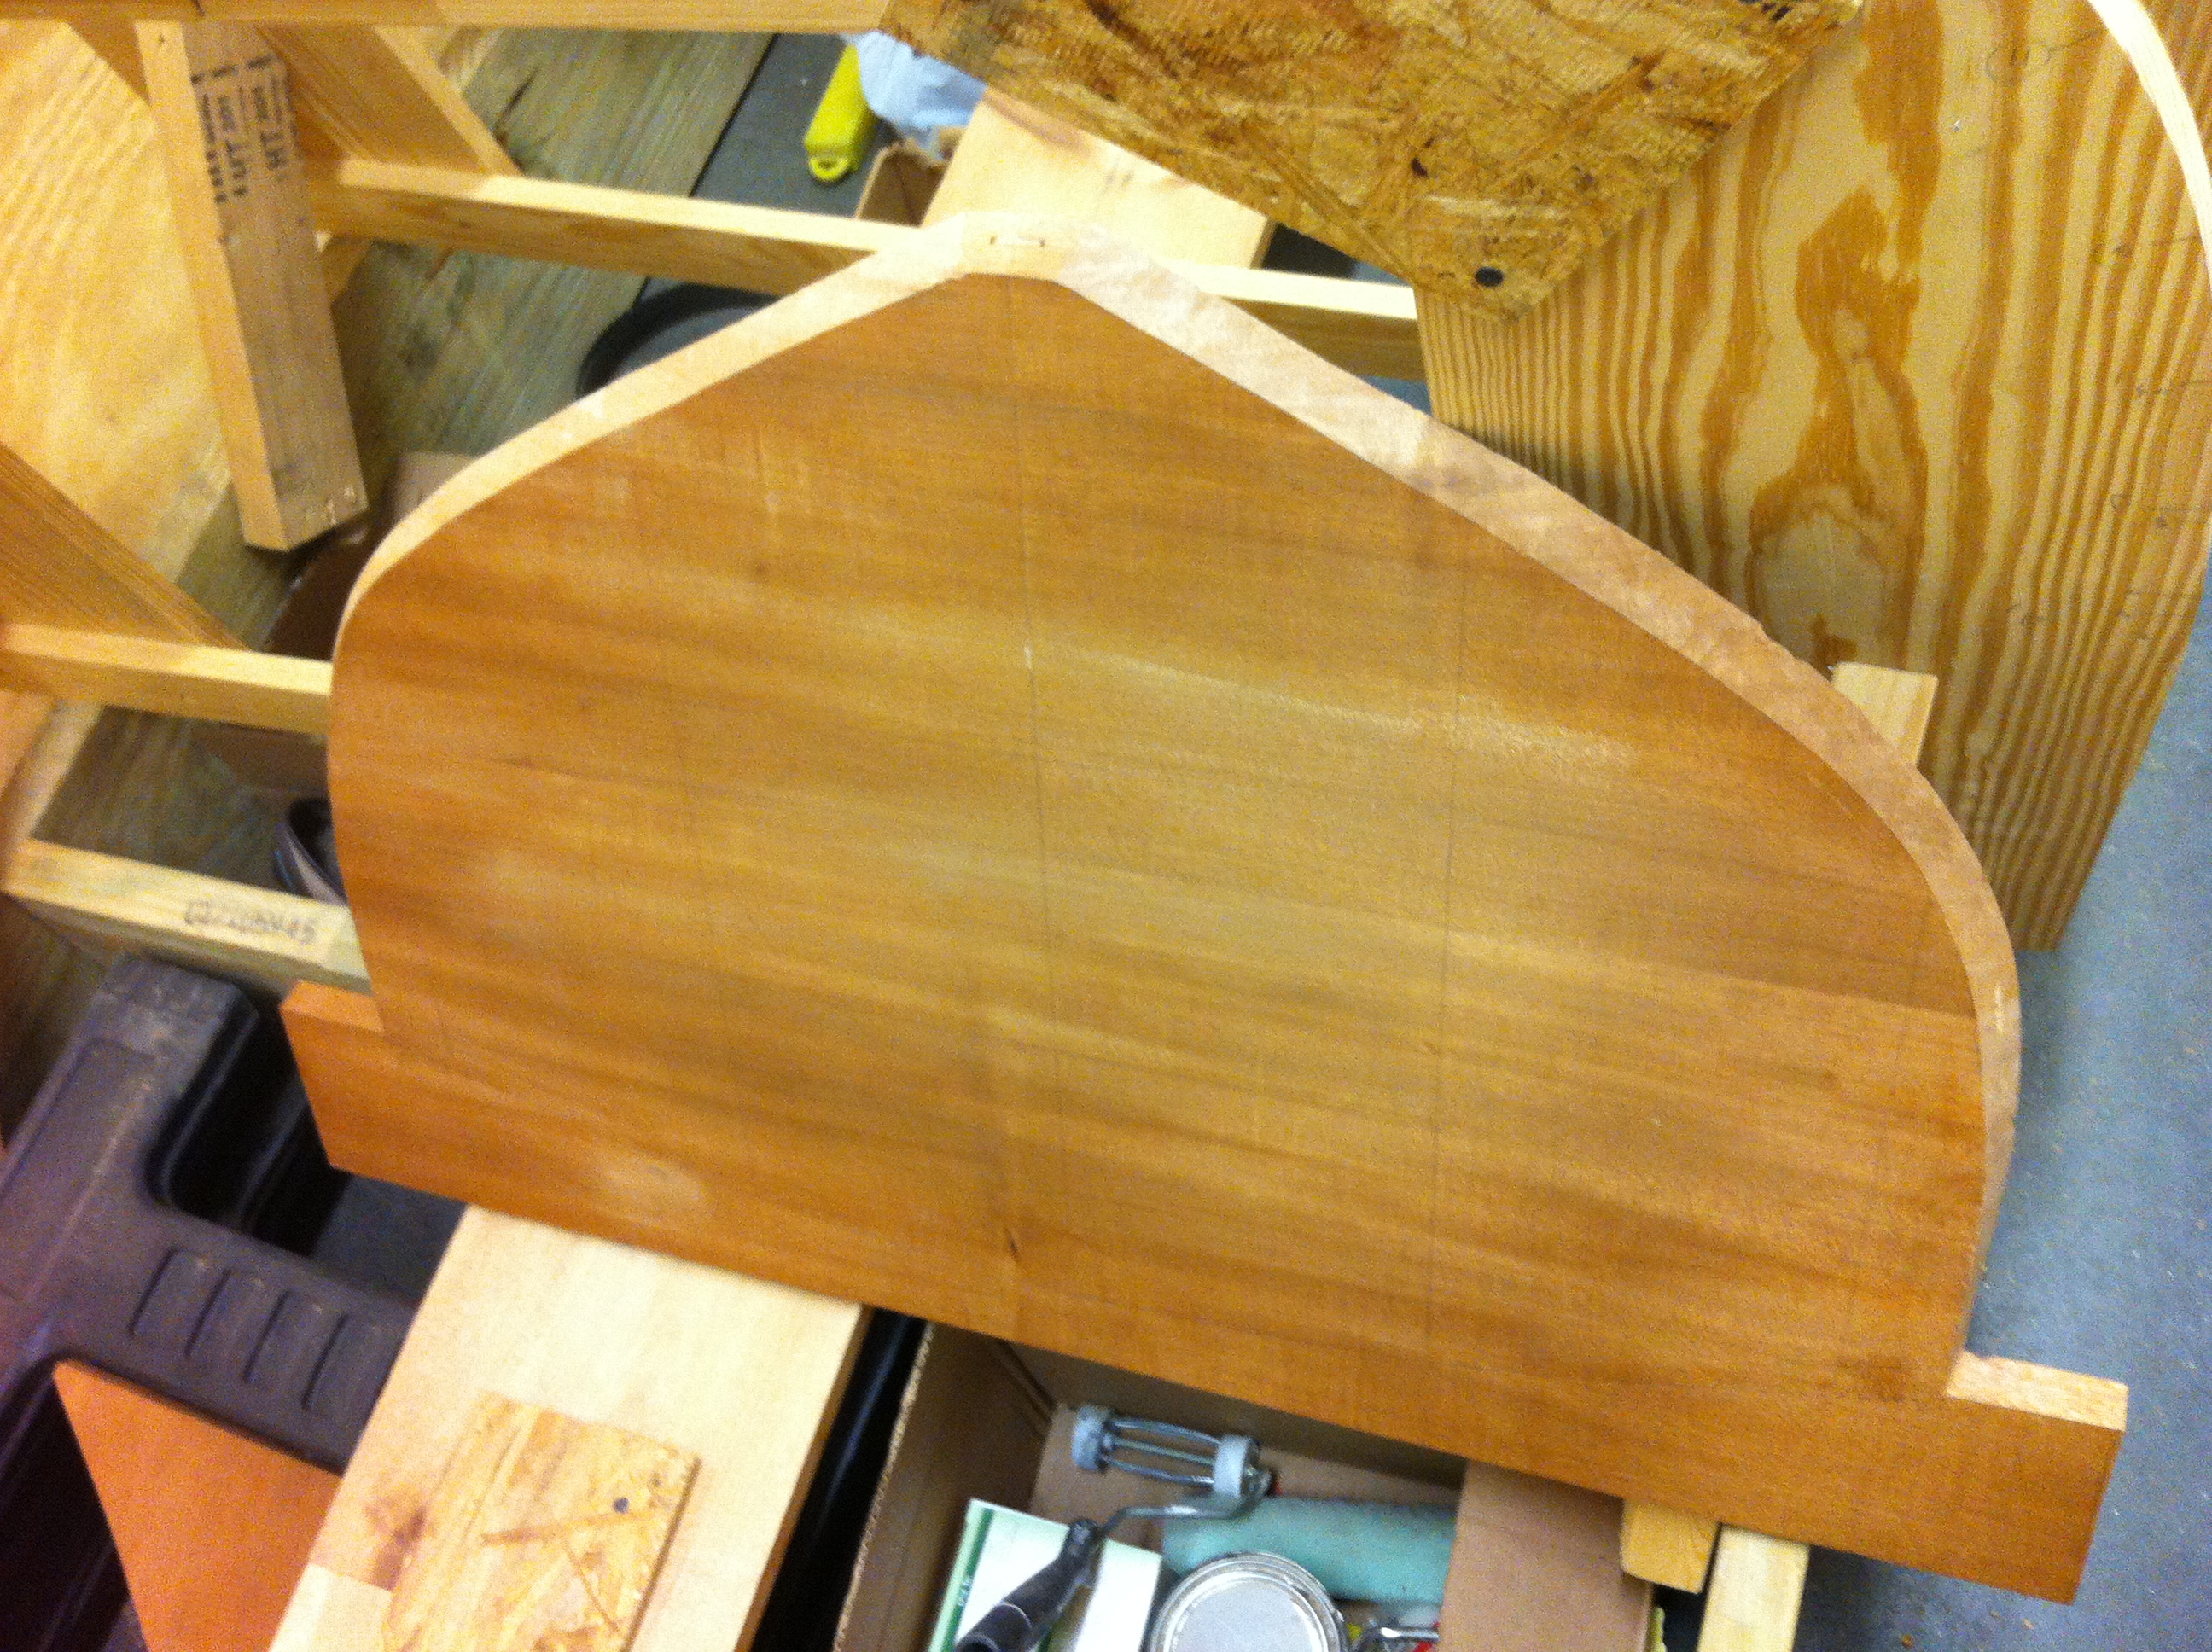
4. Mahogany transom (back of the boat). Raked to accommodate the angle at which the planks enter at the back of the boat.
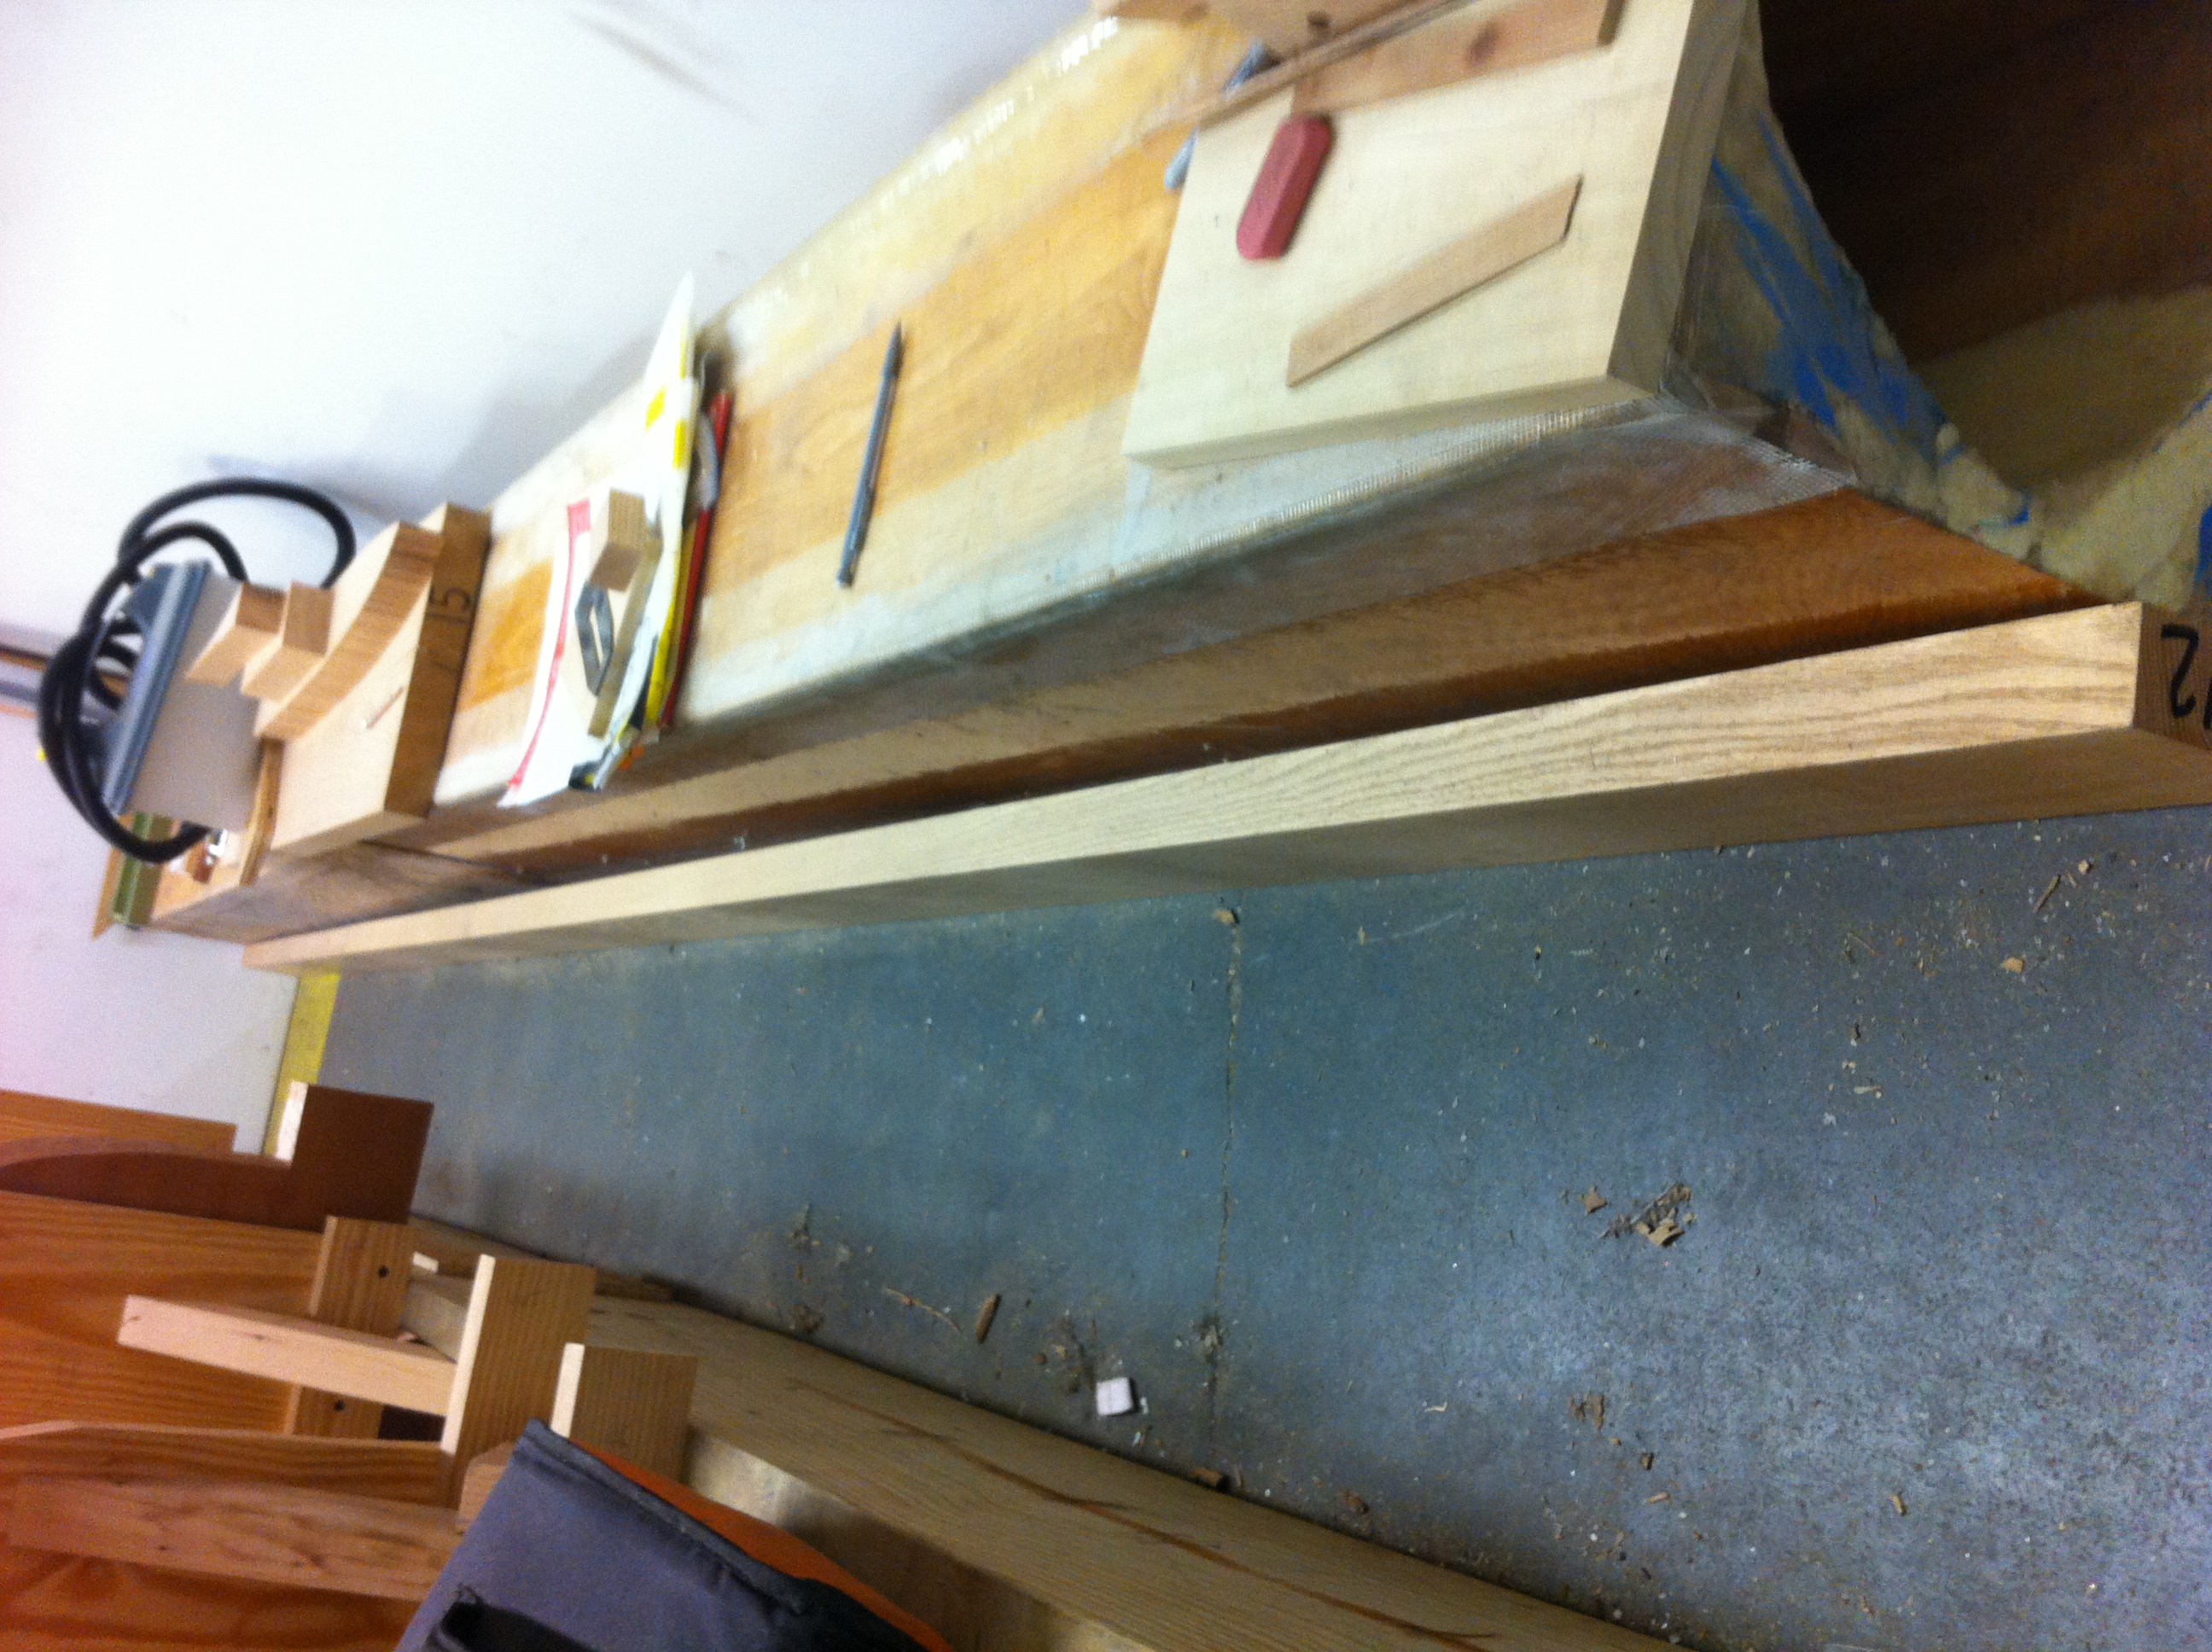
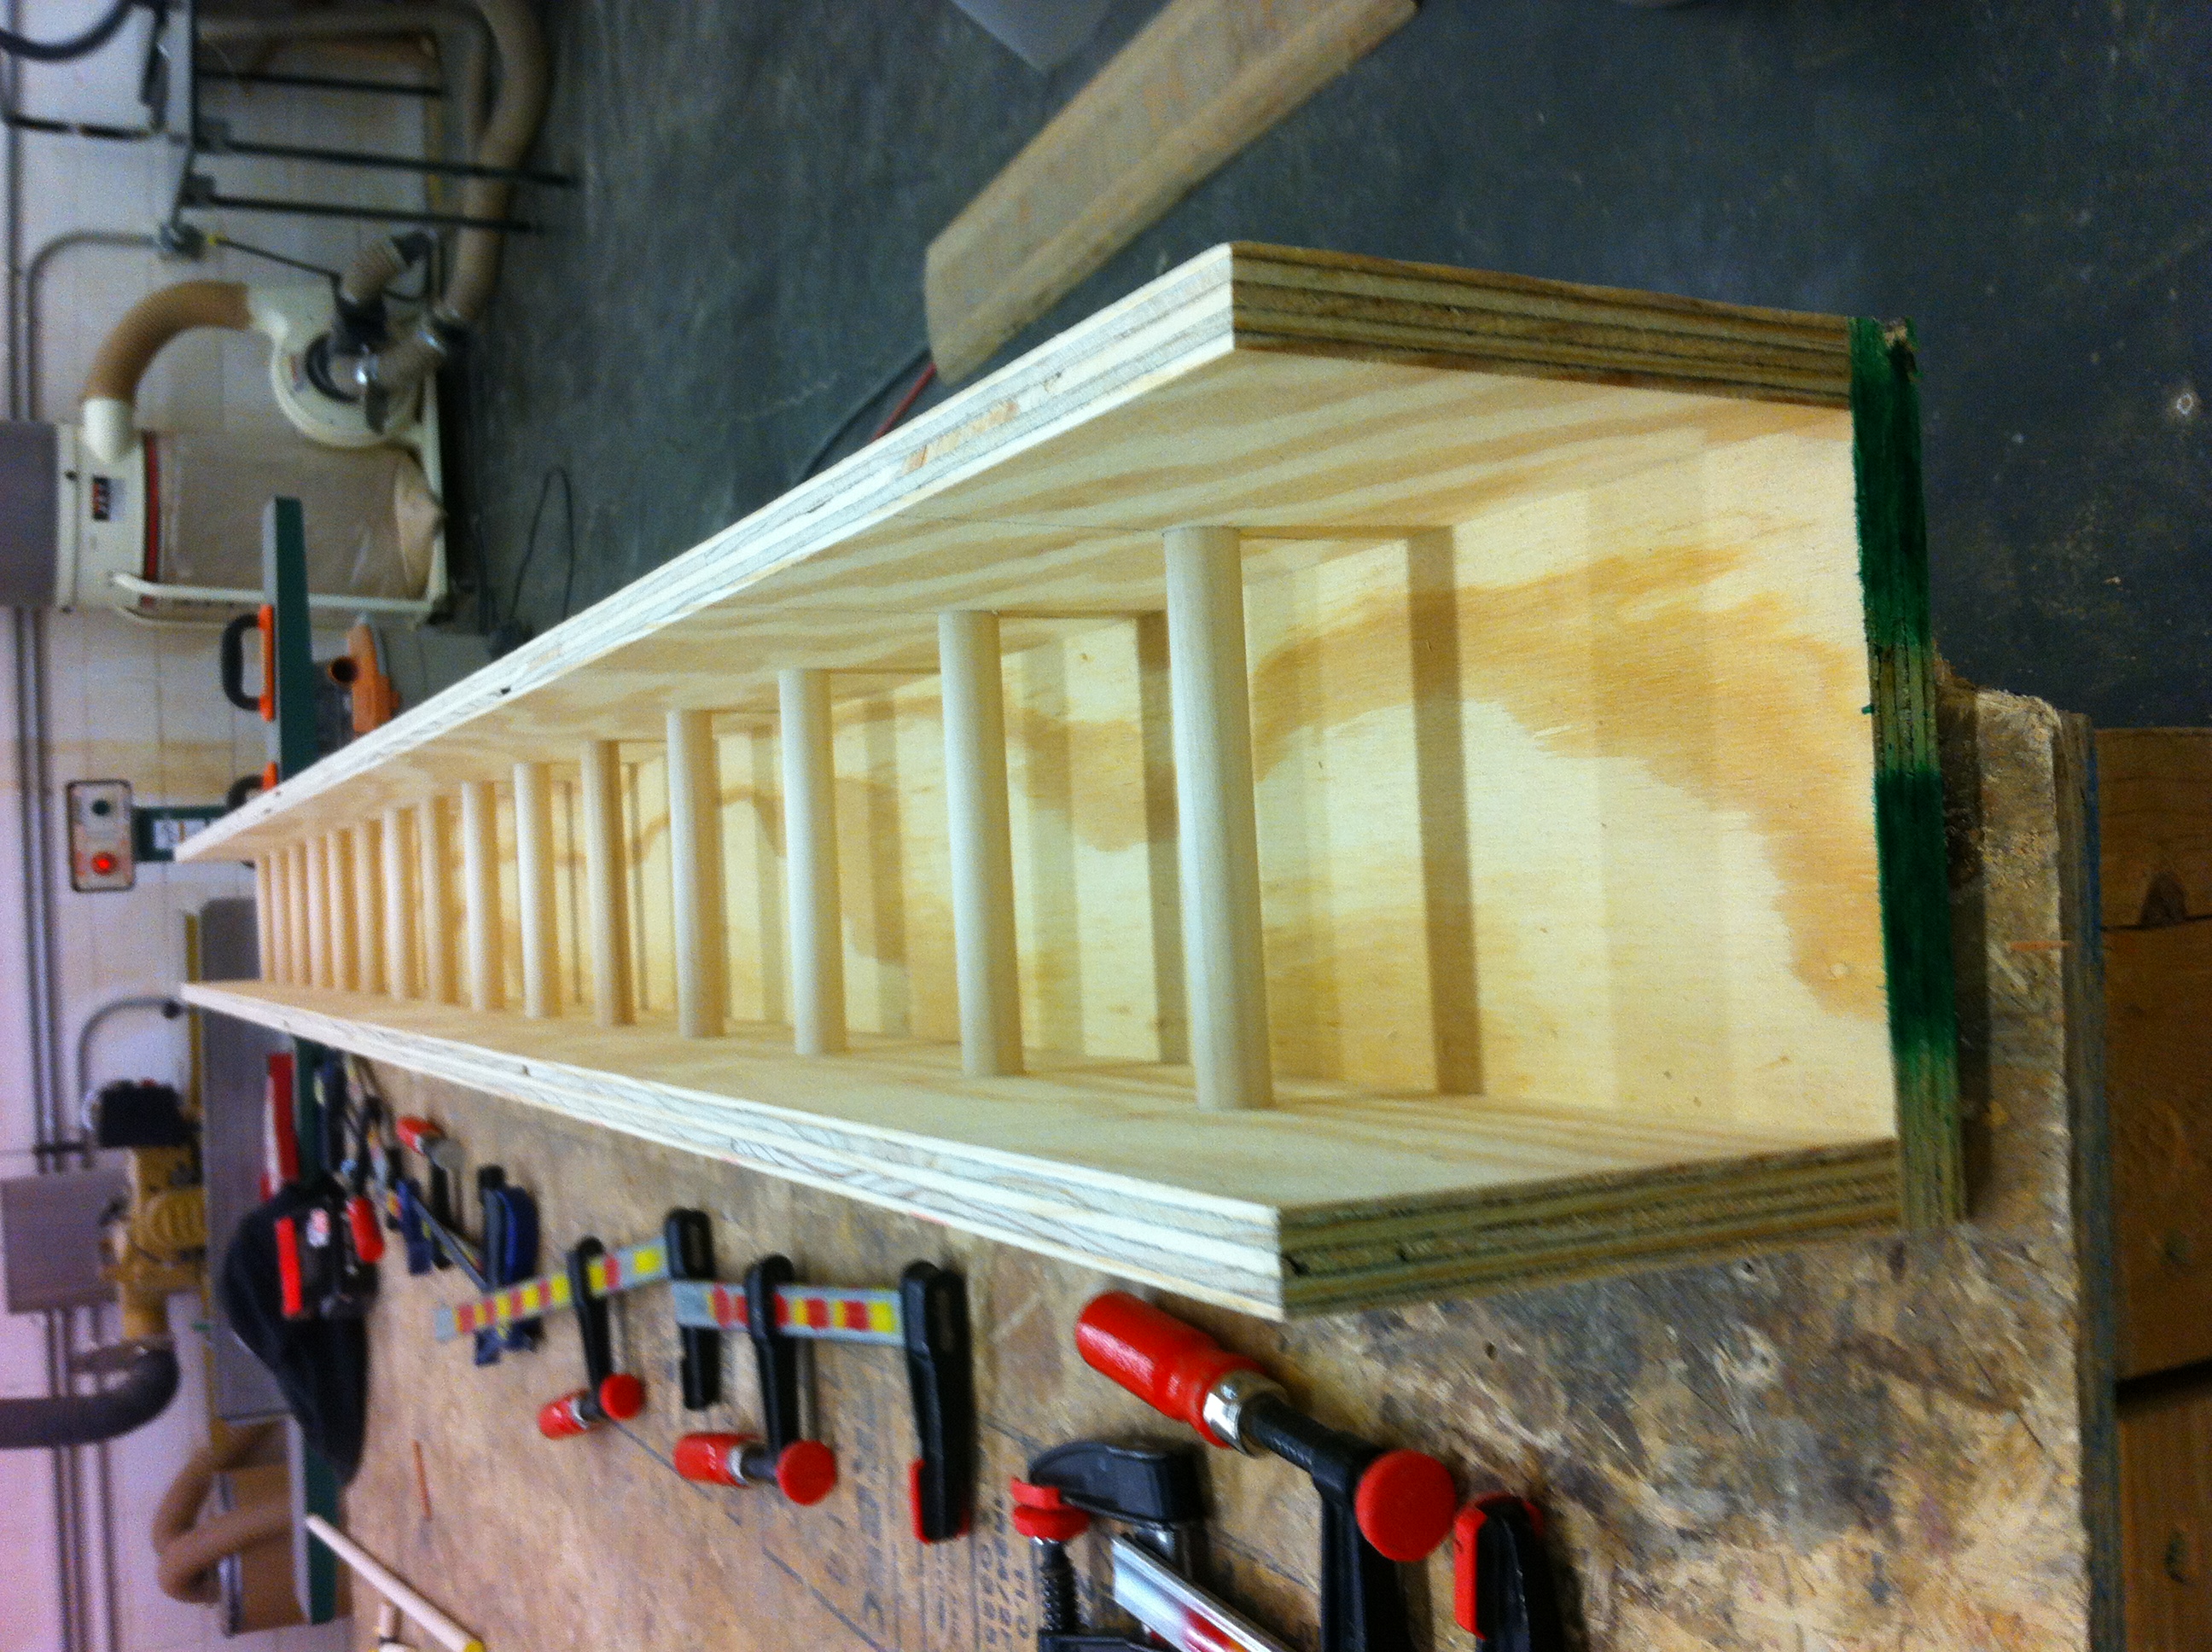
5. Keel and steam boxes. Keel is oak, steam box is 13 feet long and made of plywood sealed with fiberglass and epoxy
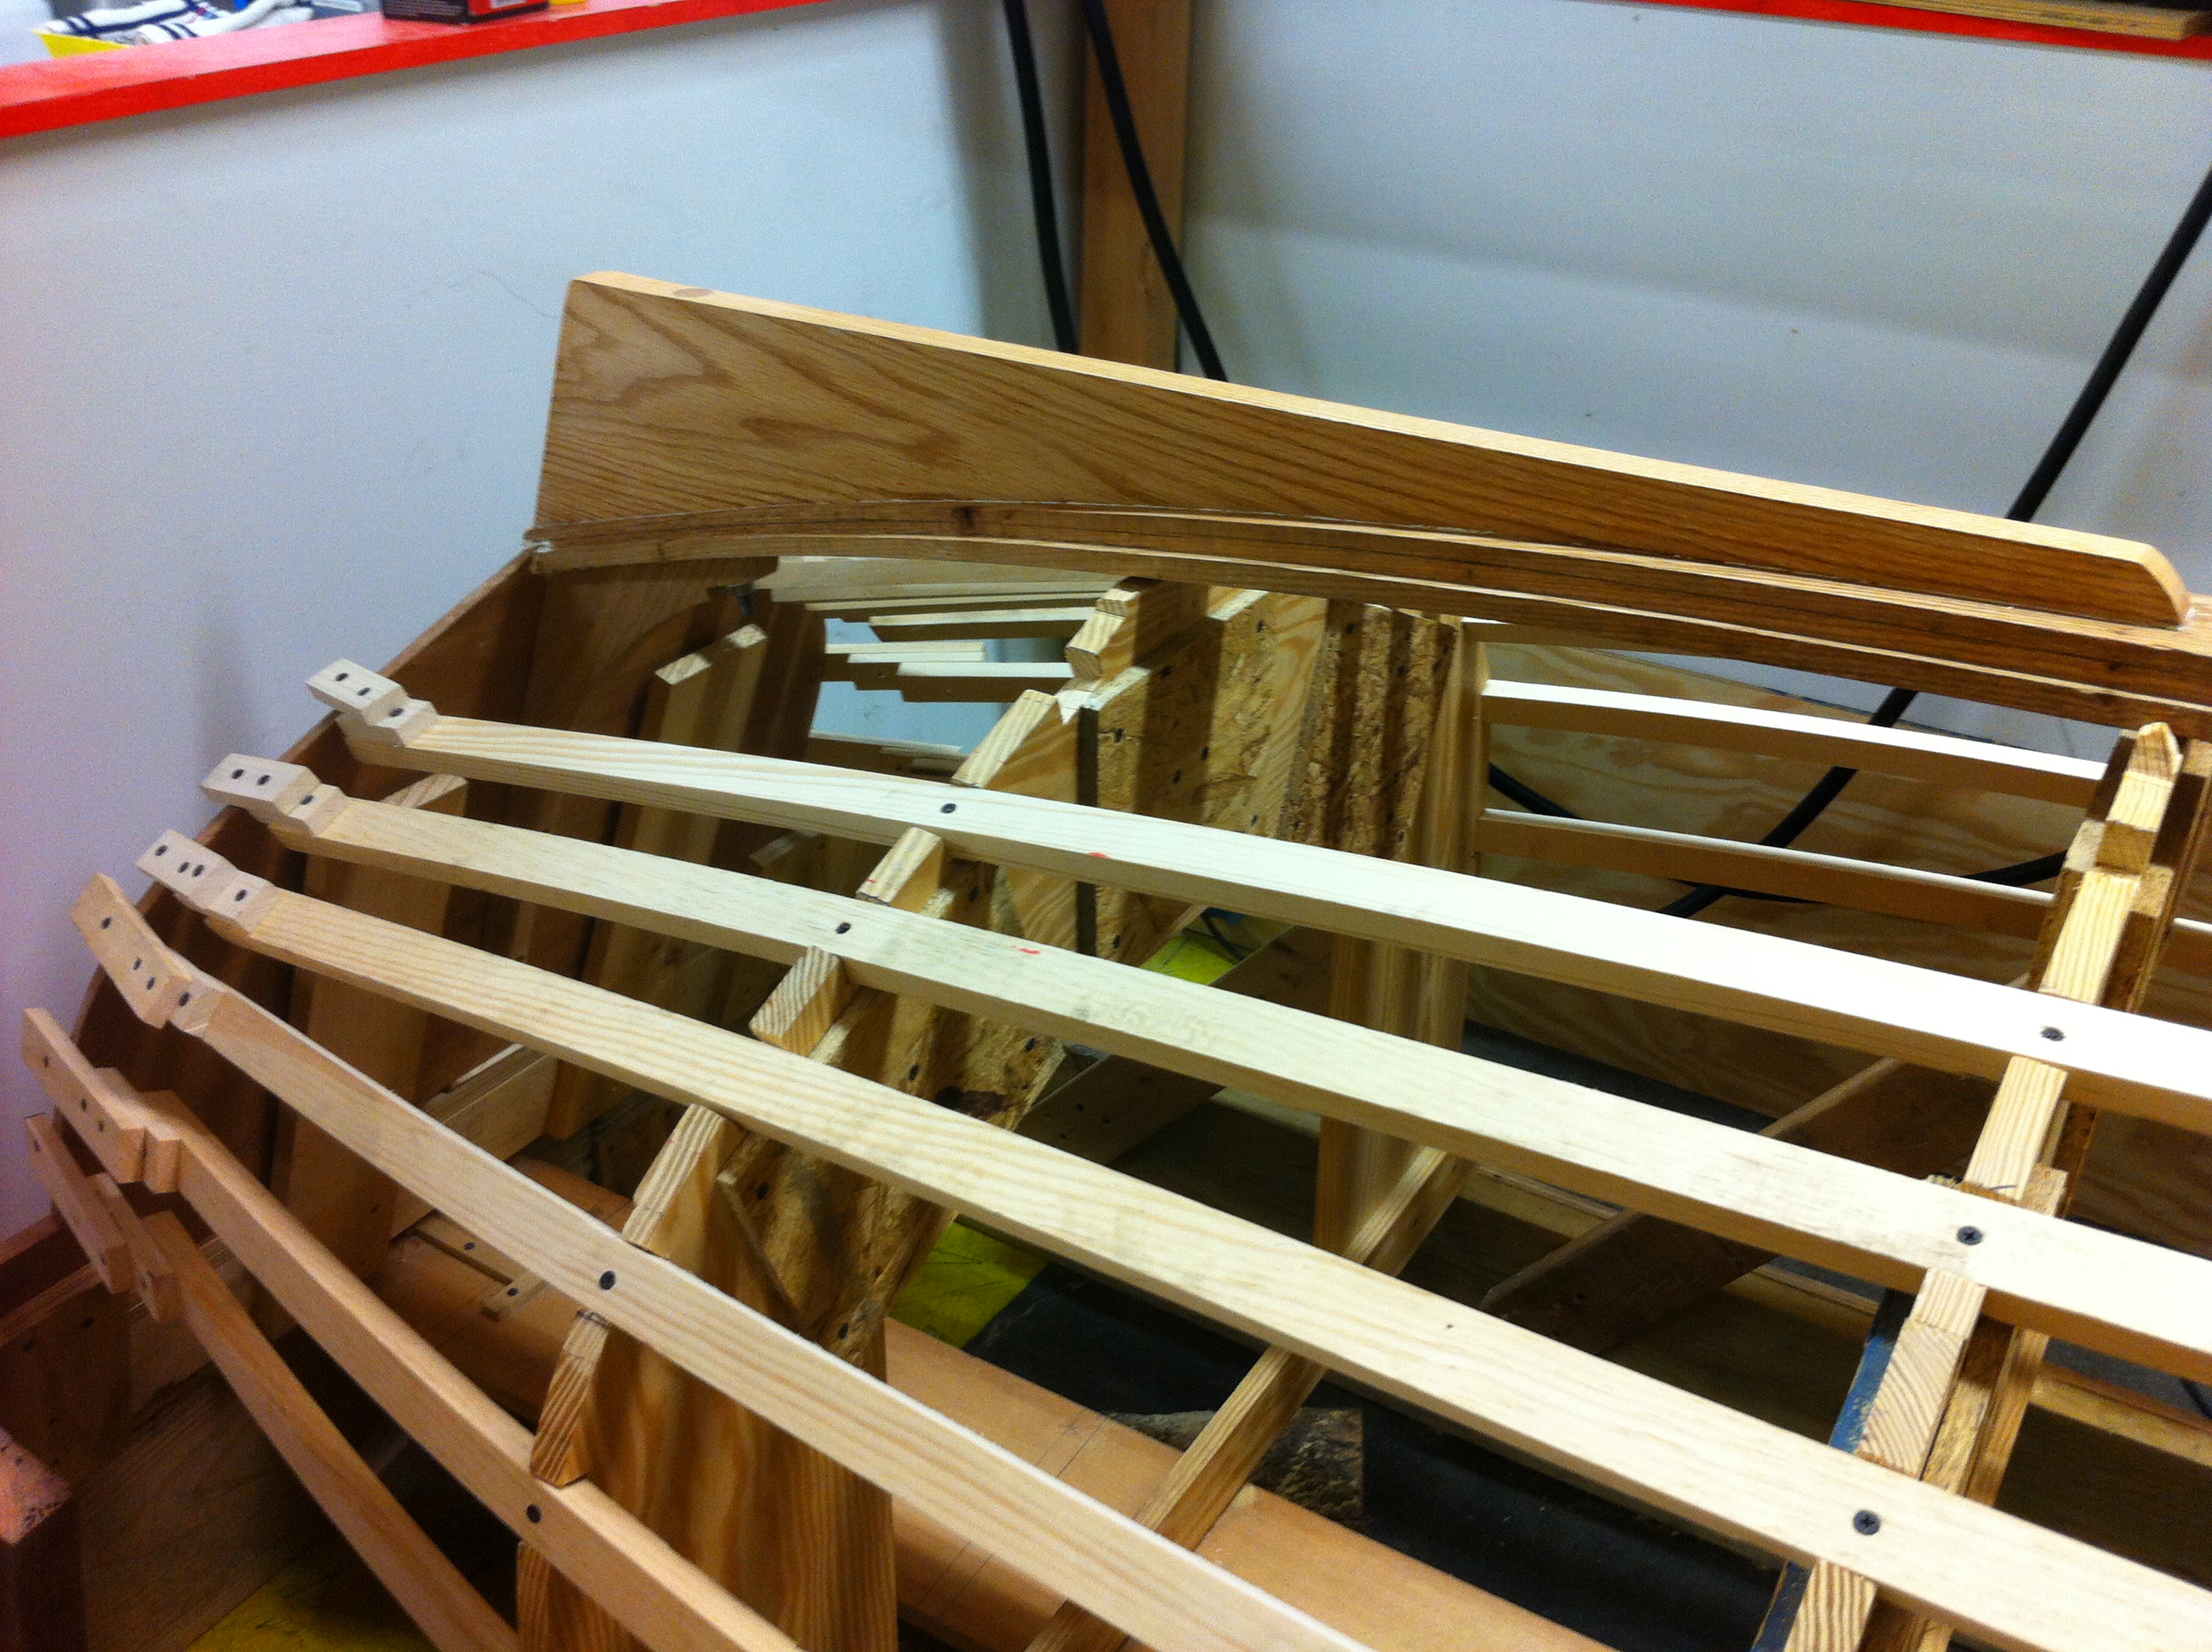
6) The keel is steamed into place and the ribbands let into the molds.

7) Skeg (white oak) and transom are fastened to the keel and stern knee
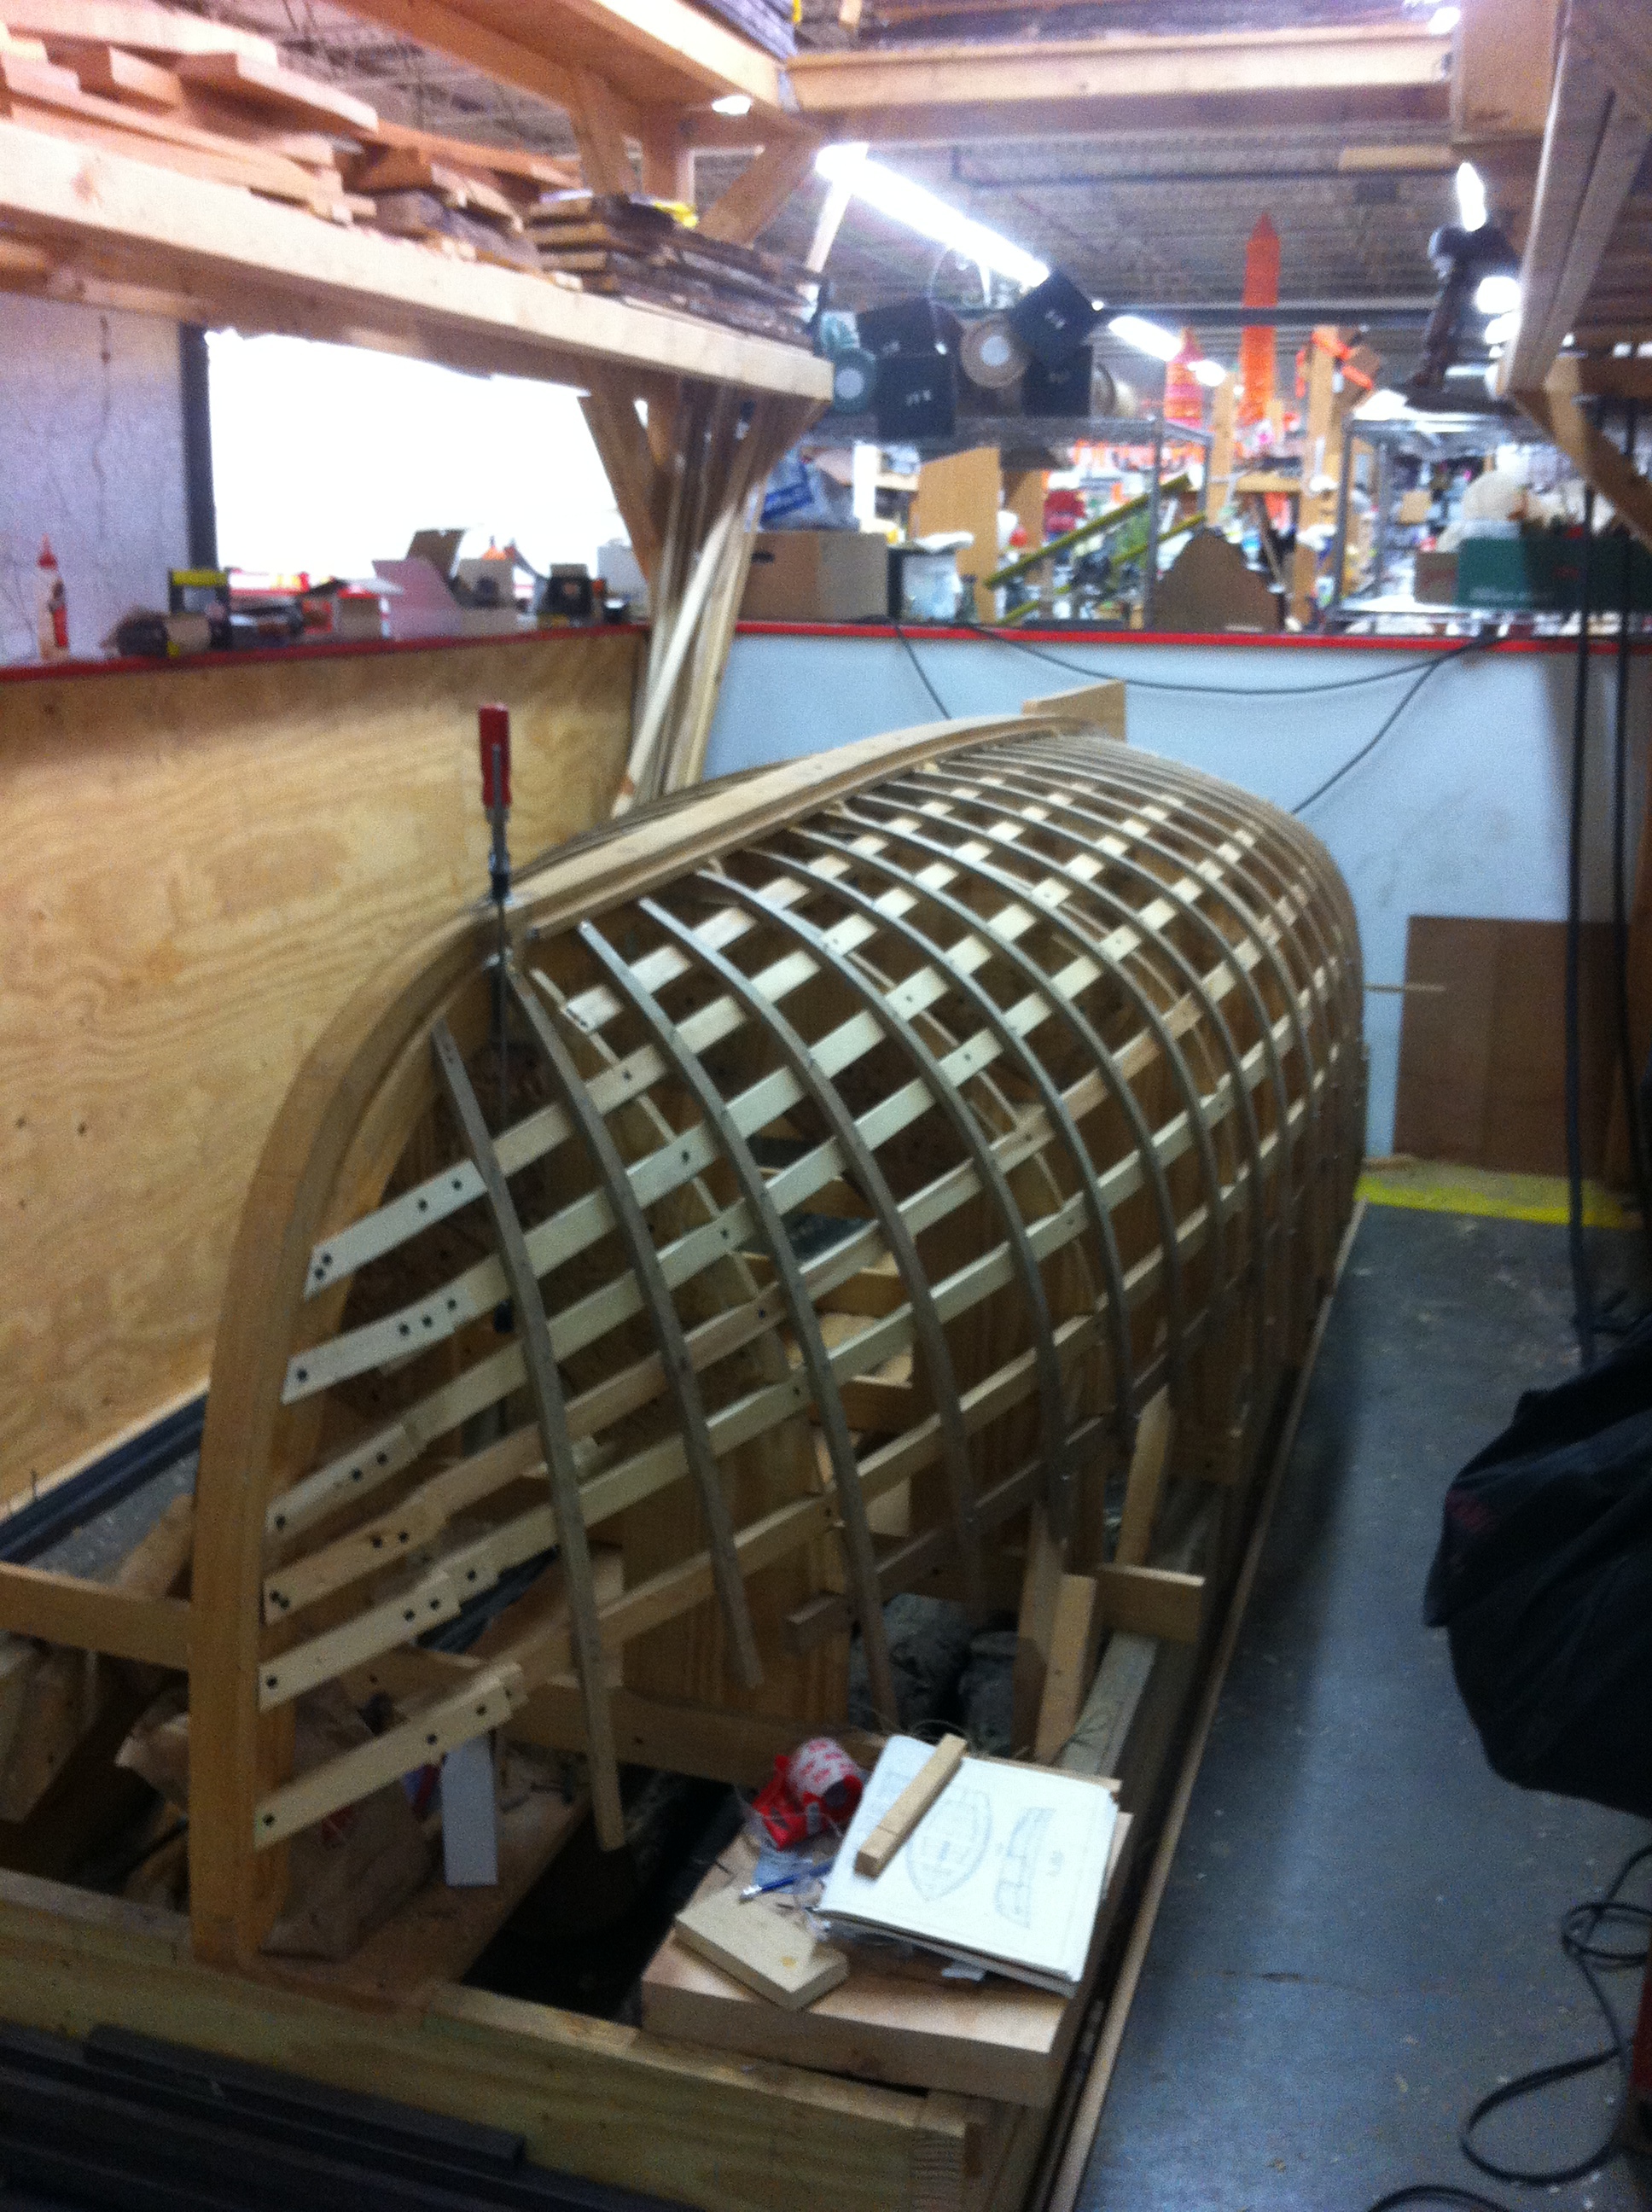
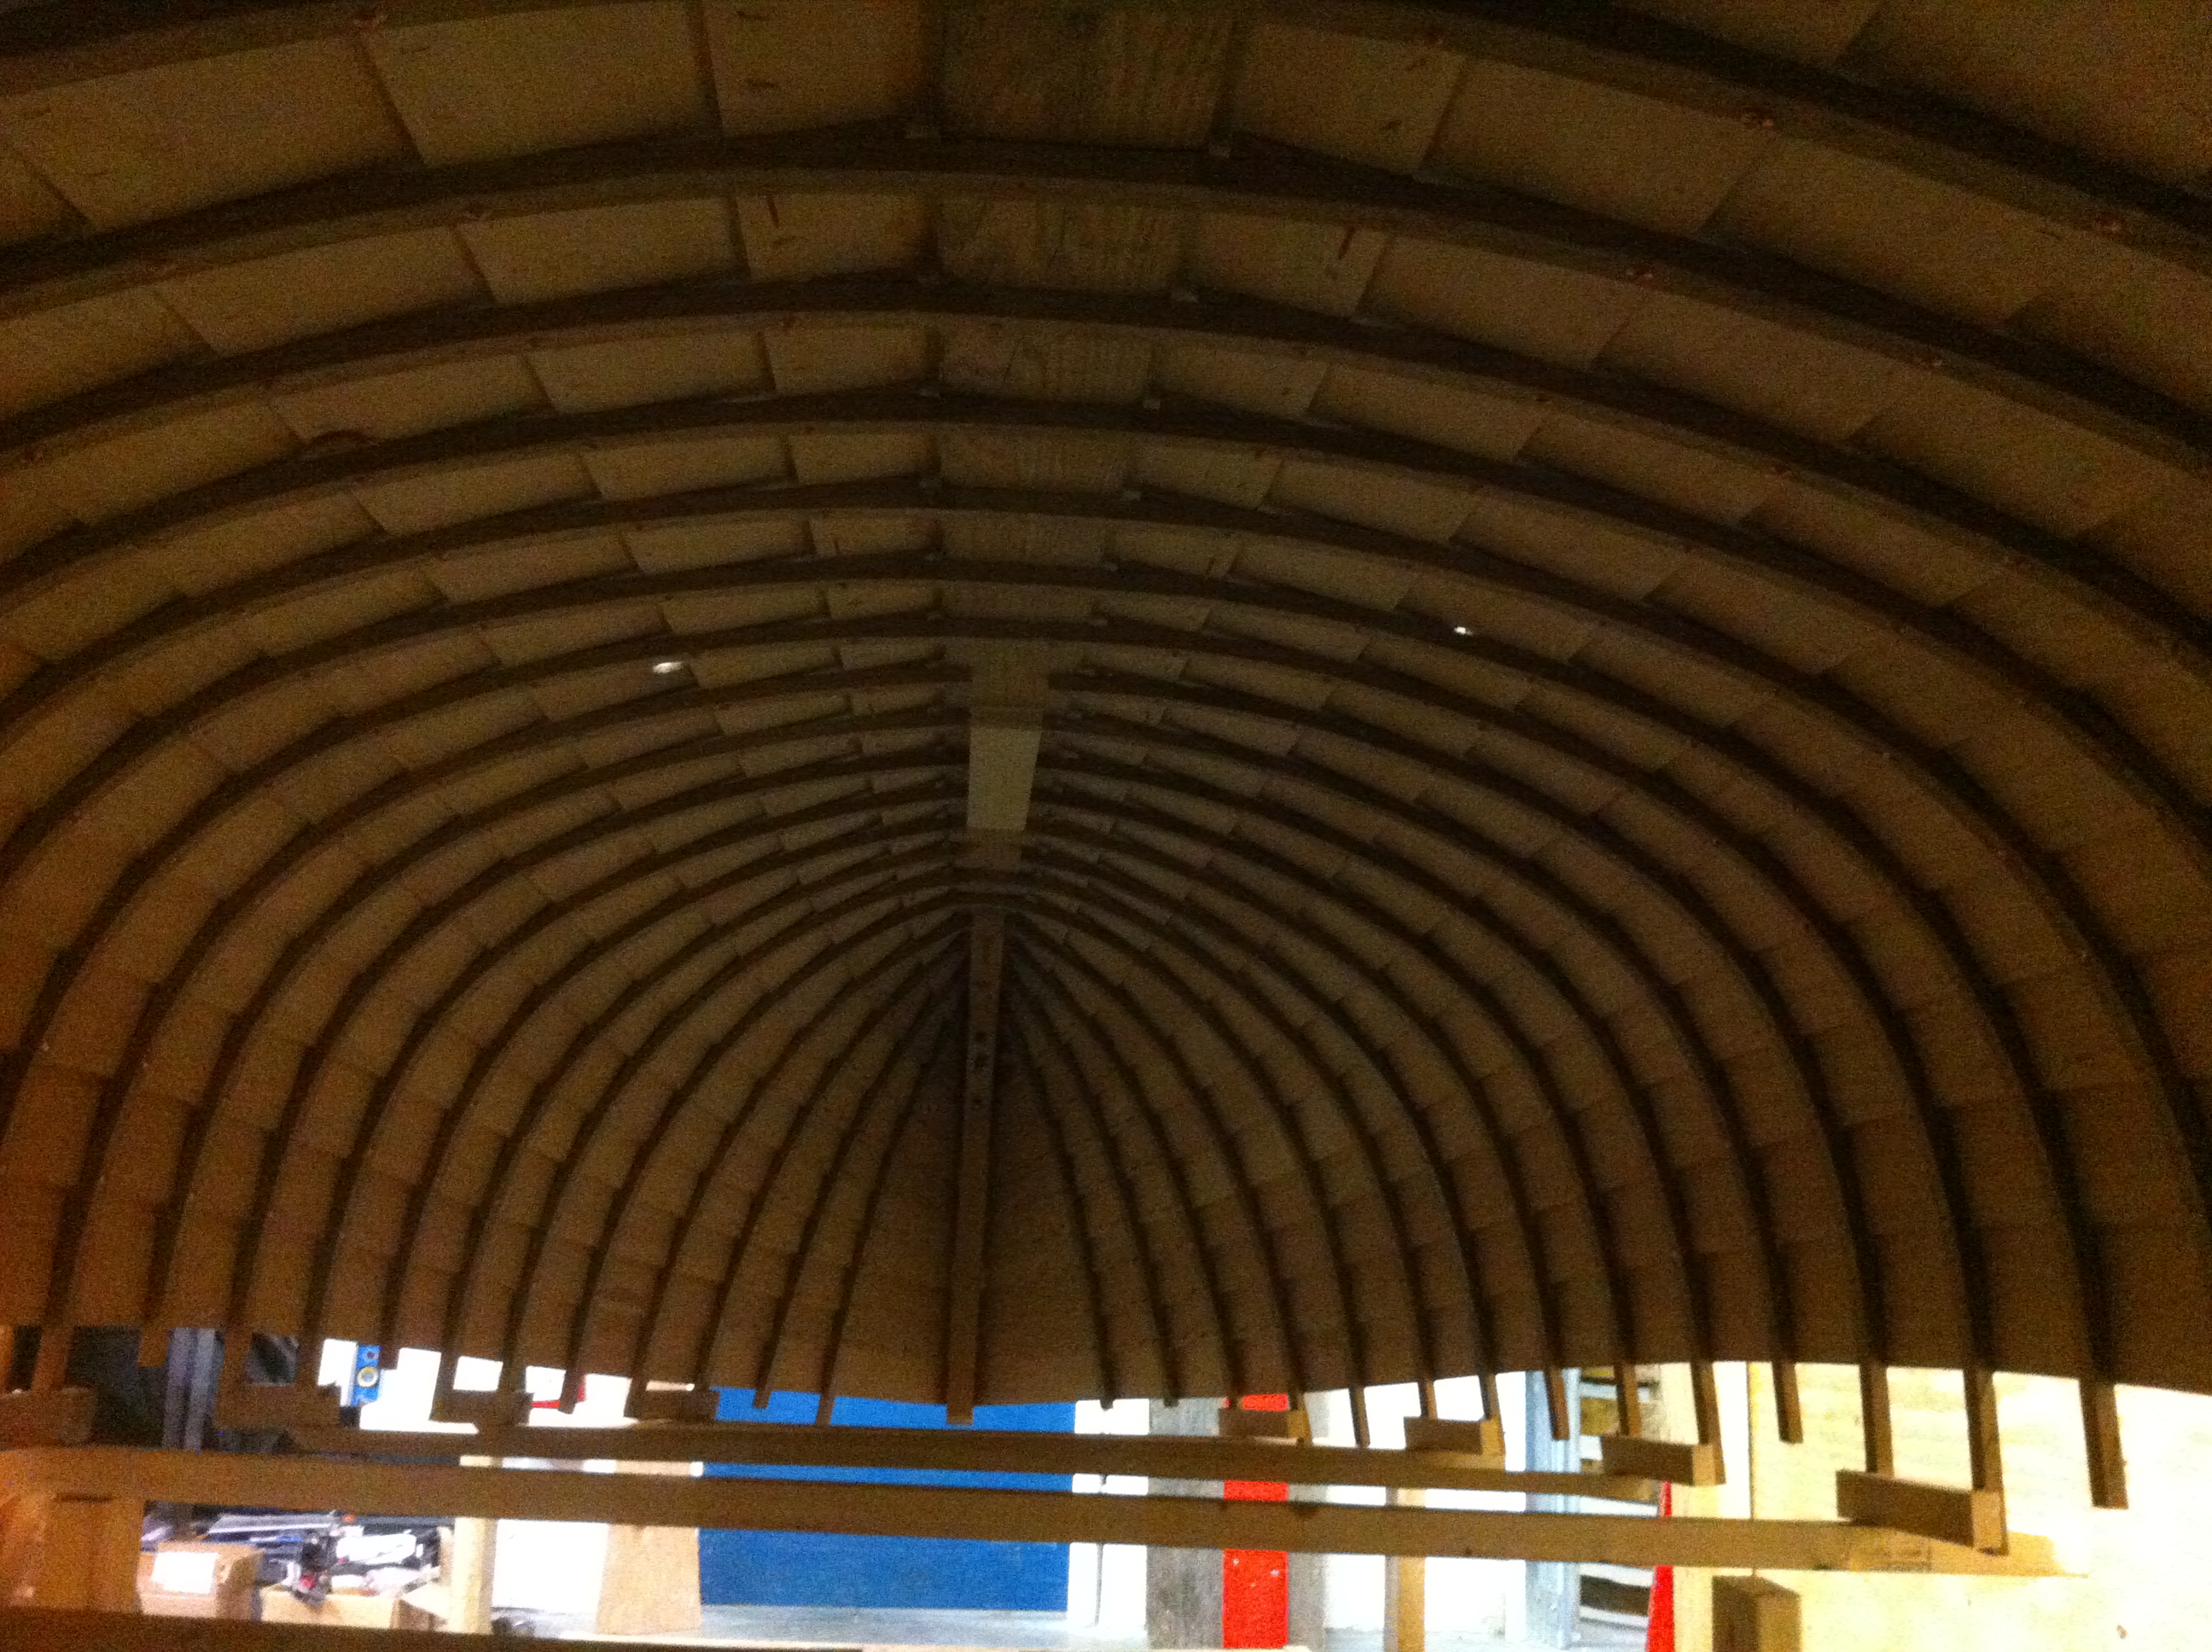
 8) Frames (white oak) are steam bent around molds and ribbands
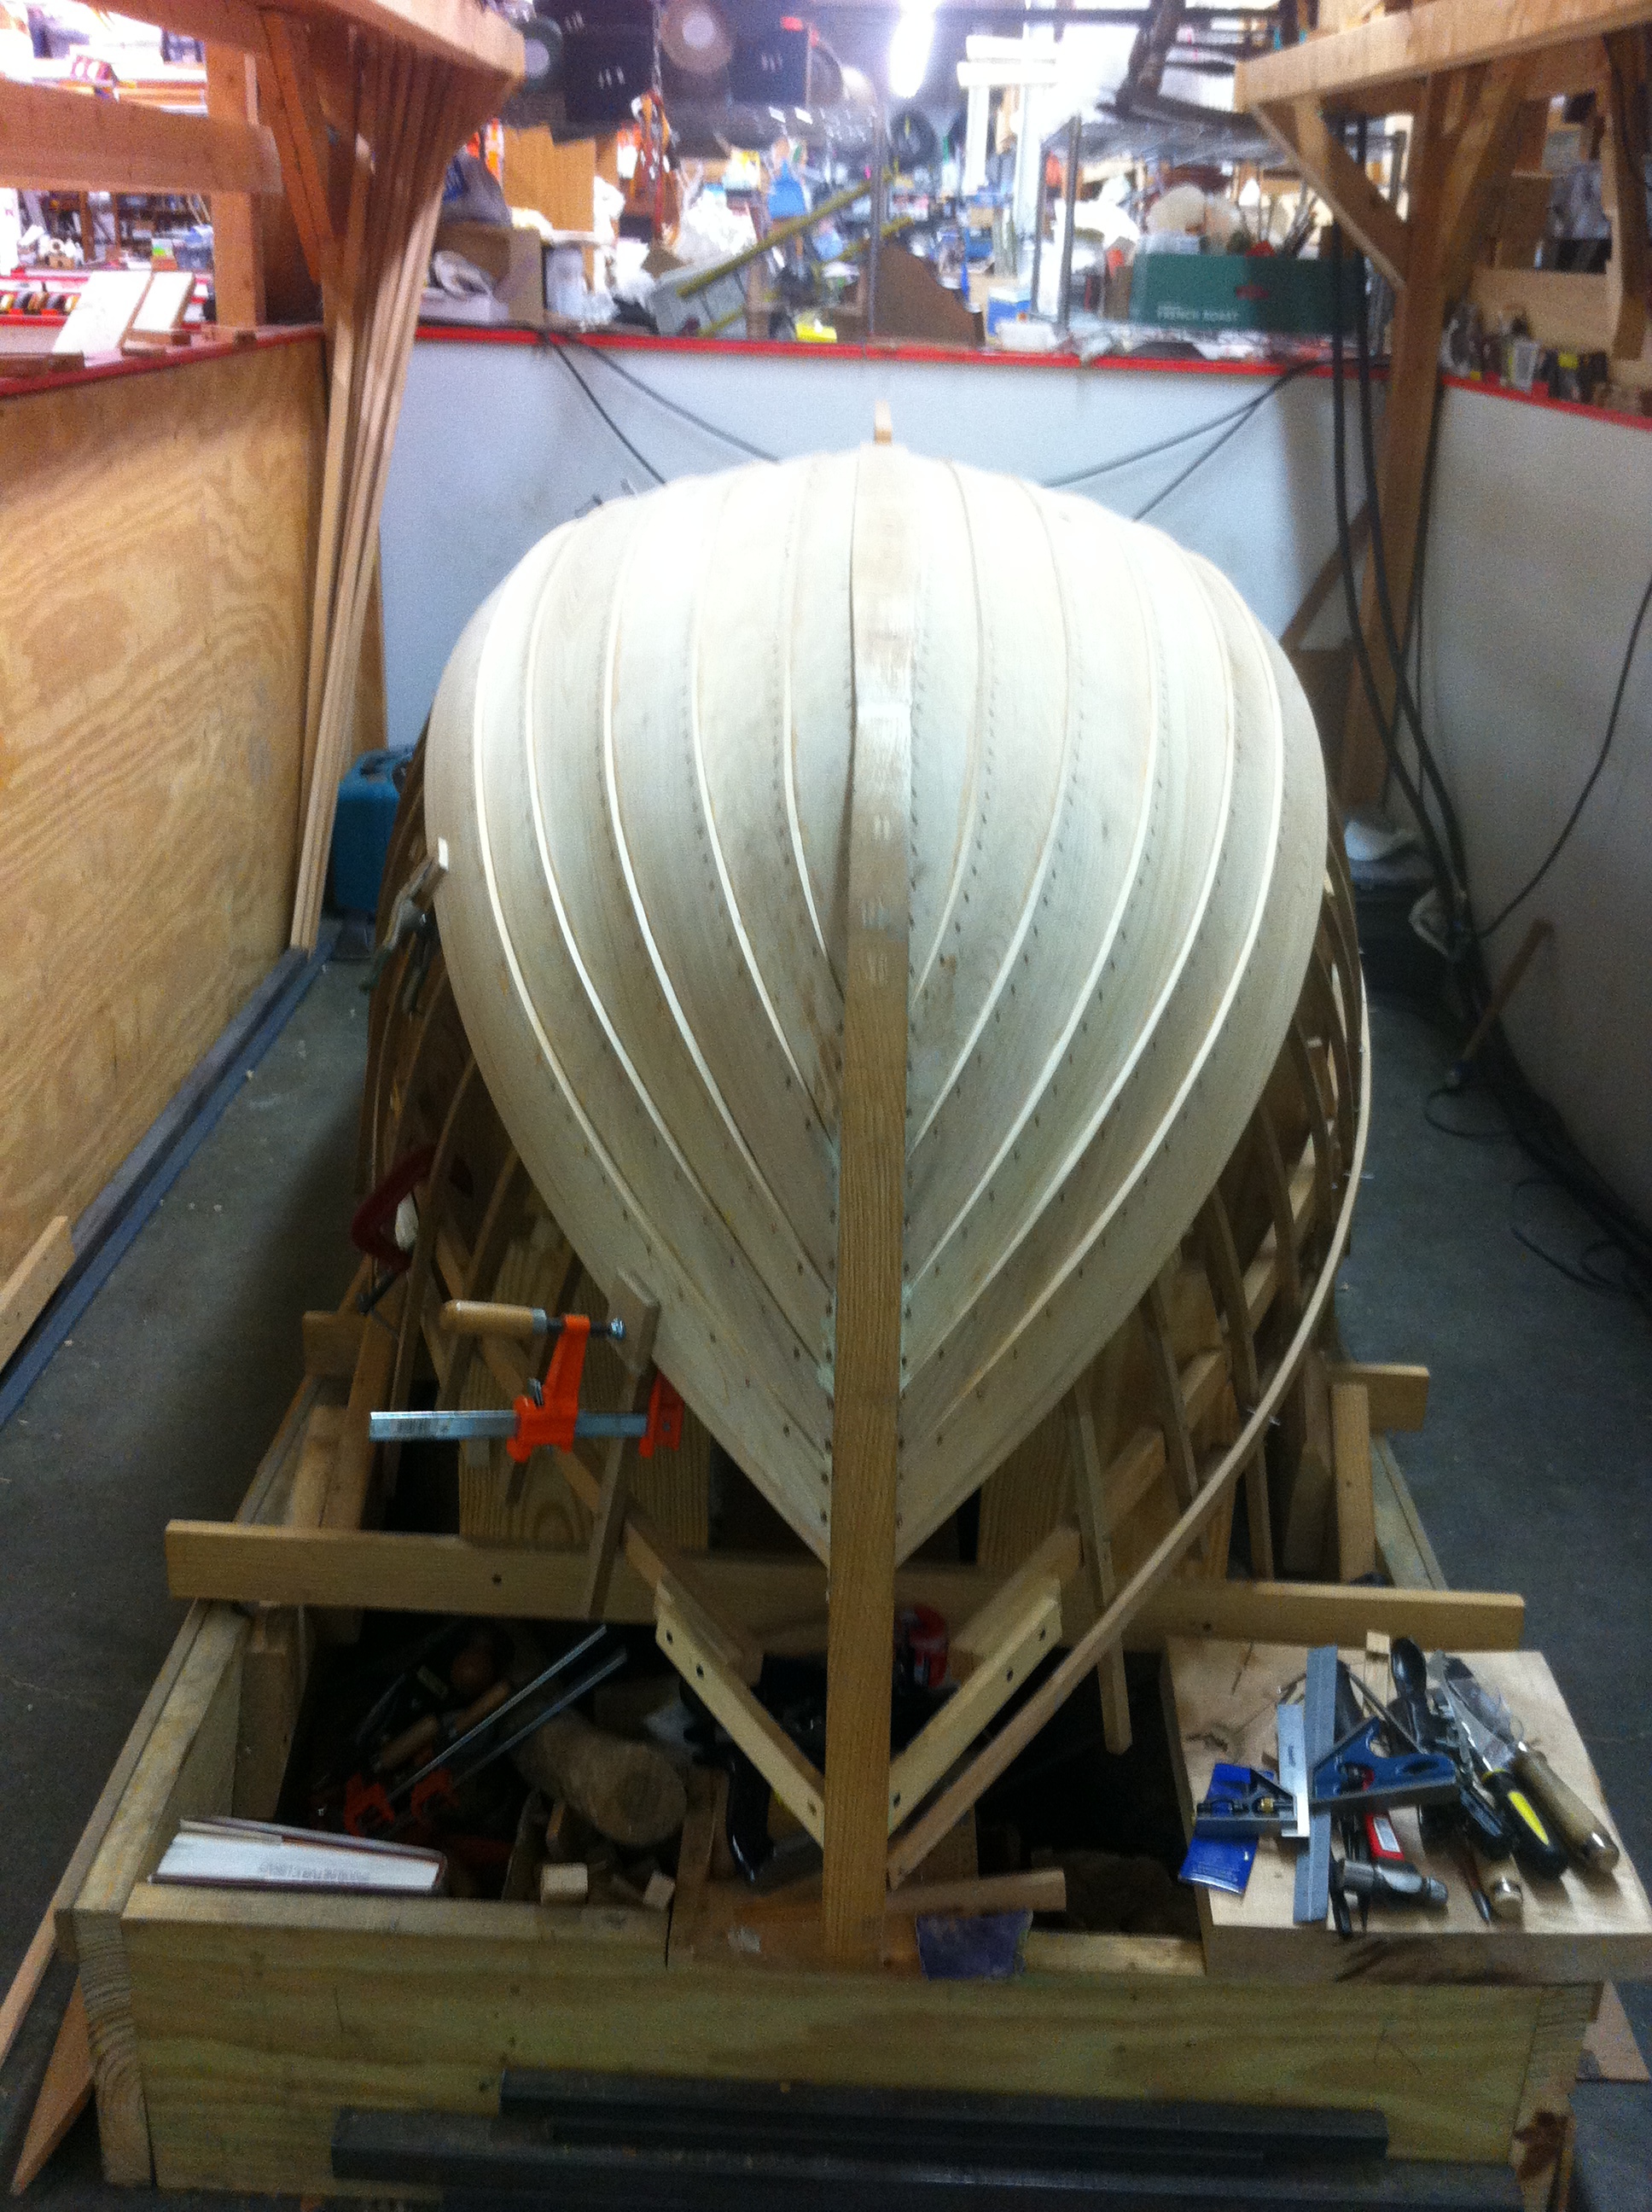
 9) Planking:
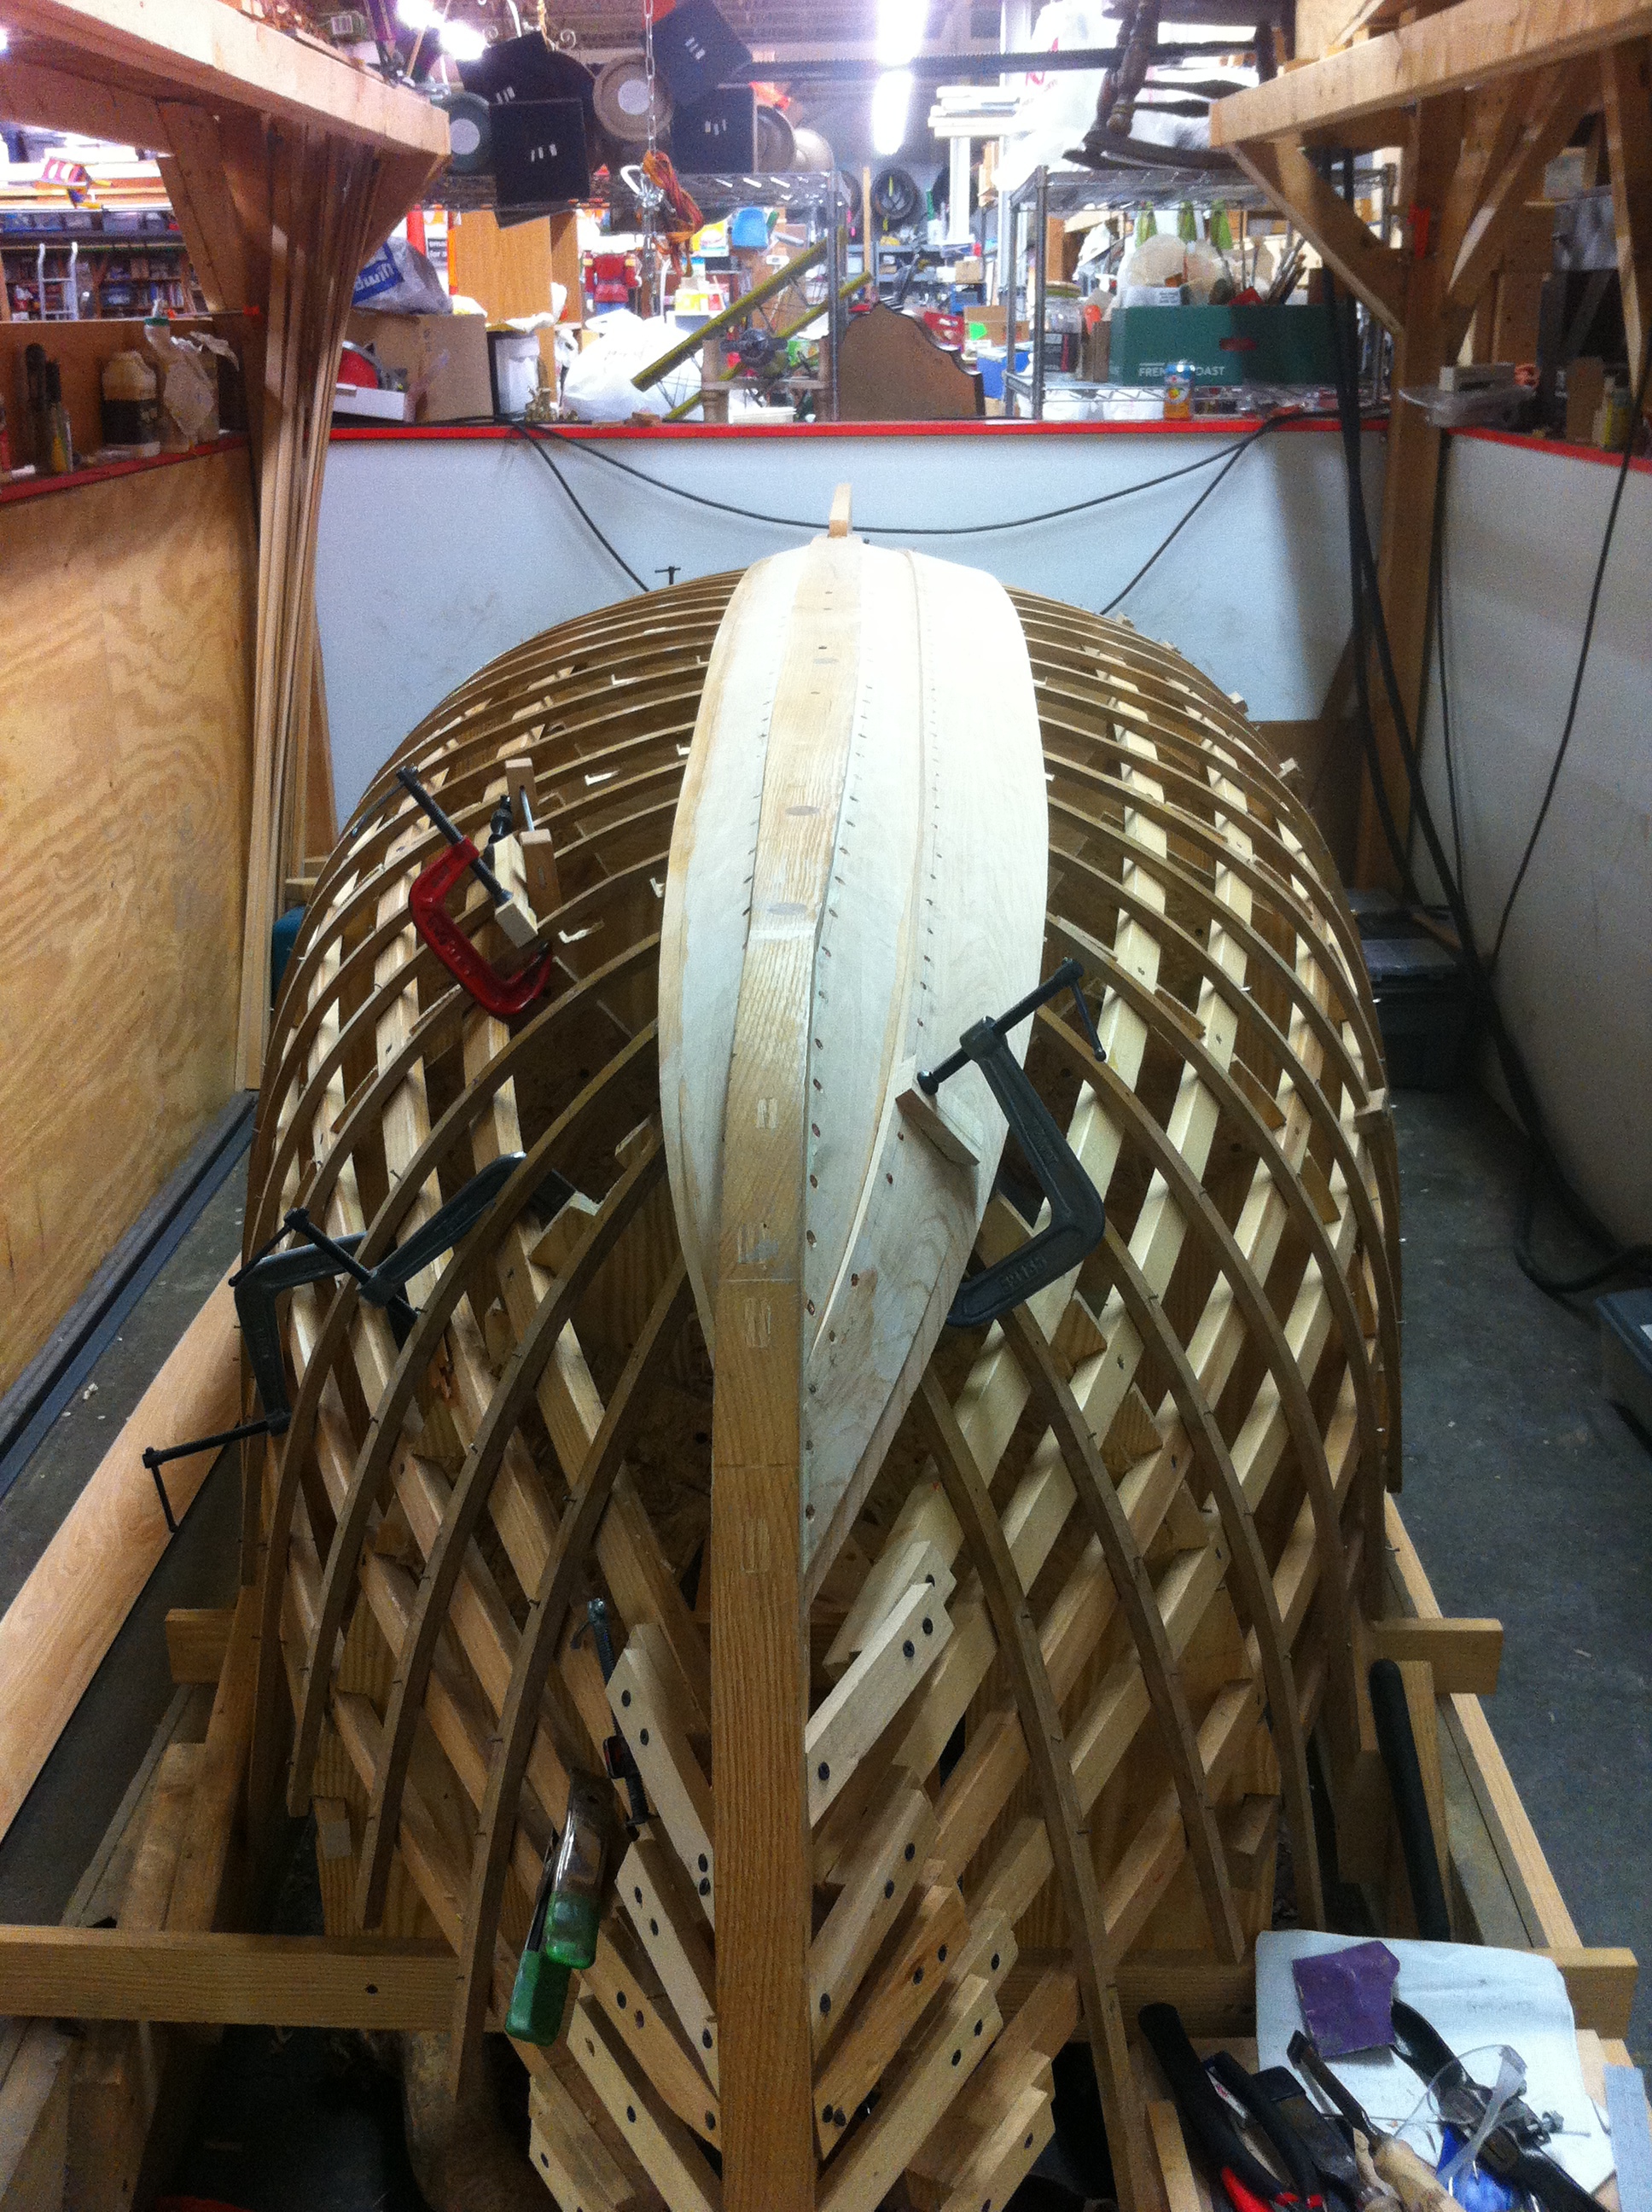
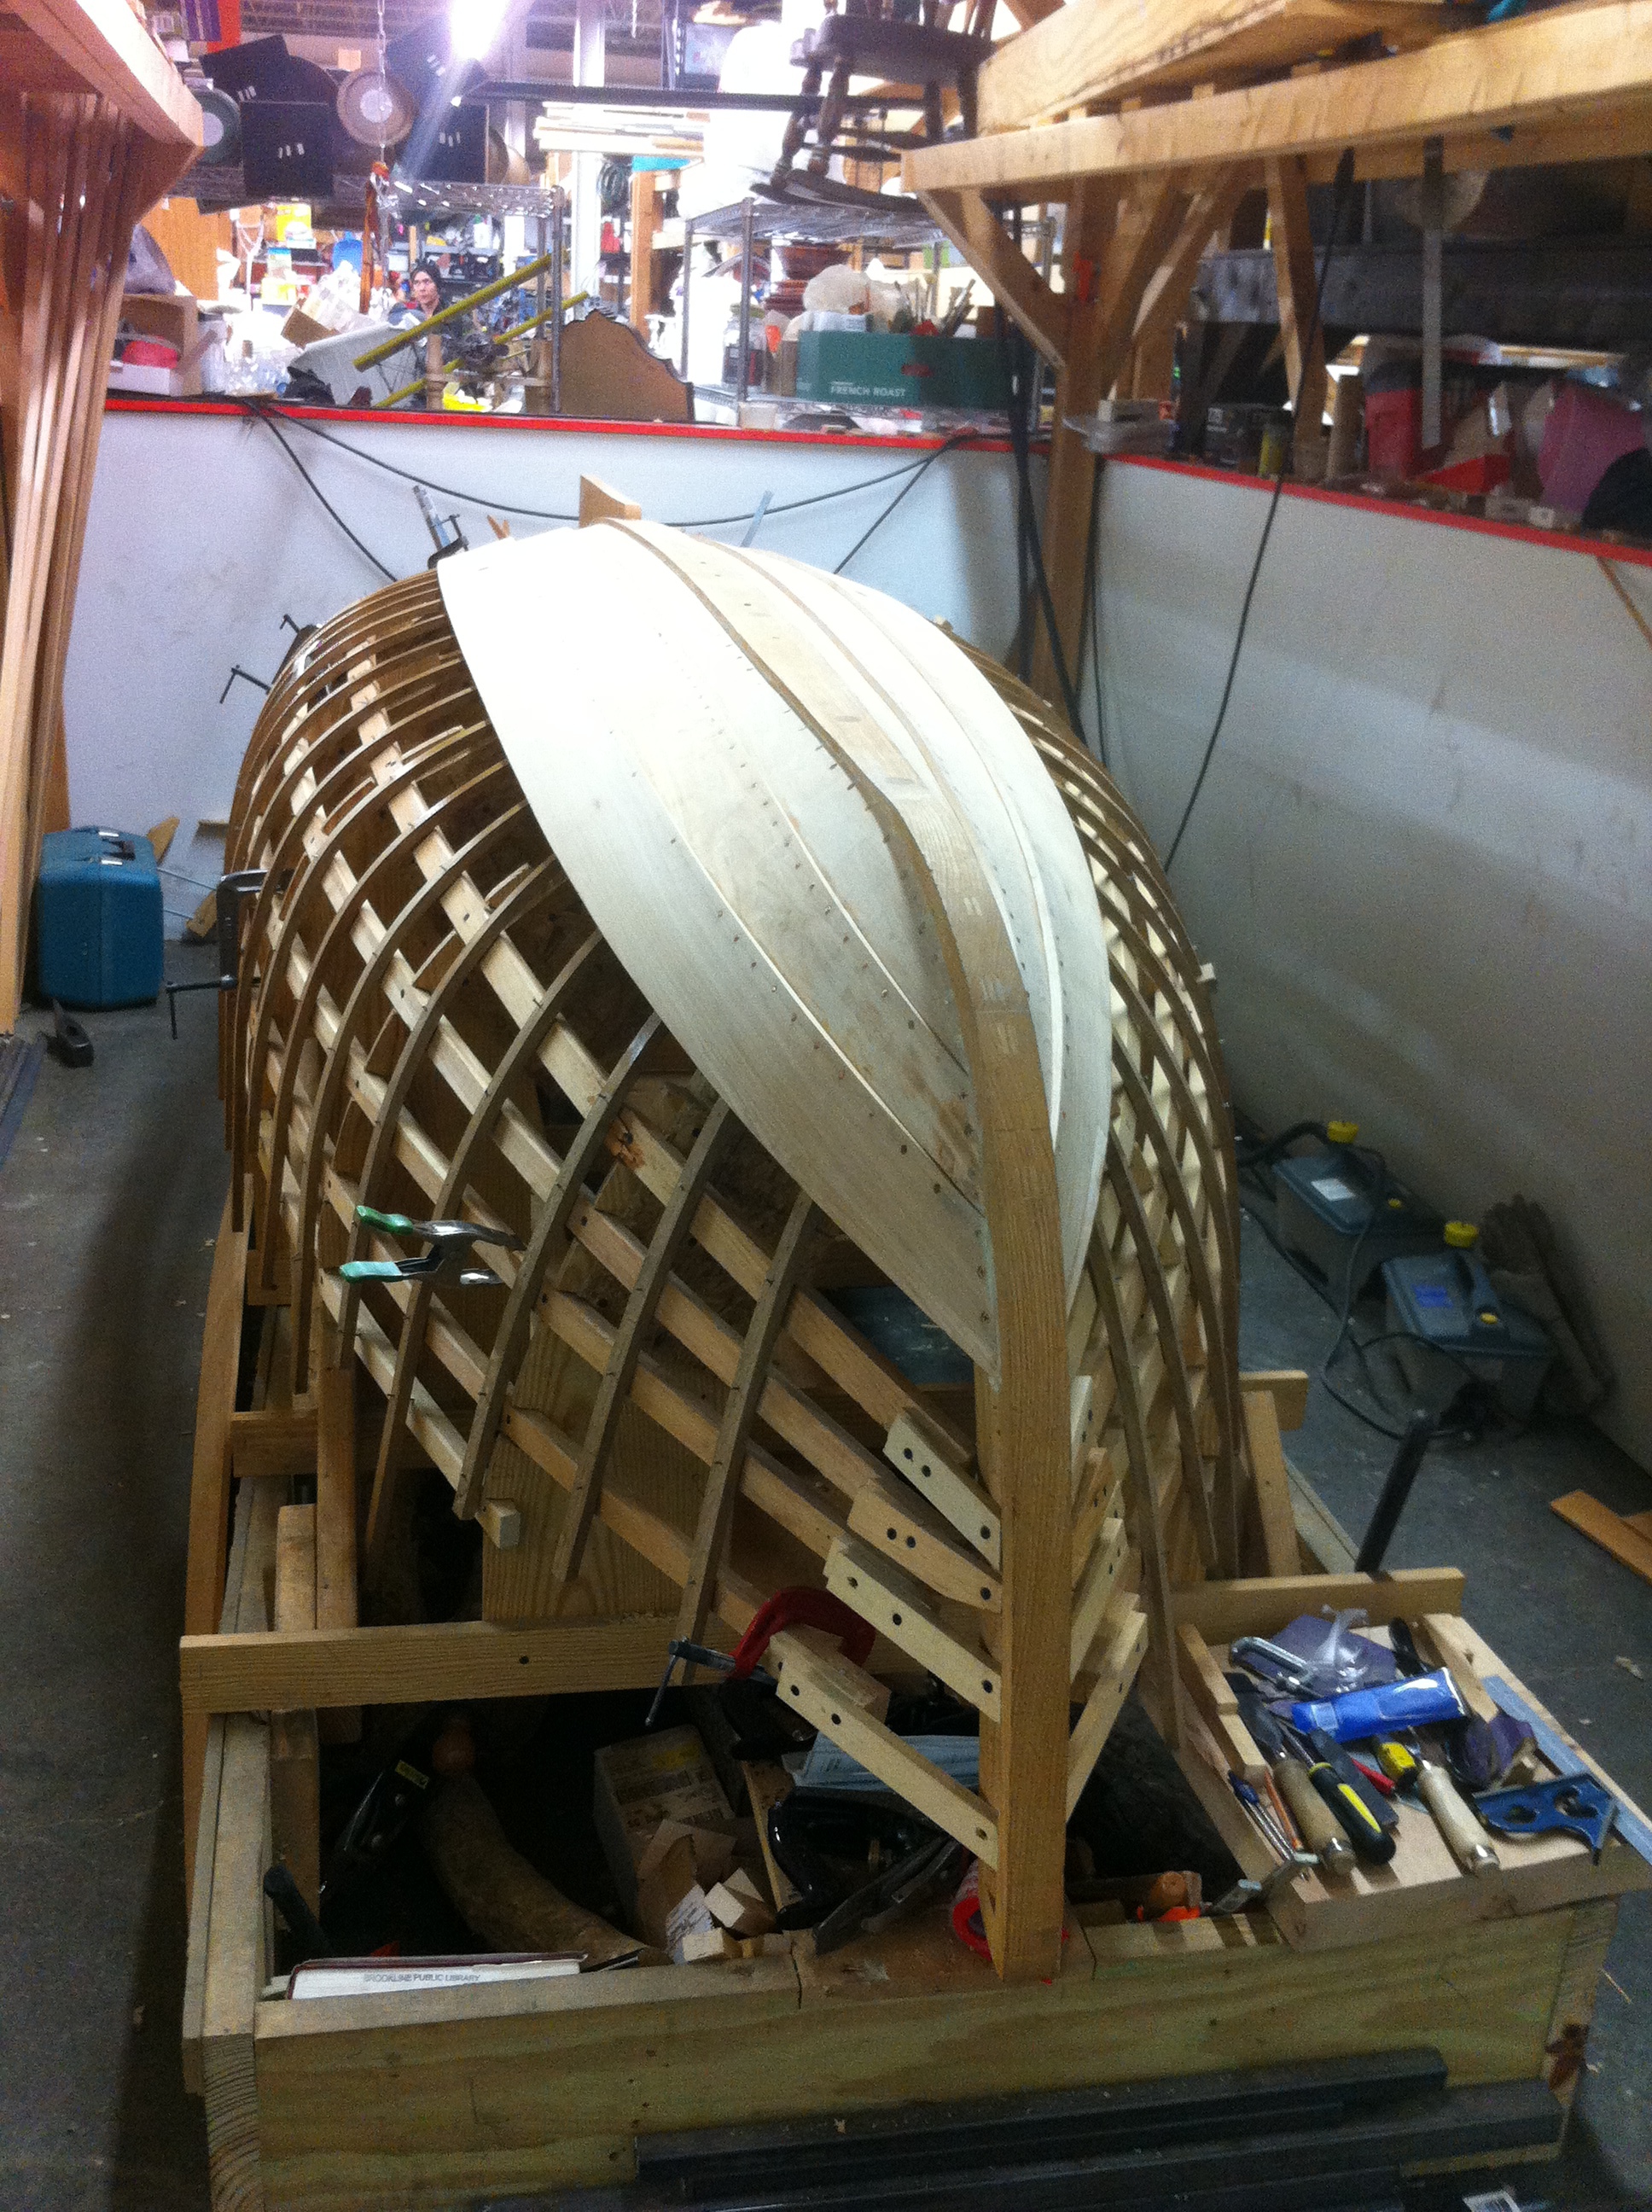
Garboard plank (atlantic white cedar) is steam bent and fastened to the keel. Lapstrake planking: a bevel is cut into the plank to accommodate the angle of the next plank. The planks are 3/8” thick and overlap by 3/4”. On the starboard side, the second plank is being fastened.
 The first broadstrake is fastened: into the frames the fastening is copper rivets, while between the laps the fastening is clench nails. A bedding compound is used in the keel rabbet where the garboard slides in.
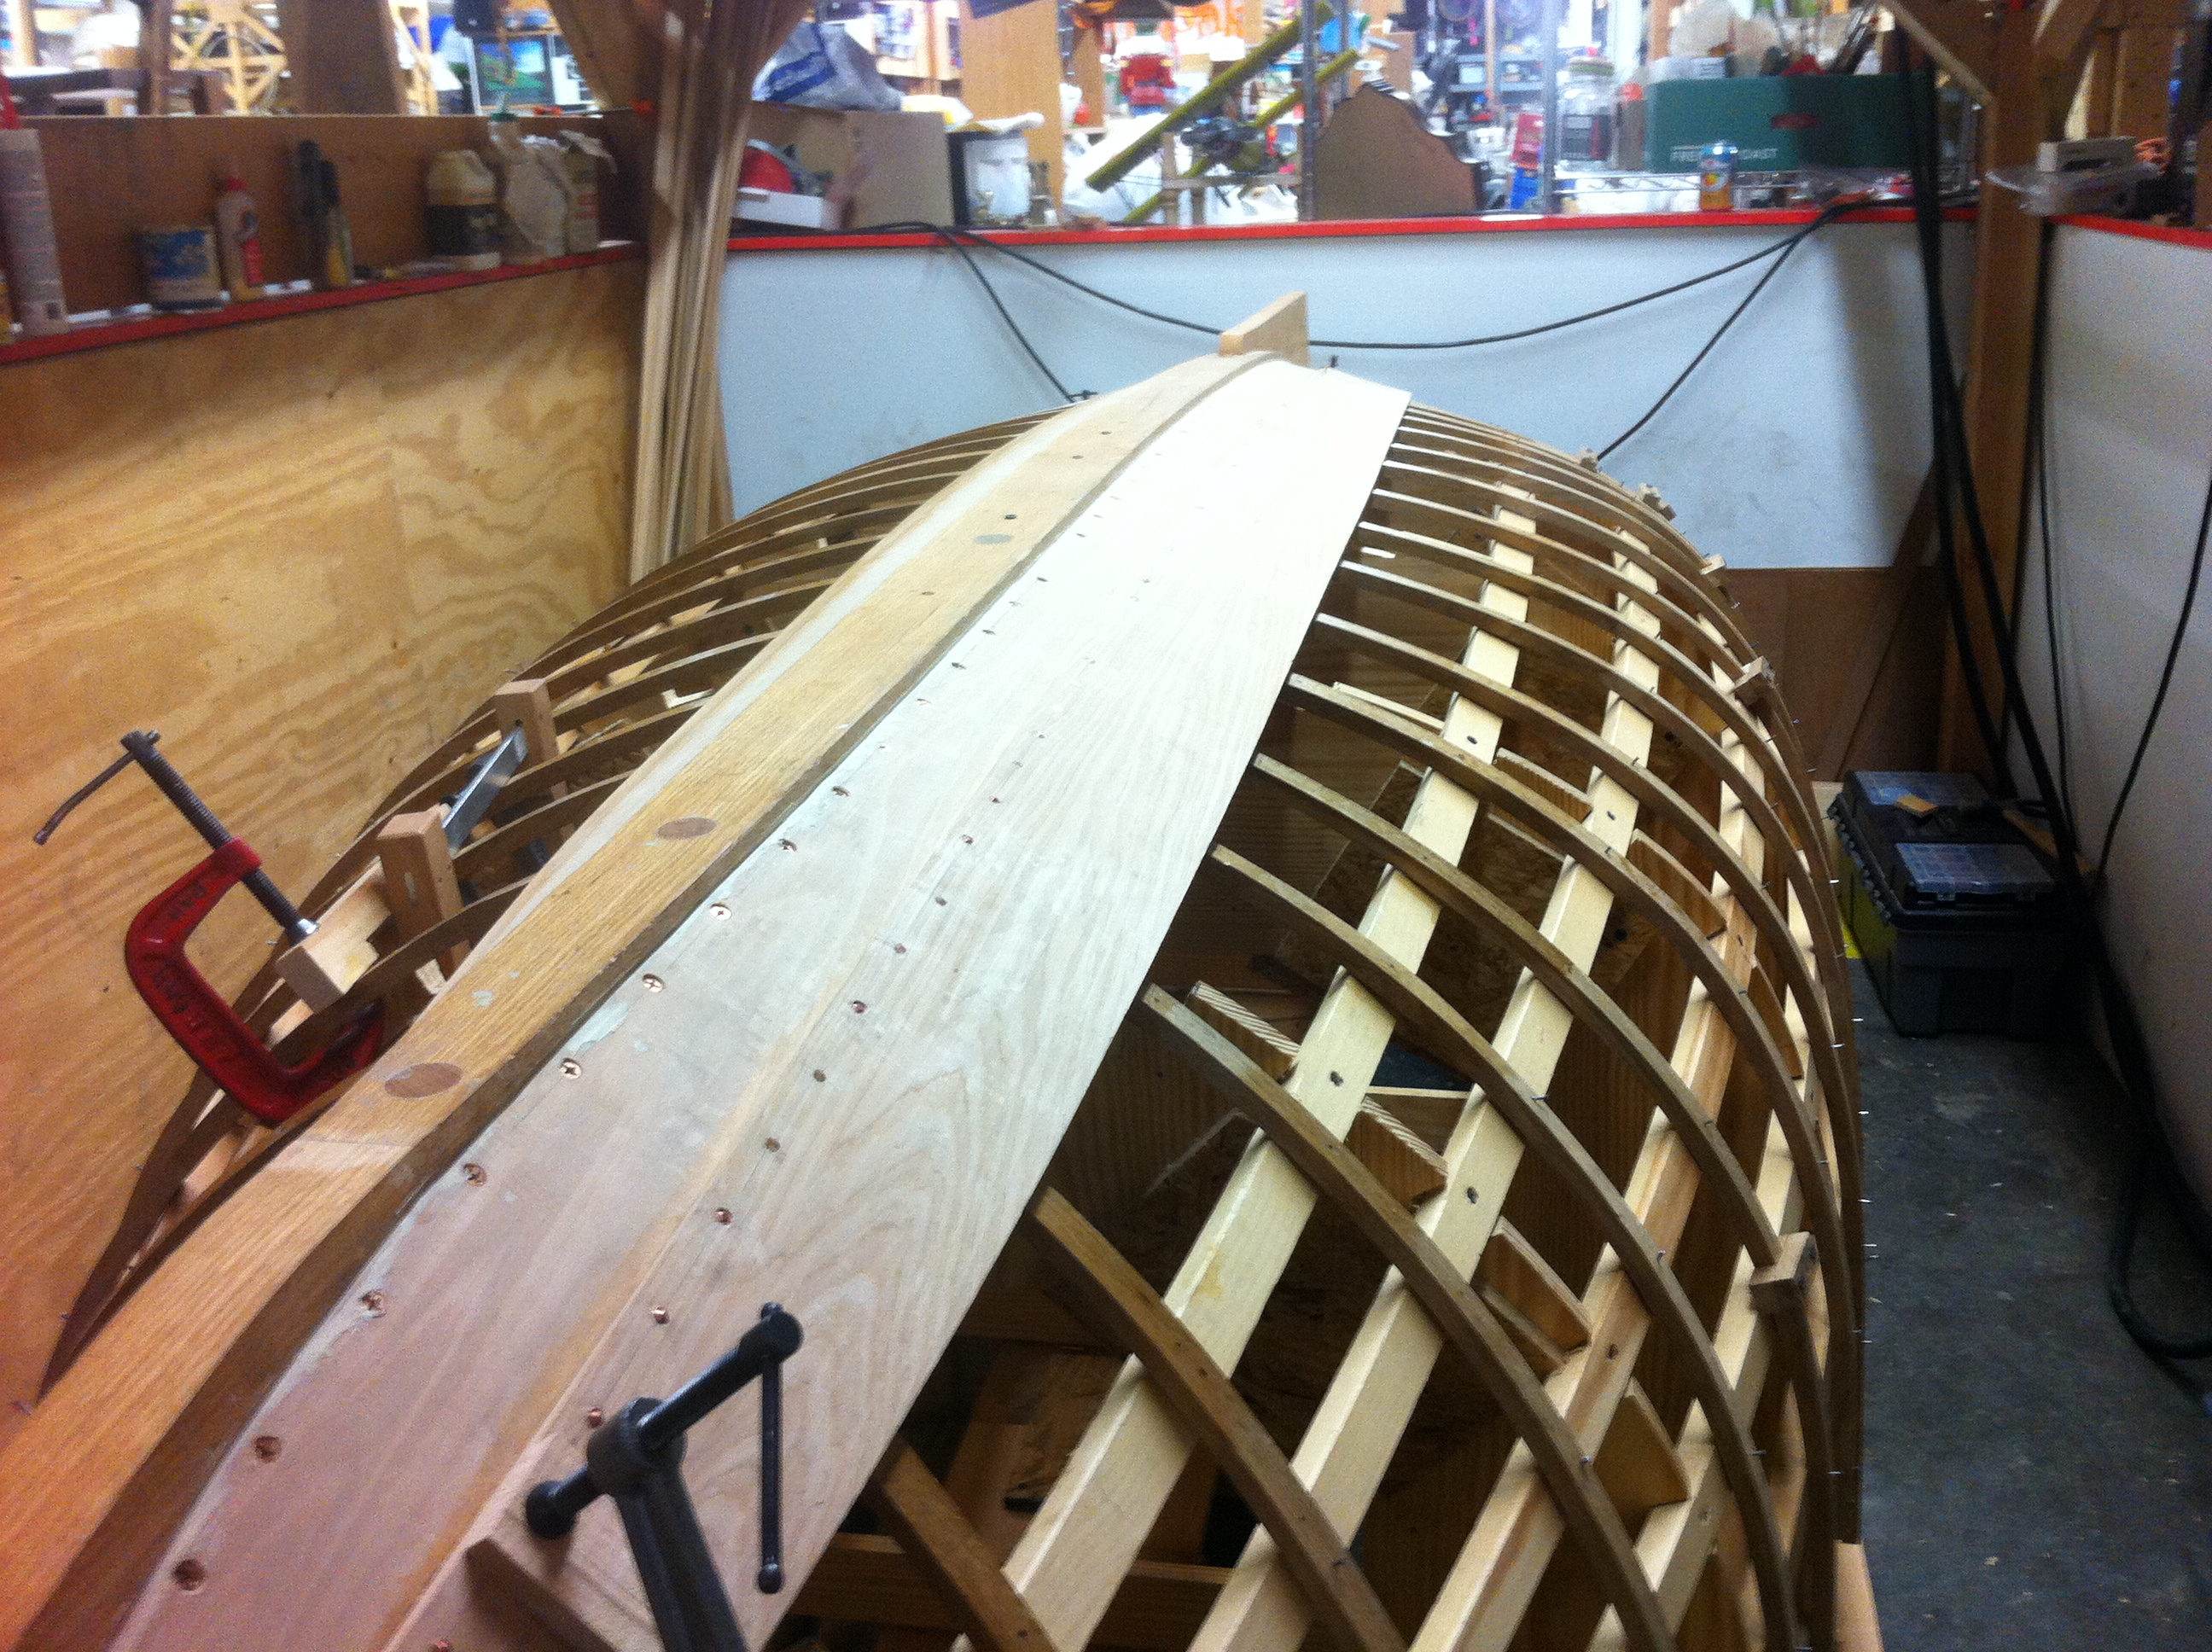
At the hood and transom ends of the plank, a “gain” is cut into the plank (this is a ramped rabbet that goes from 0 a foot back from the plank end to half the planks thickness at the end so that the next plank comes flush into the stem rabbet and at the transom where the combined thickness of the two planks should be 3/8”)

Second broadstrake is fastened.
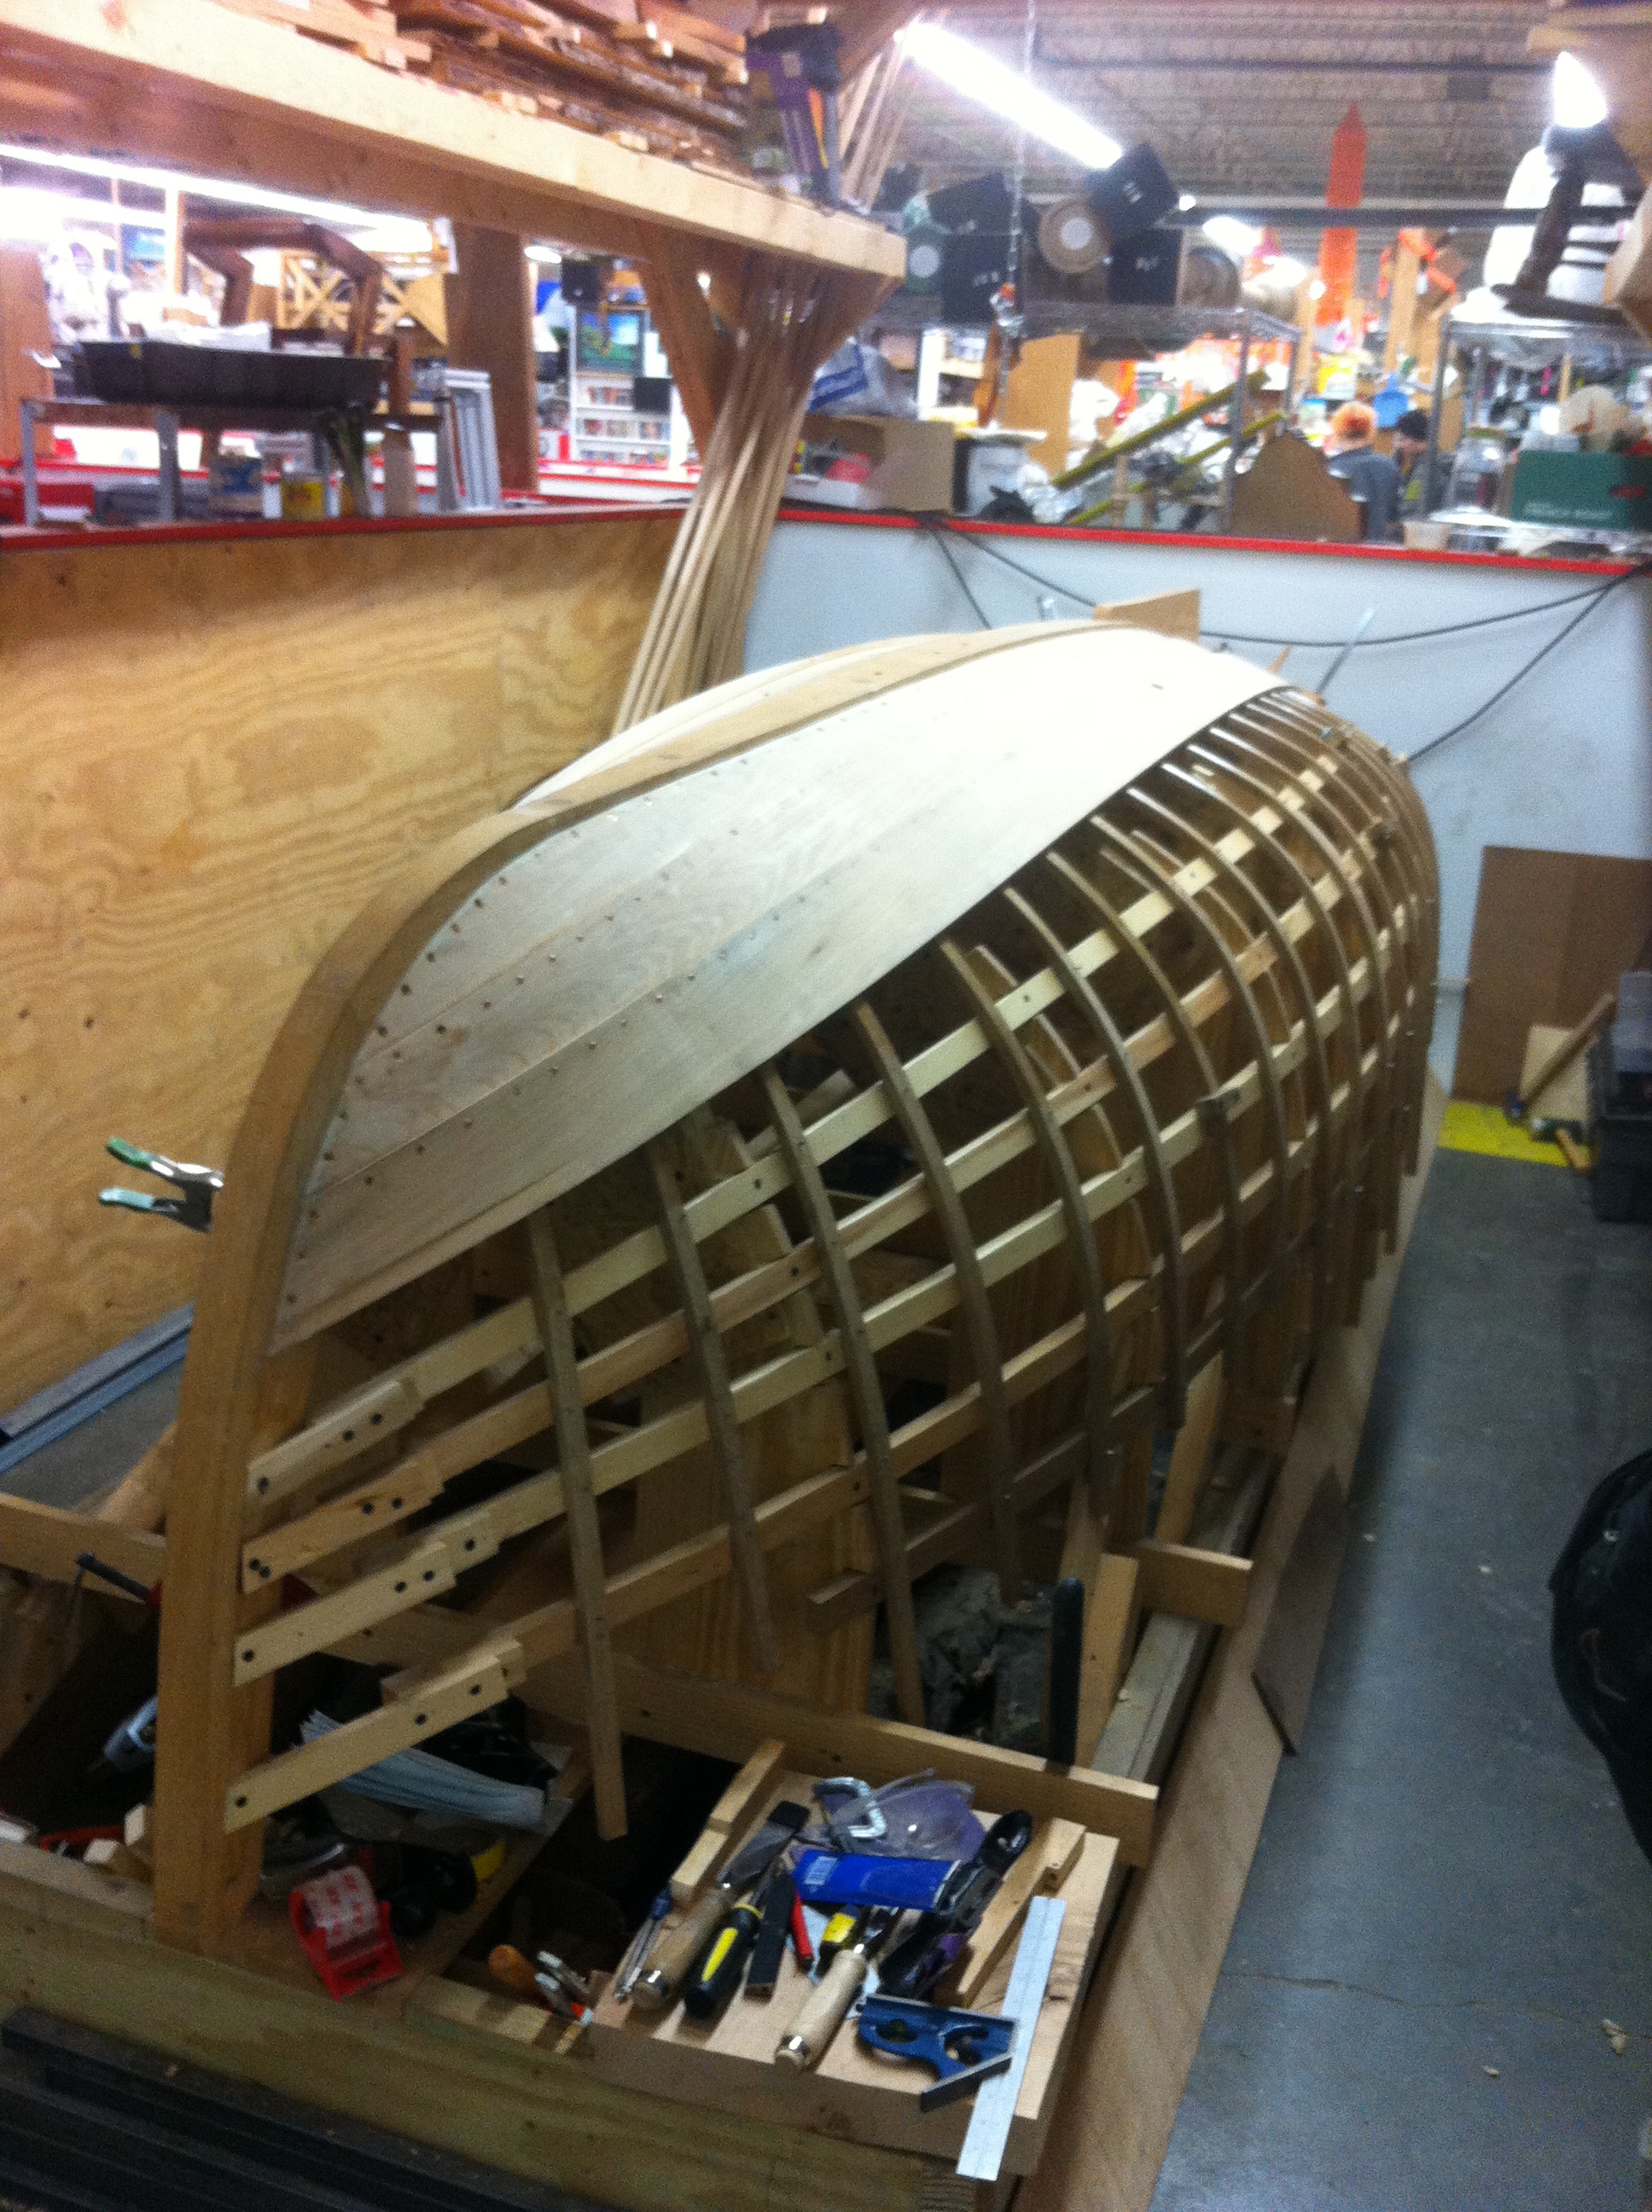 Plank 4:
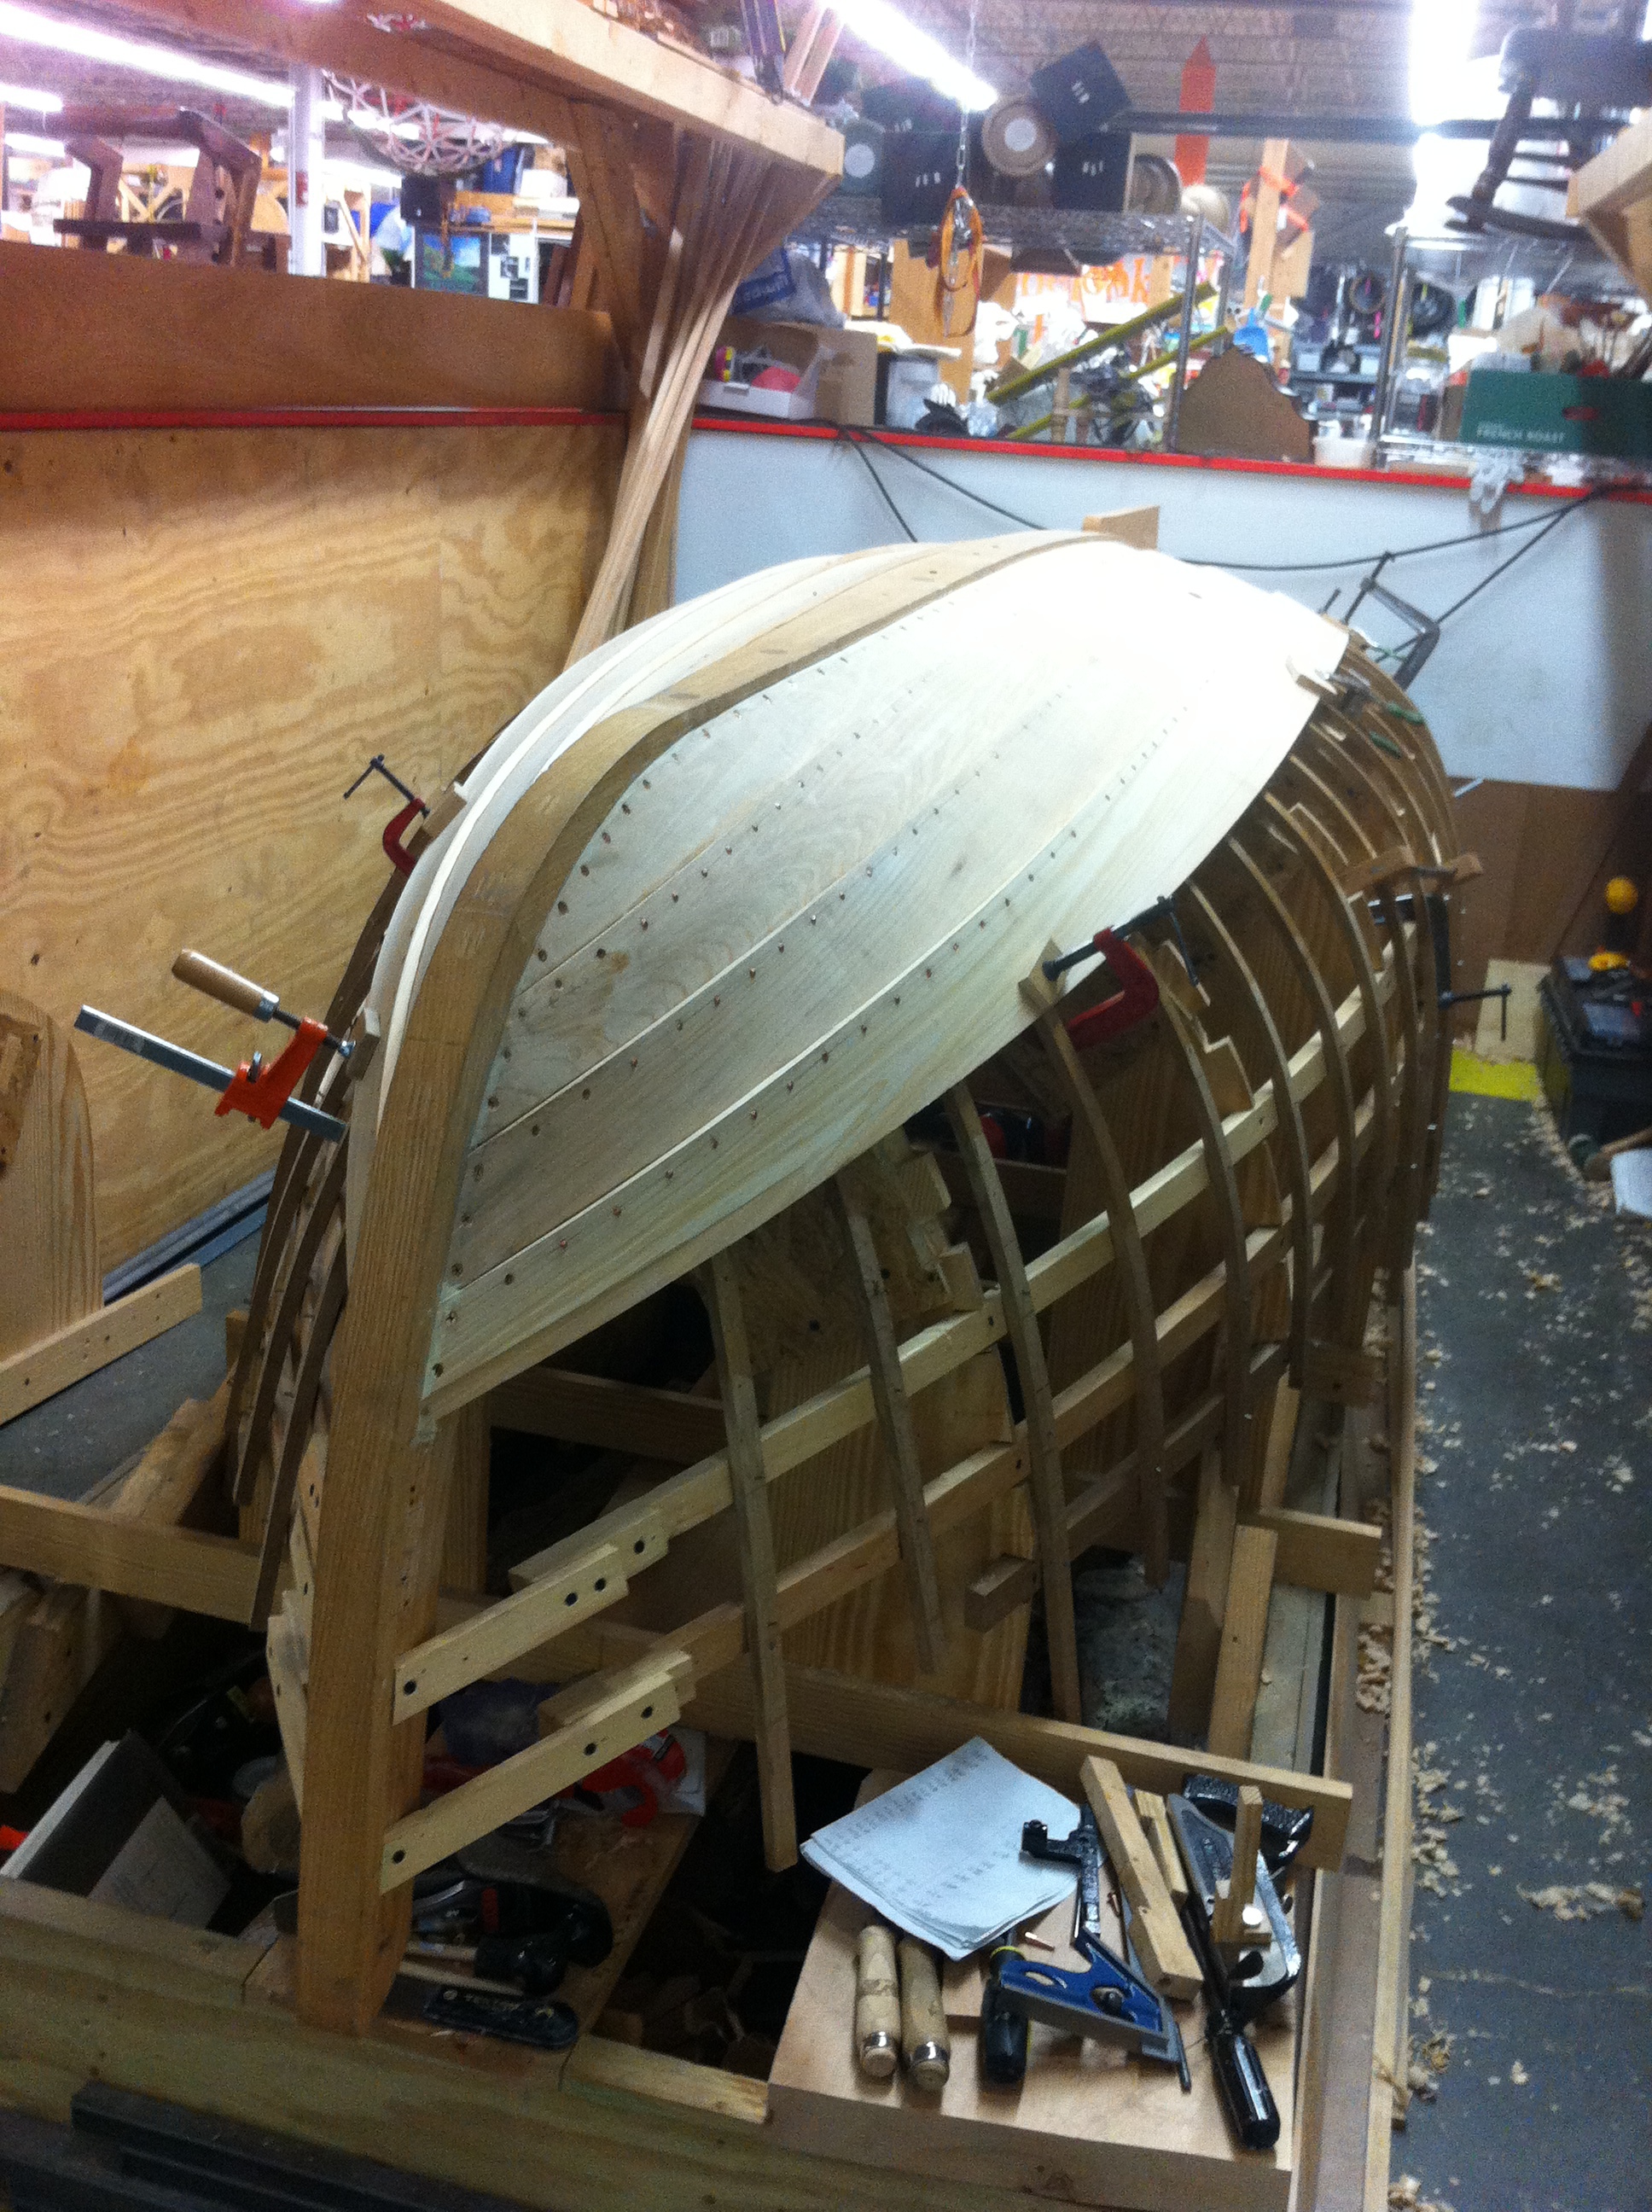 Plank 5:
Plank 6 (going around the curviest part of the boat):
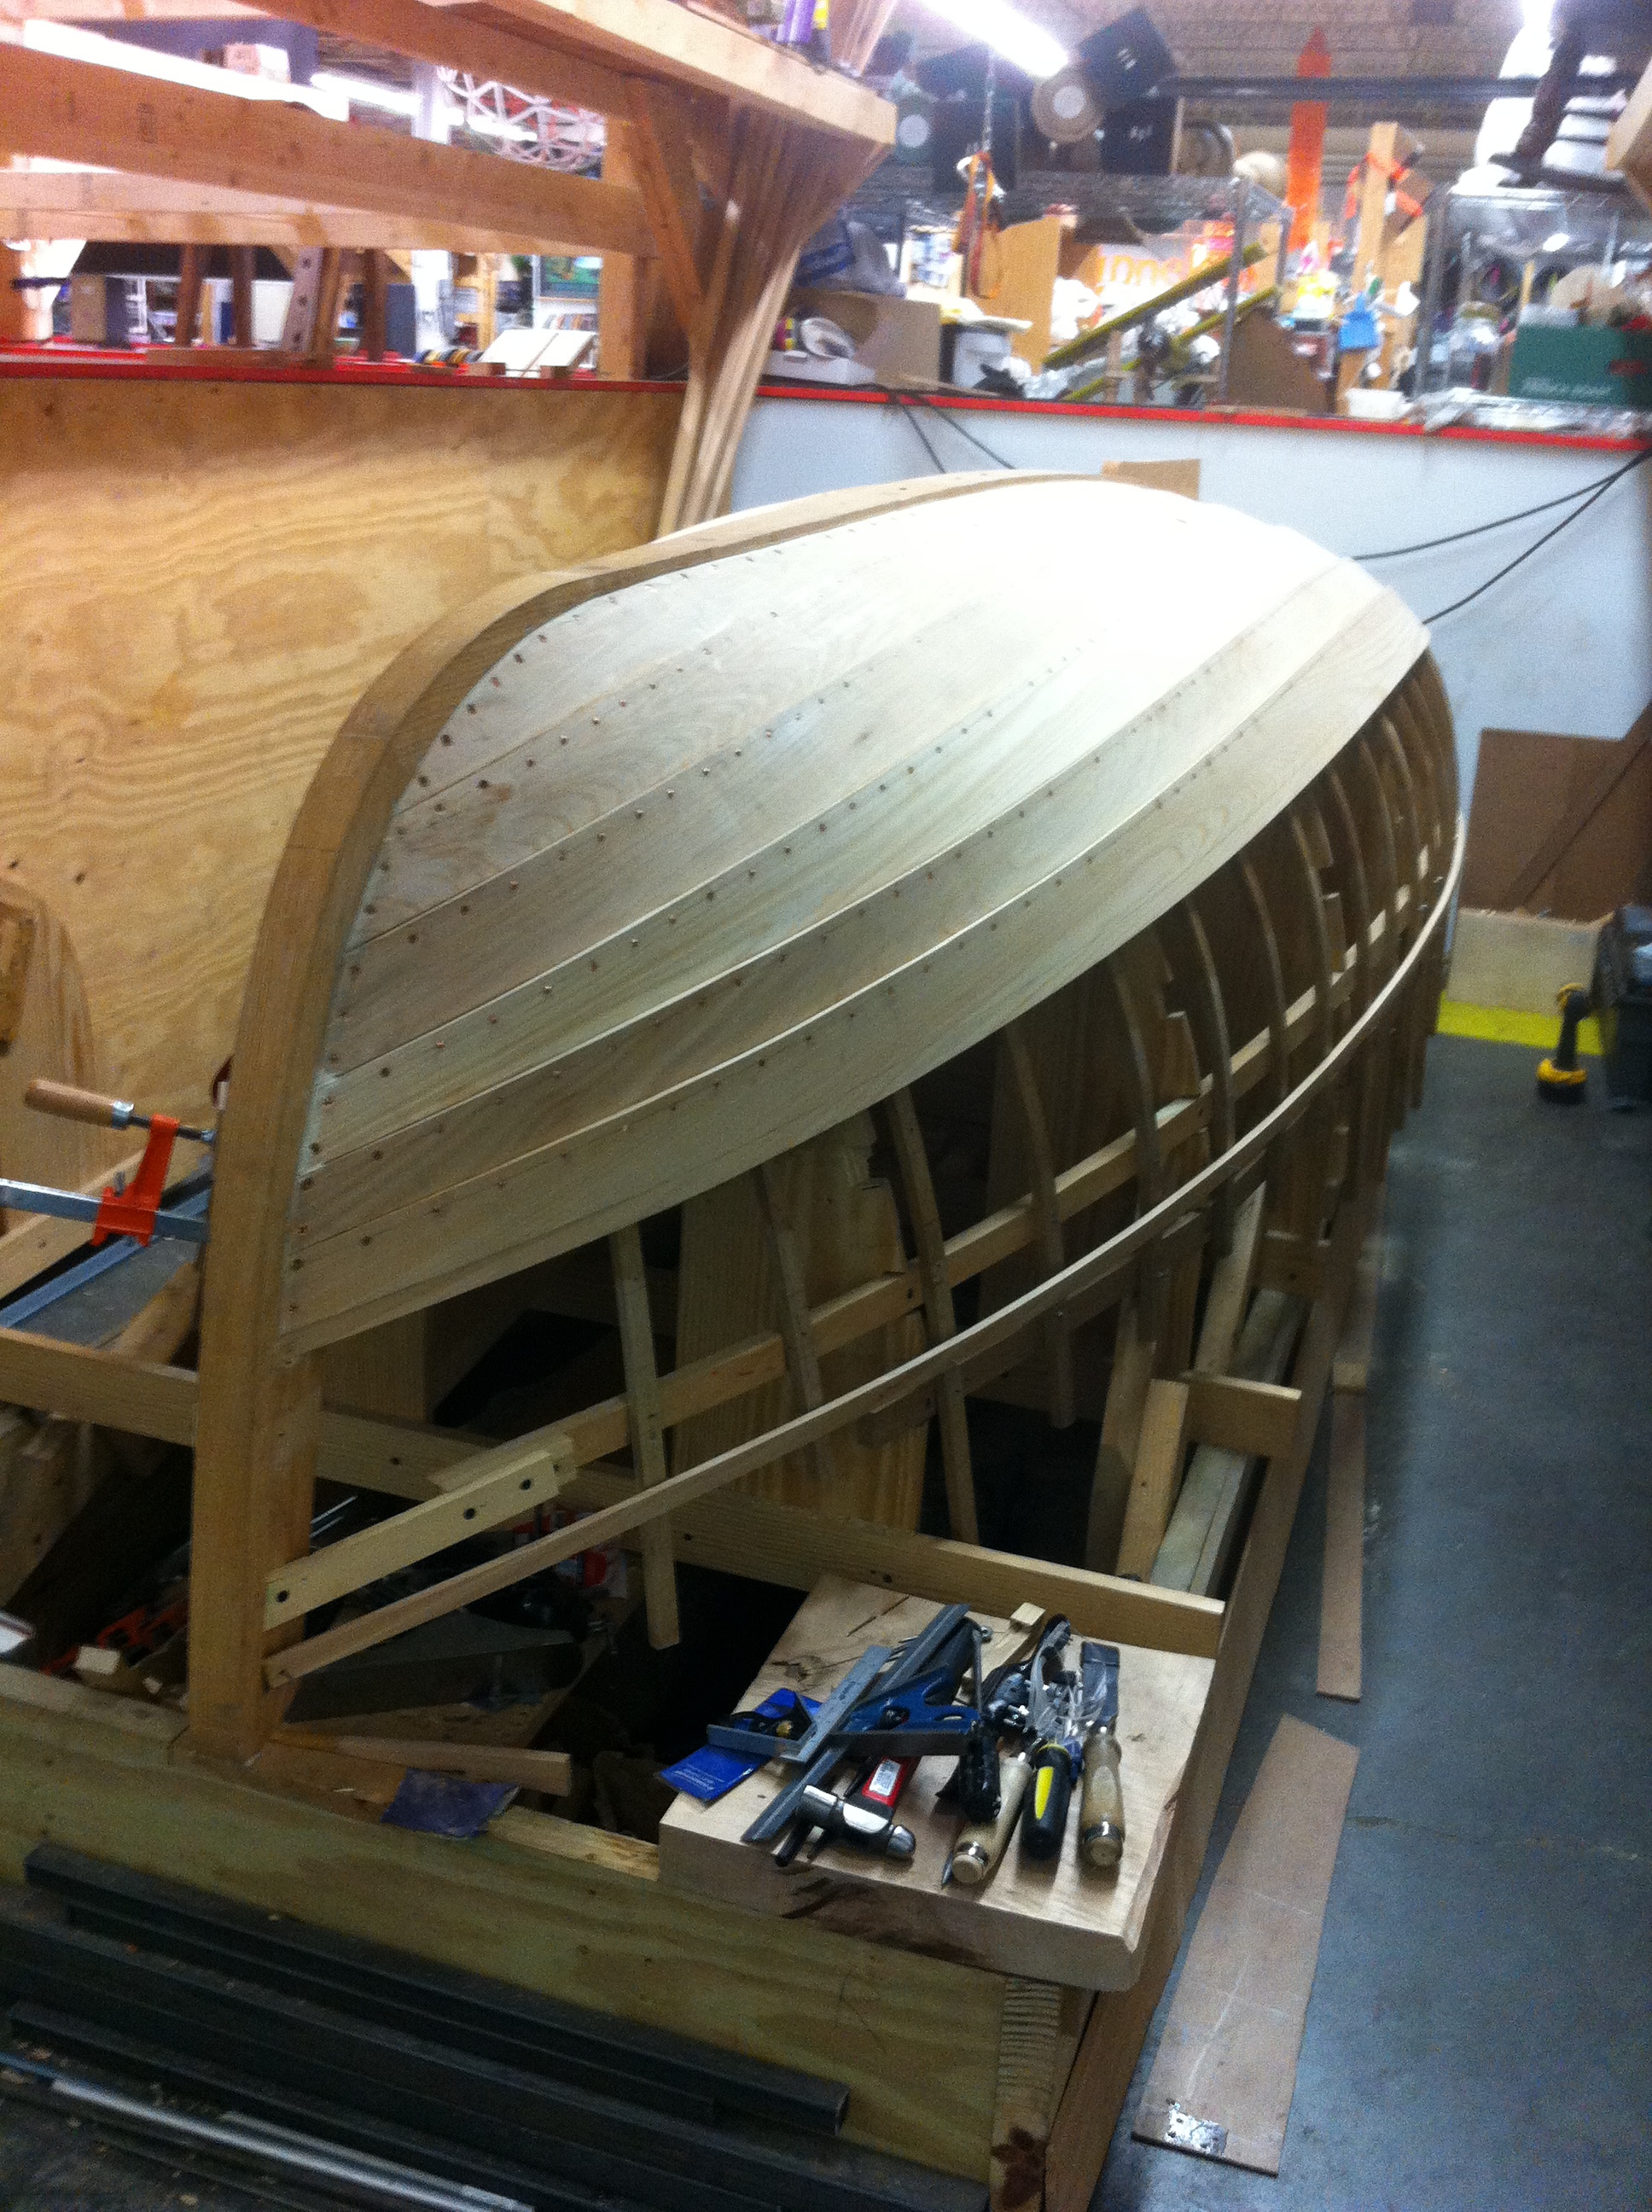
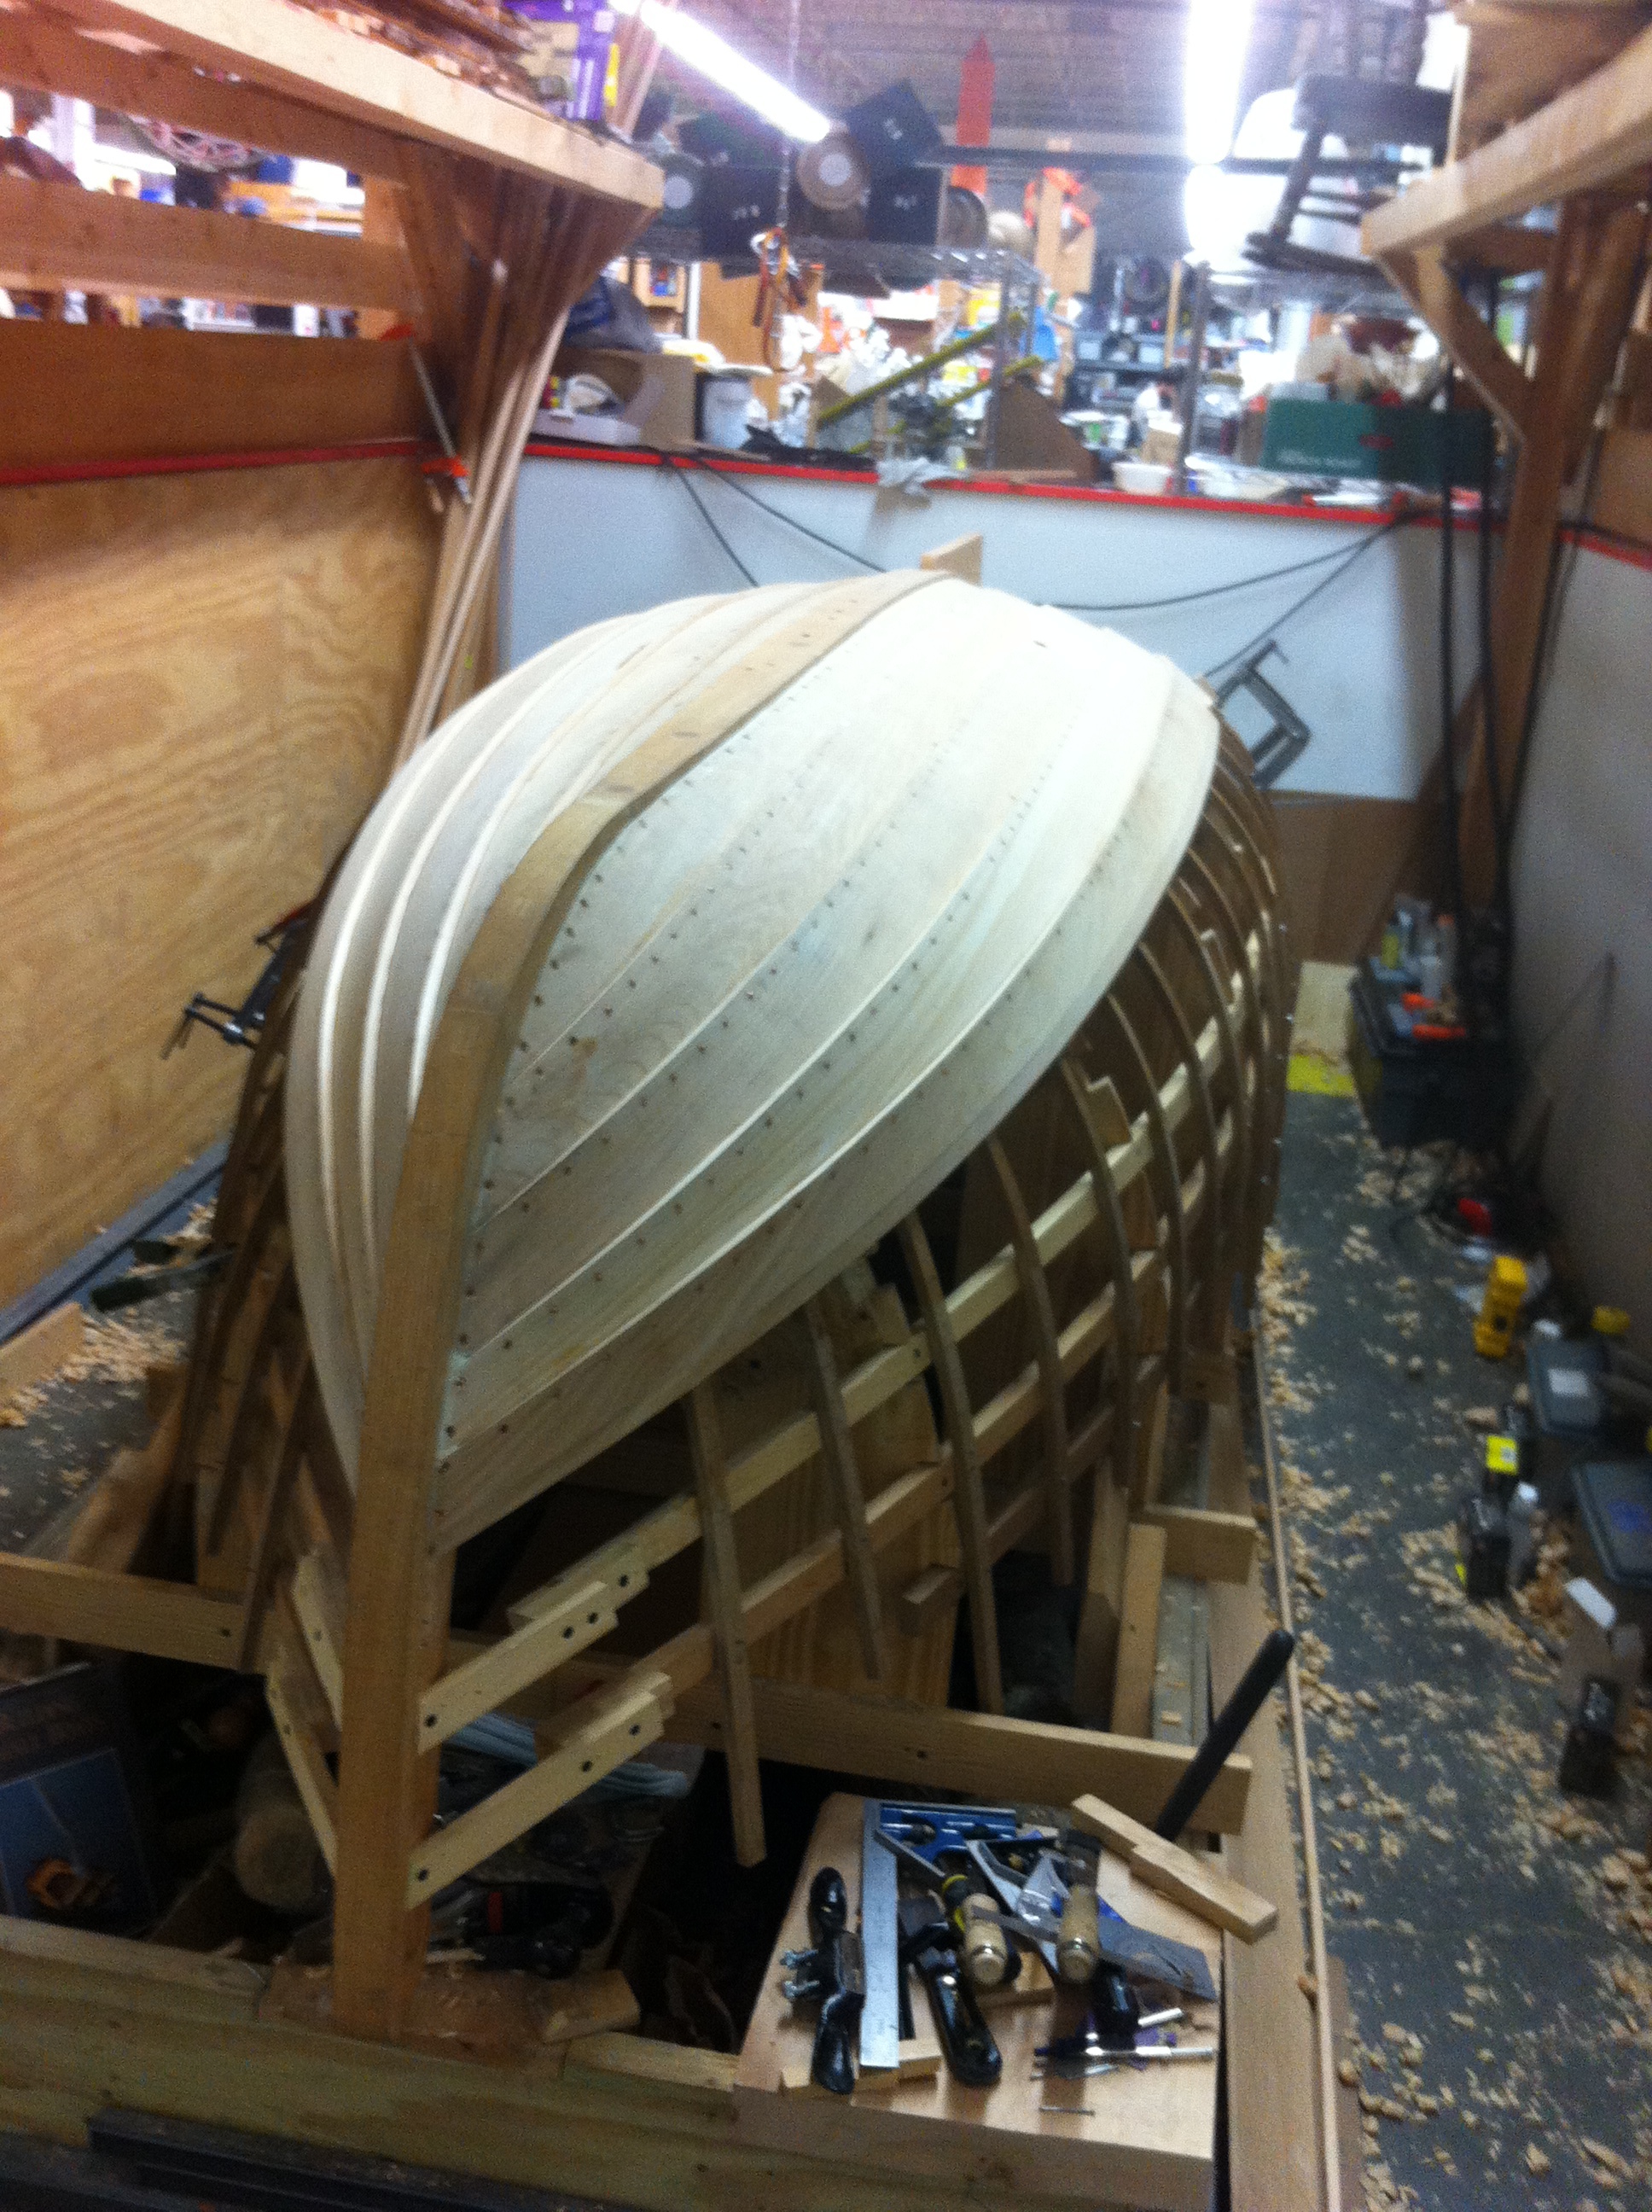
Plank 7

Plank 8
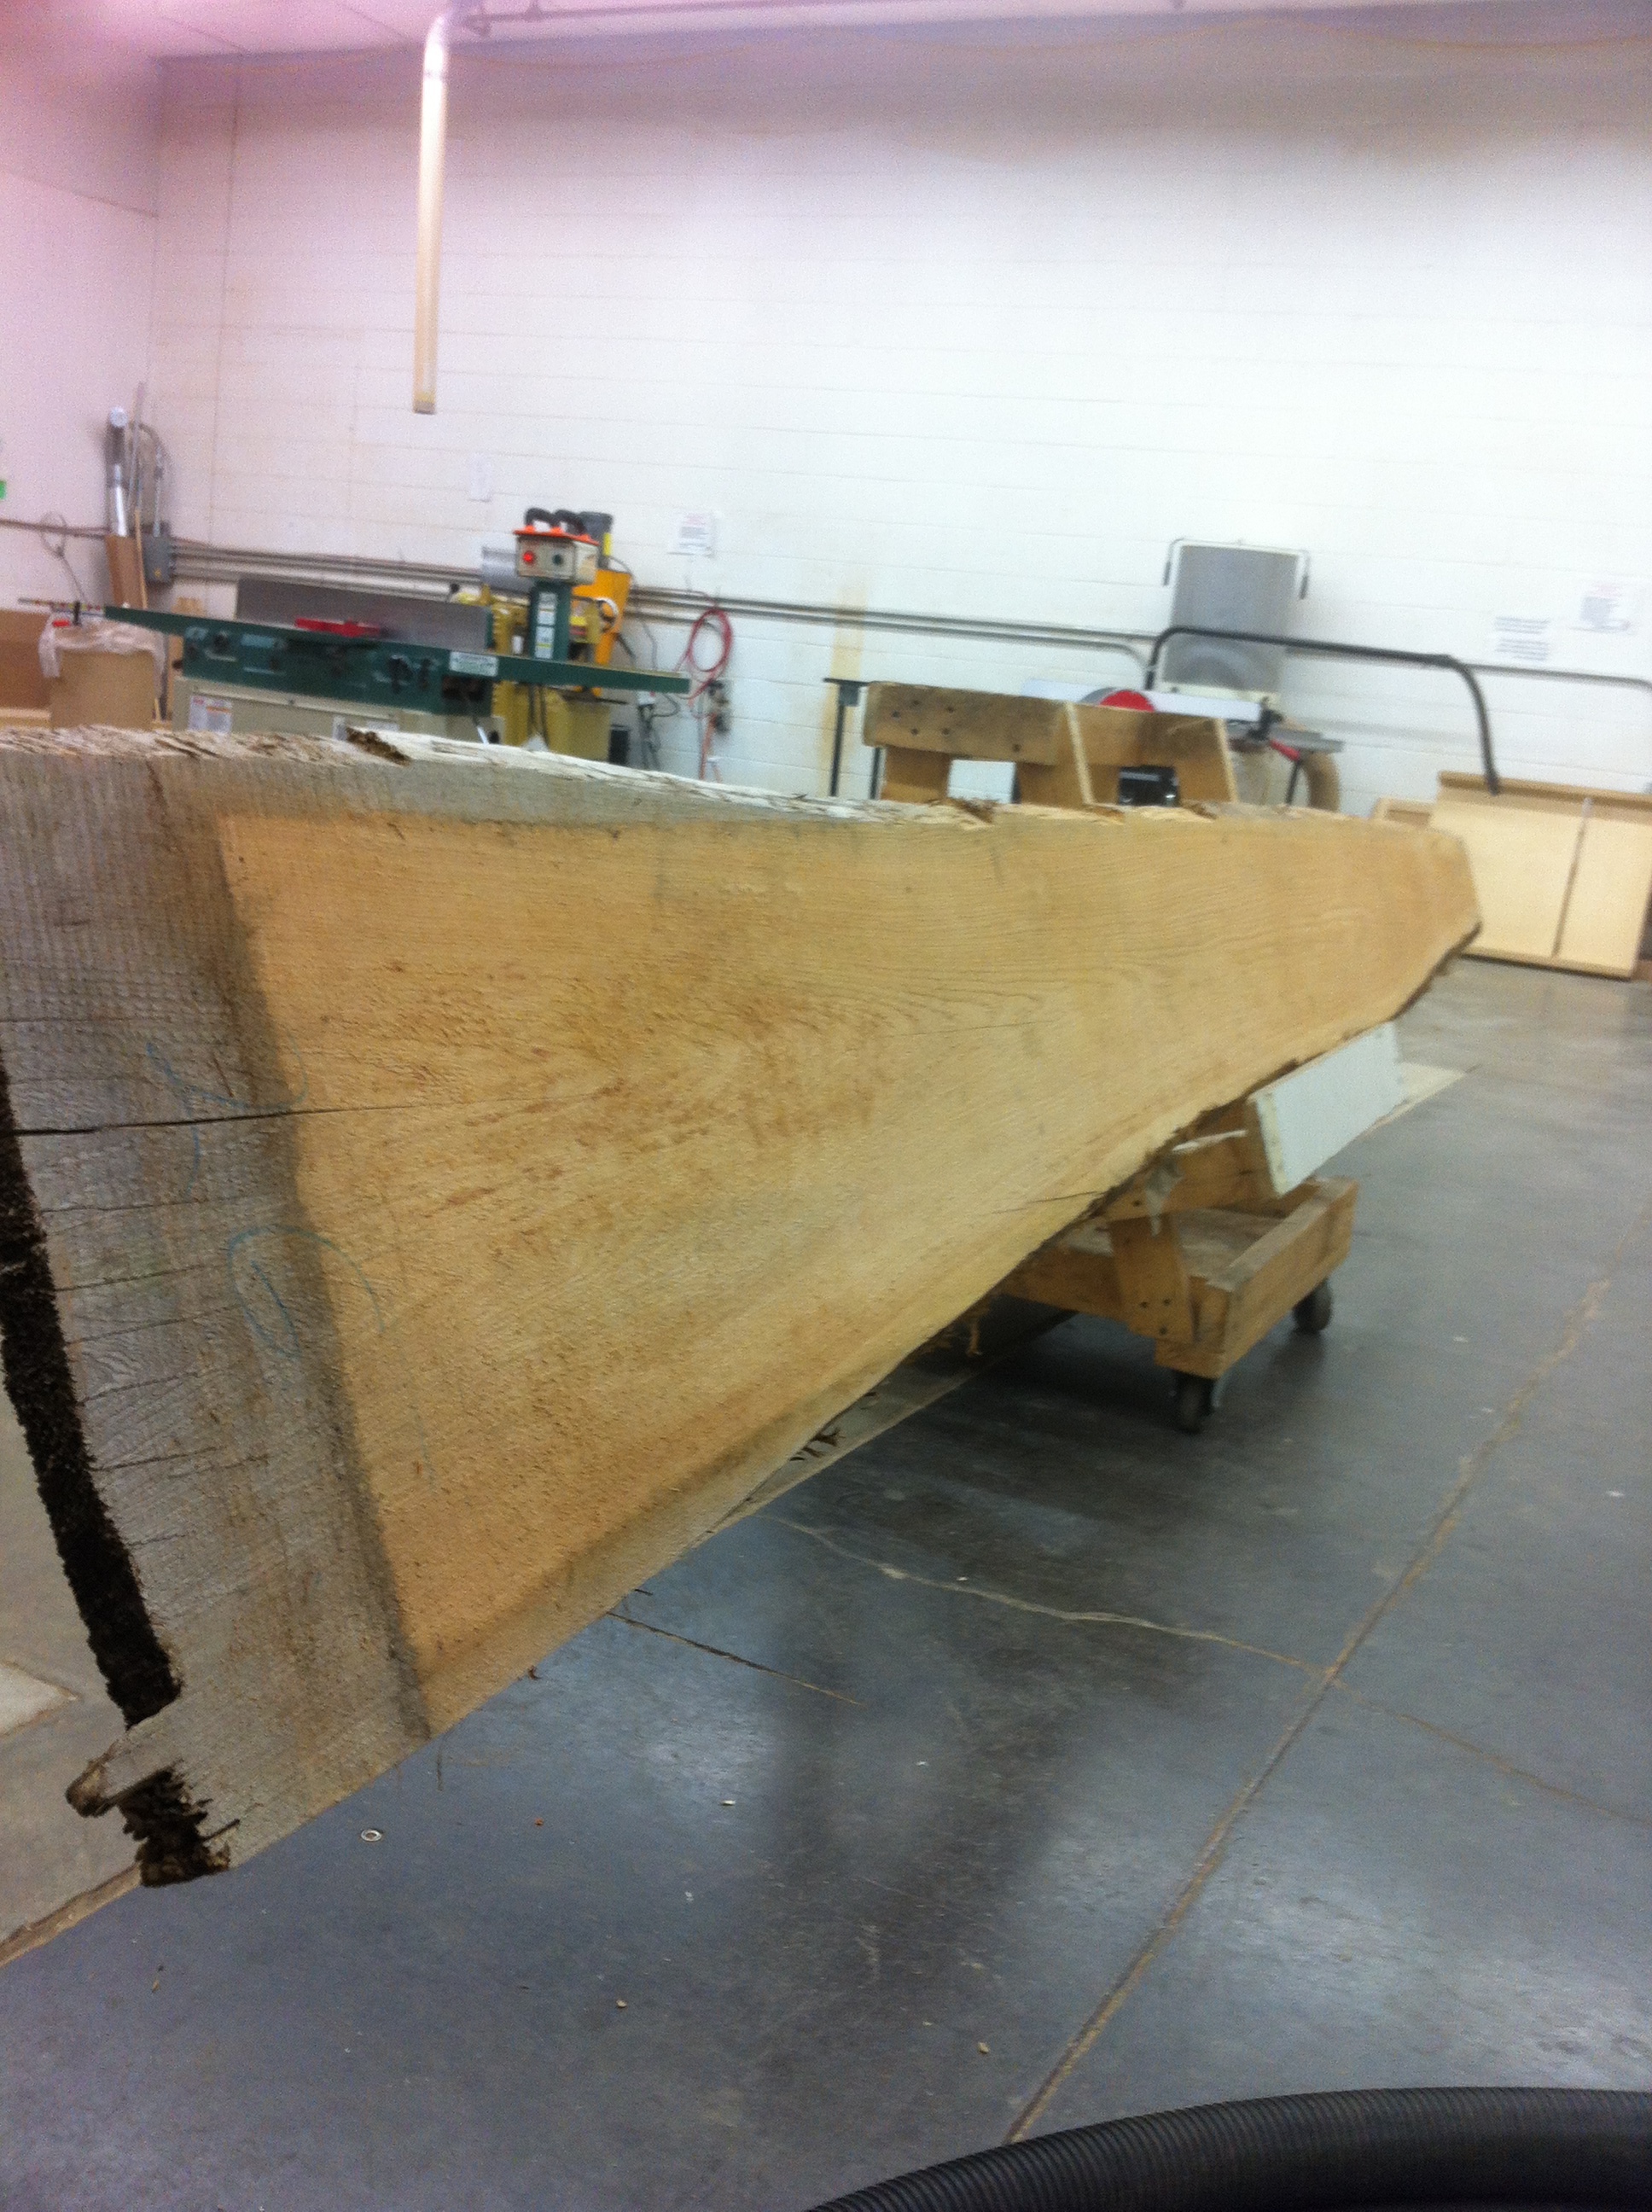
Slab for final two planks (my regular mill ran out of 14′ boards so I had to run and get this monster of a slab deep in the RI woods):
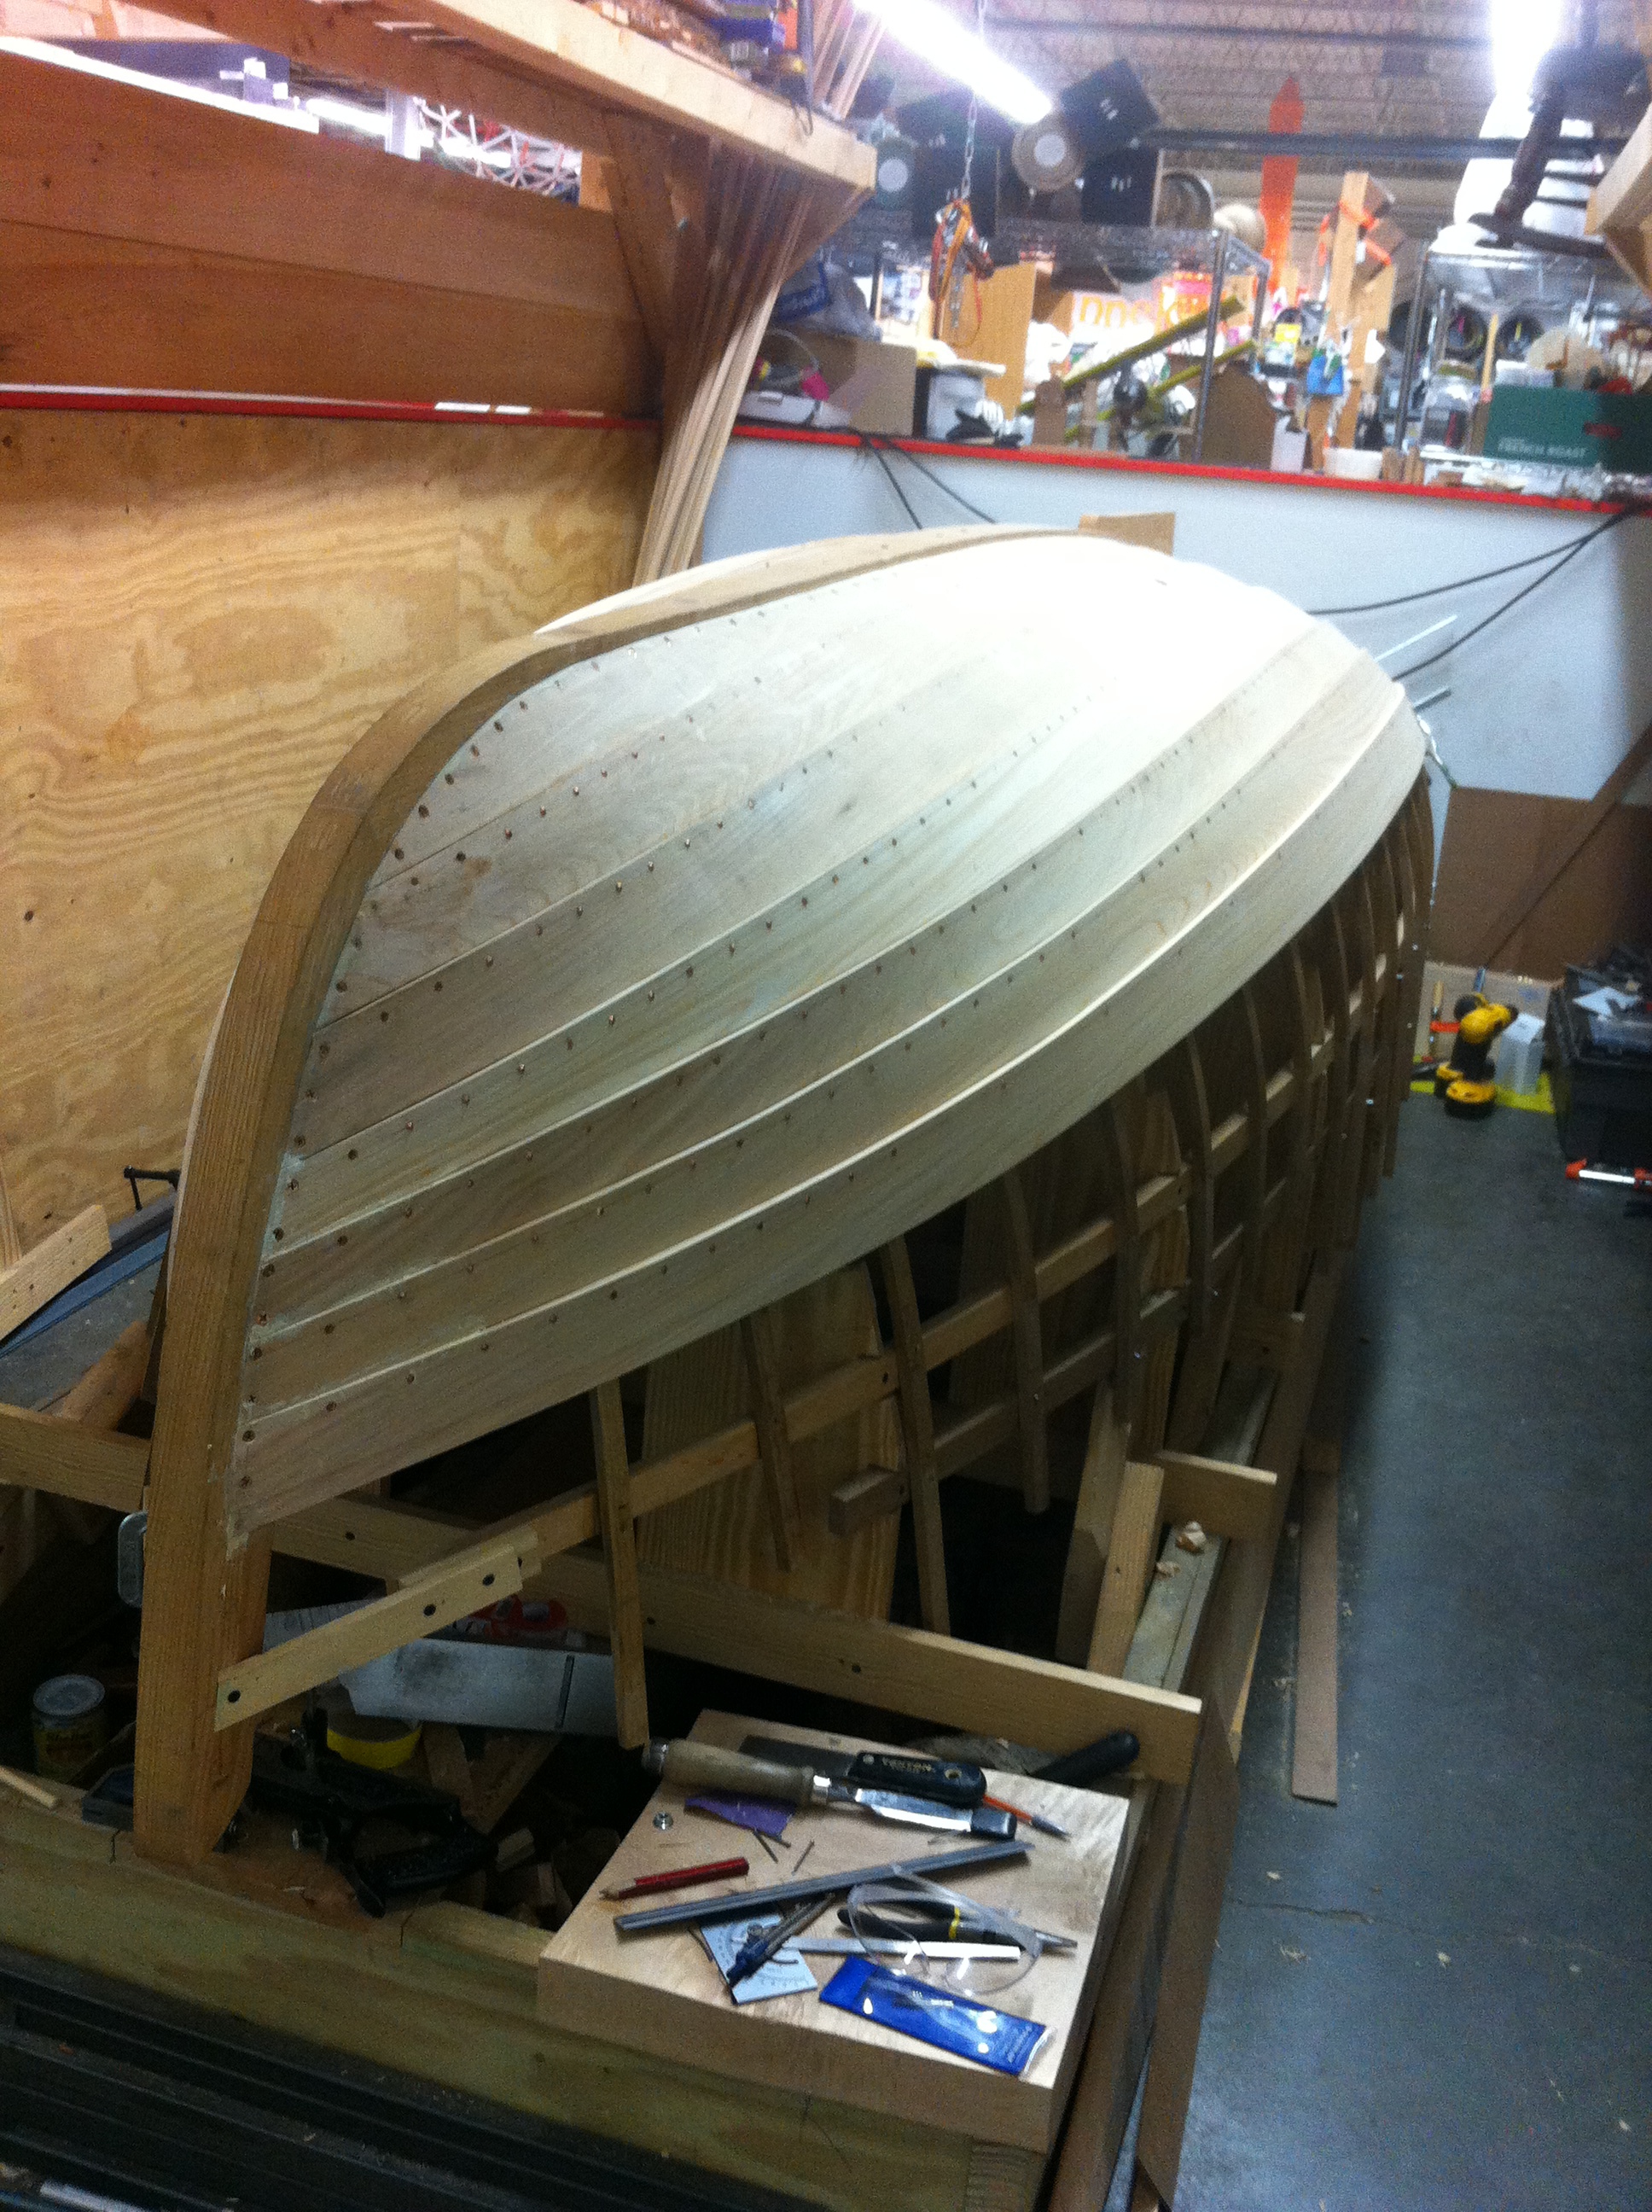
 Plank 9
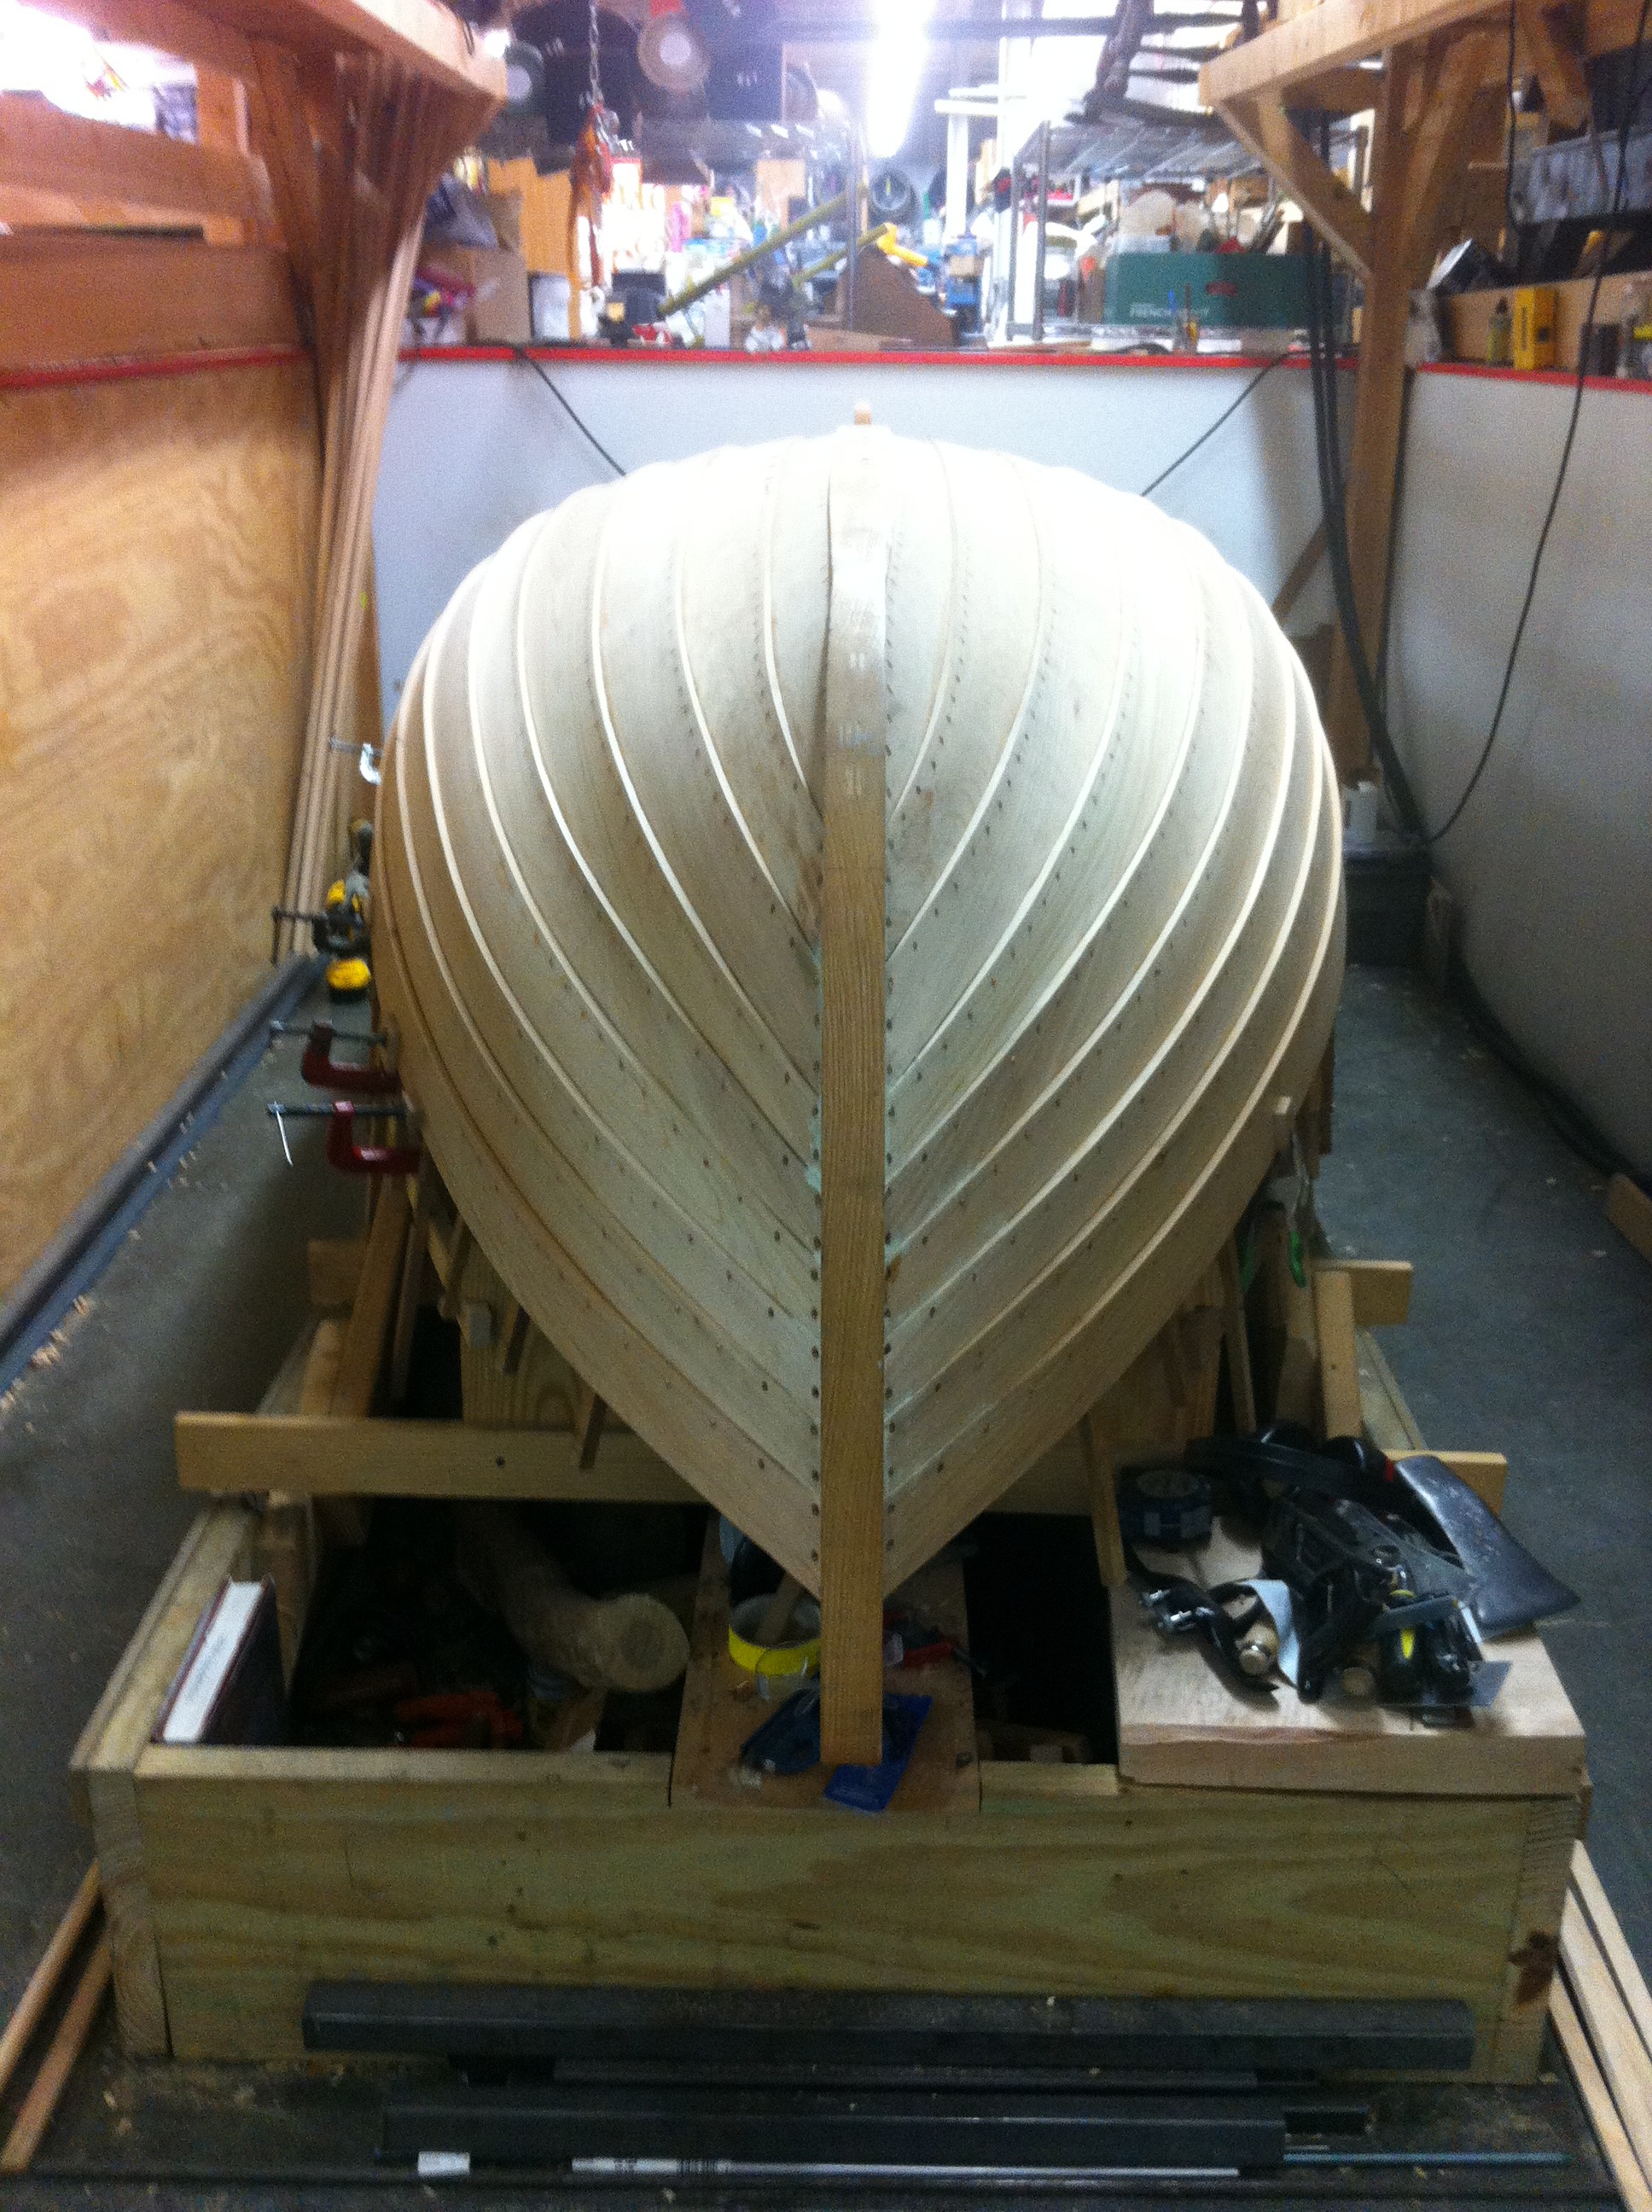
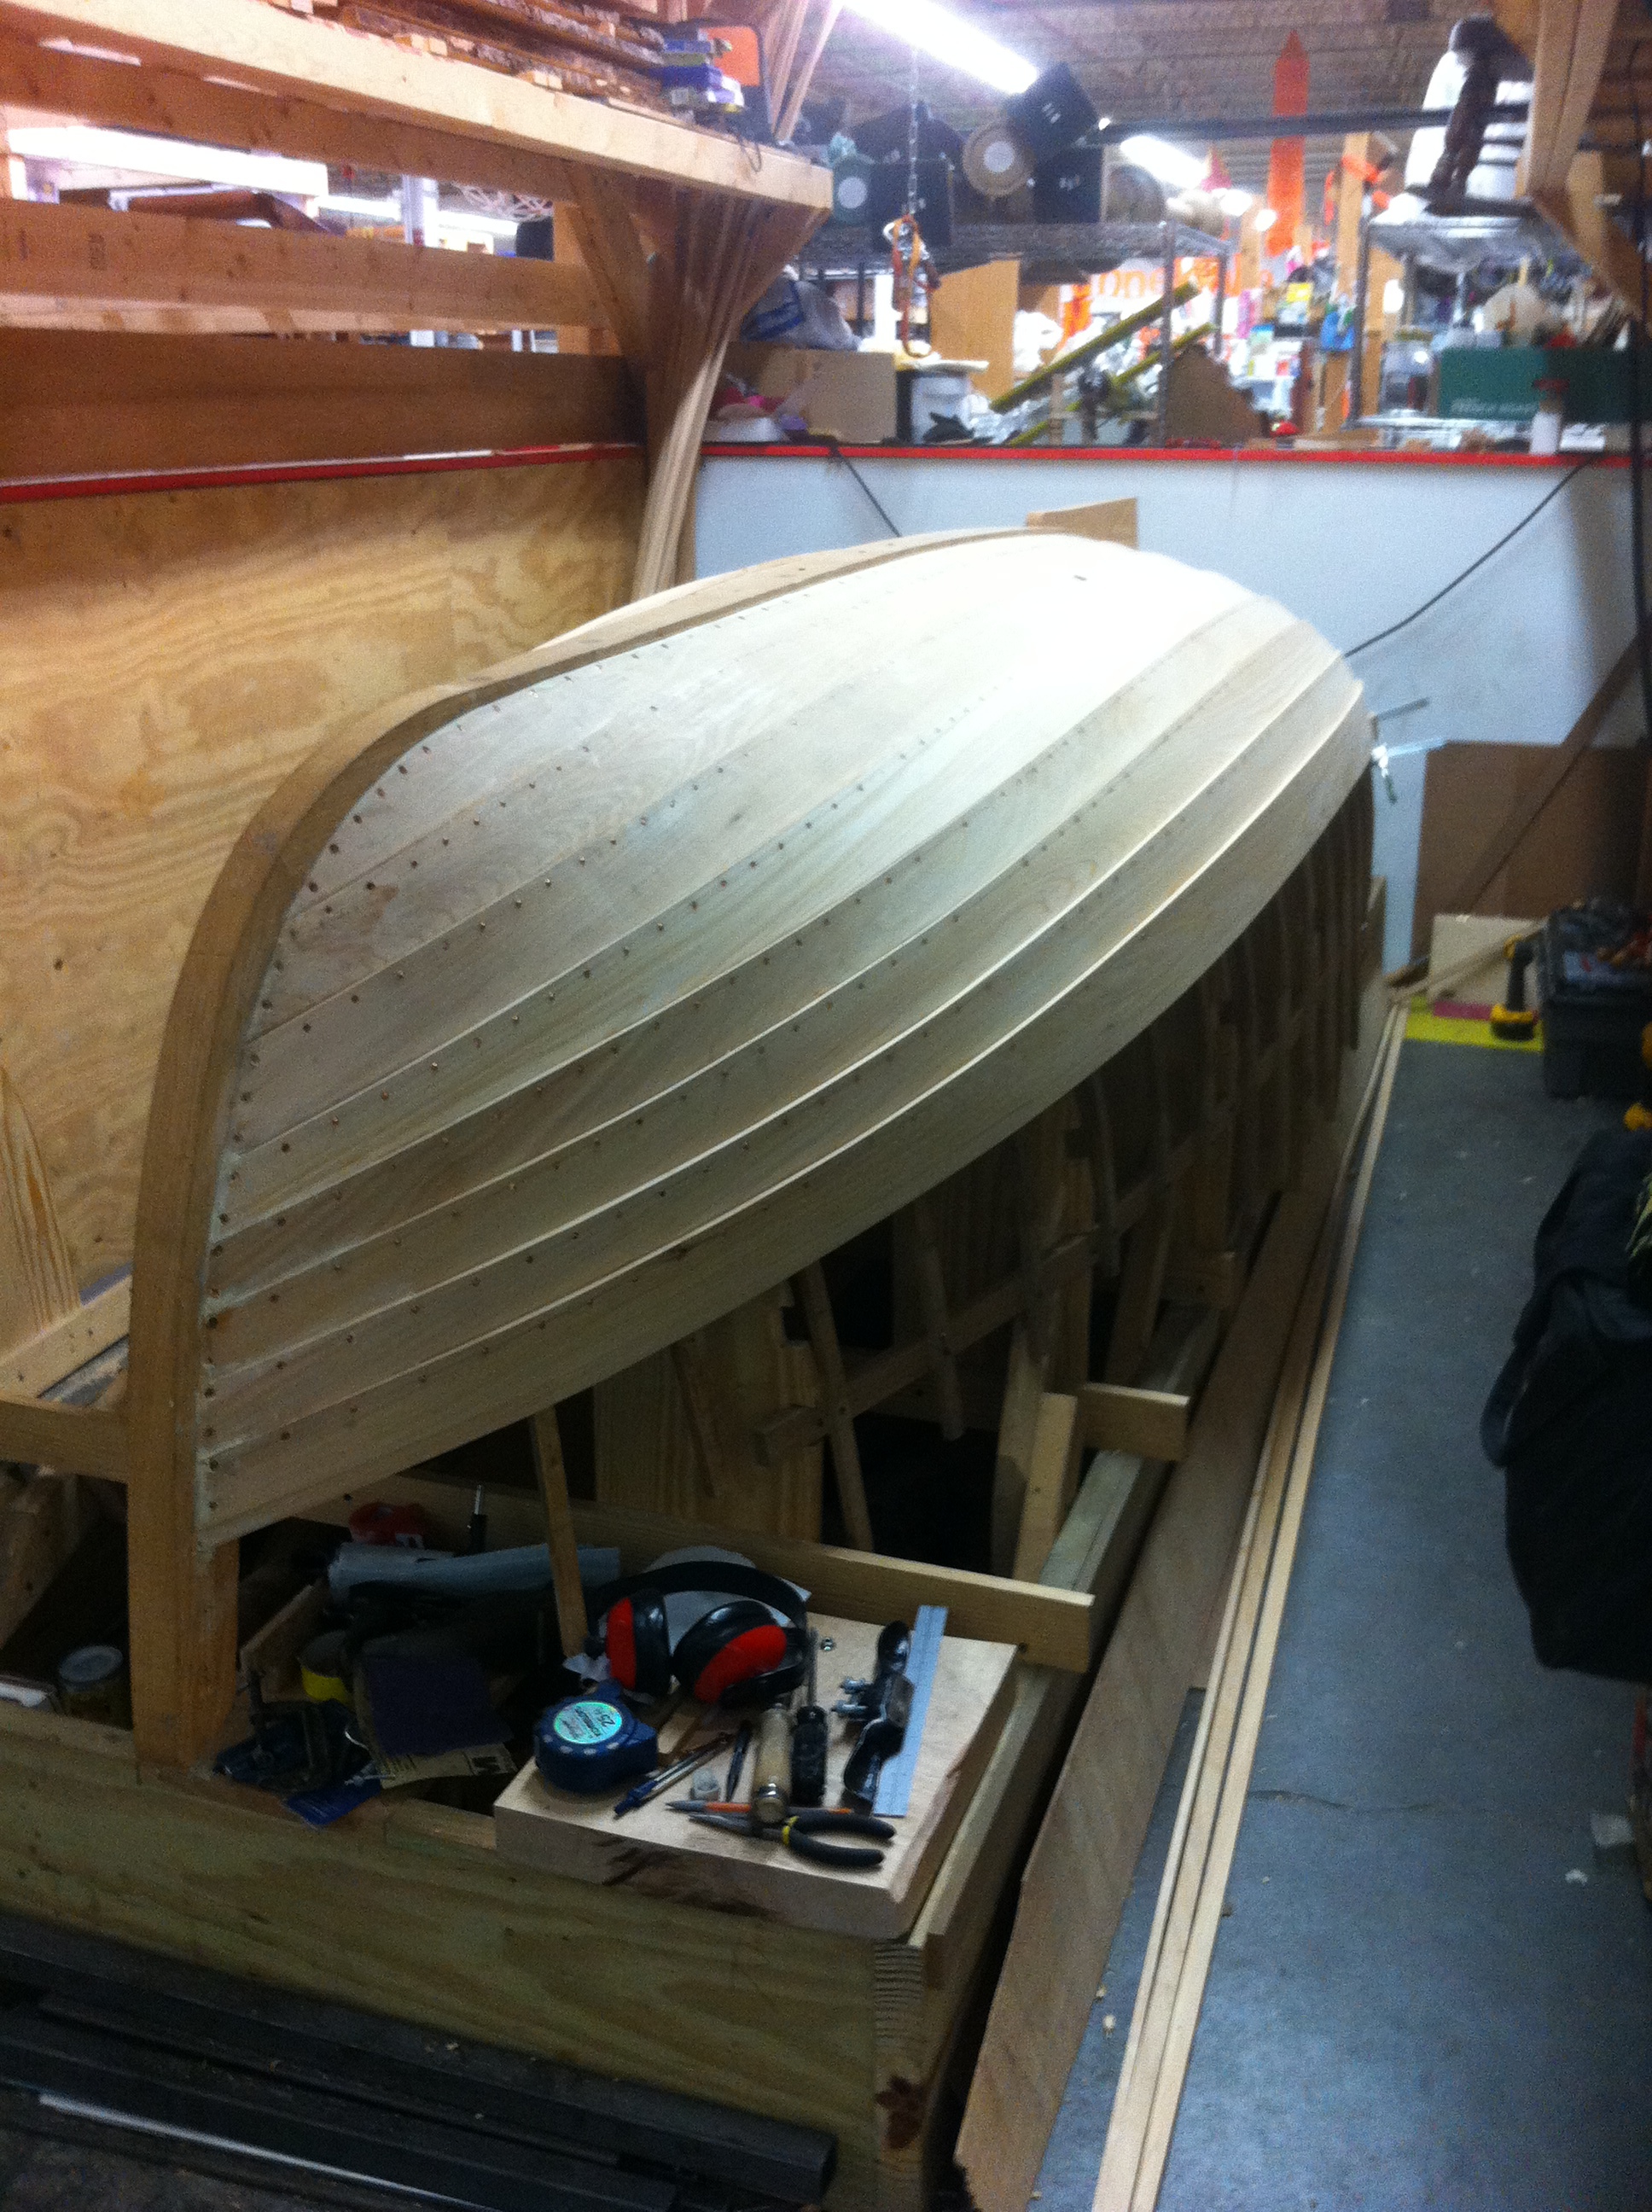
 Plank 10

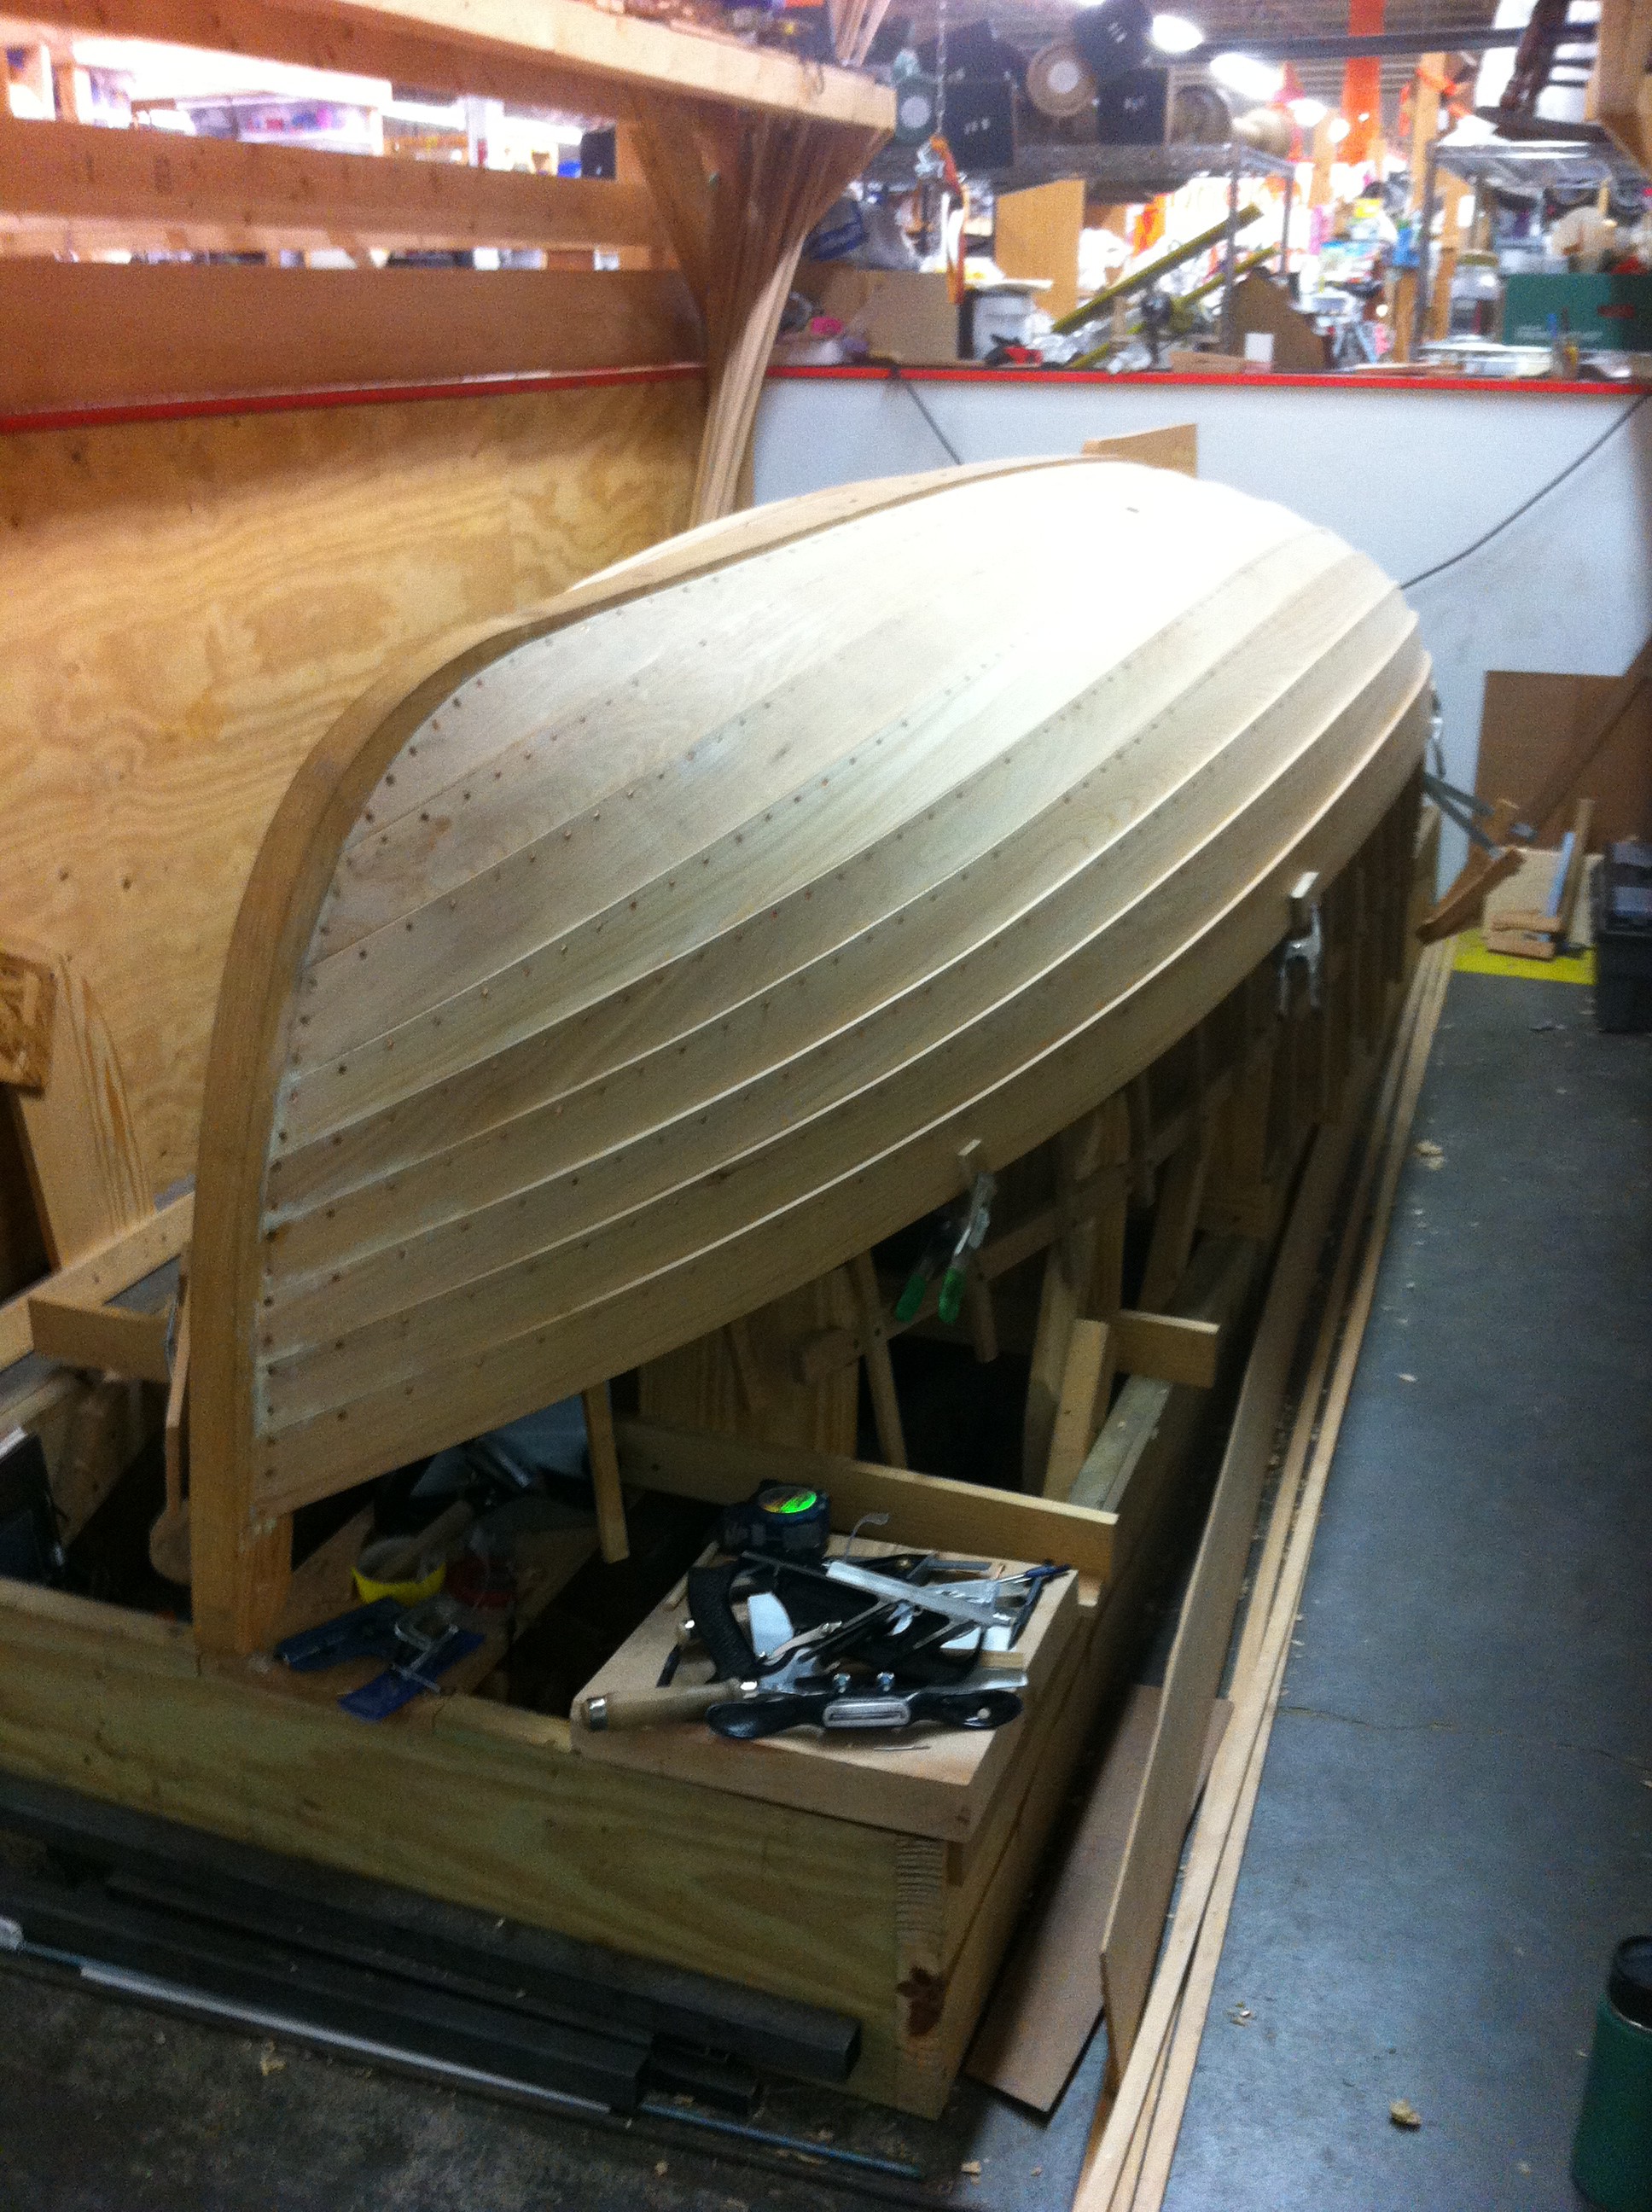
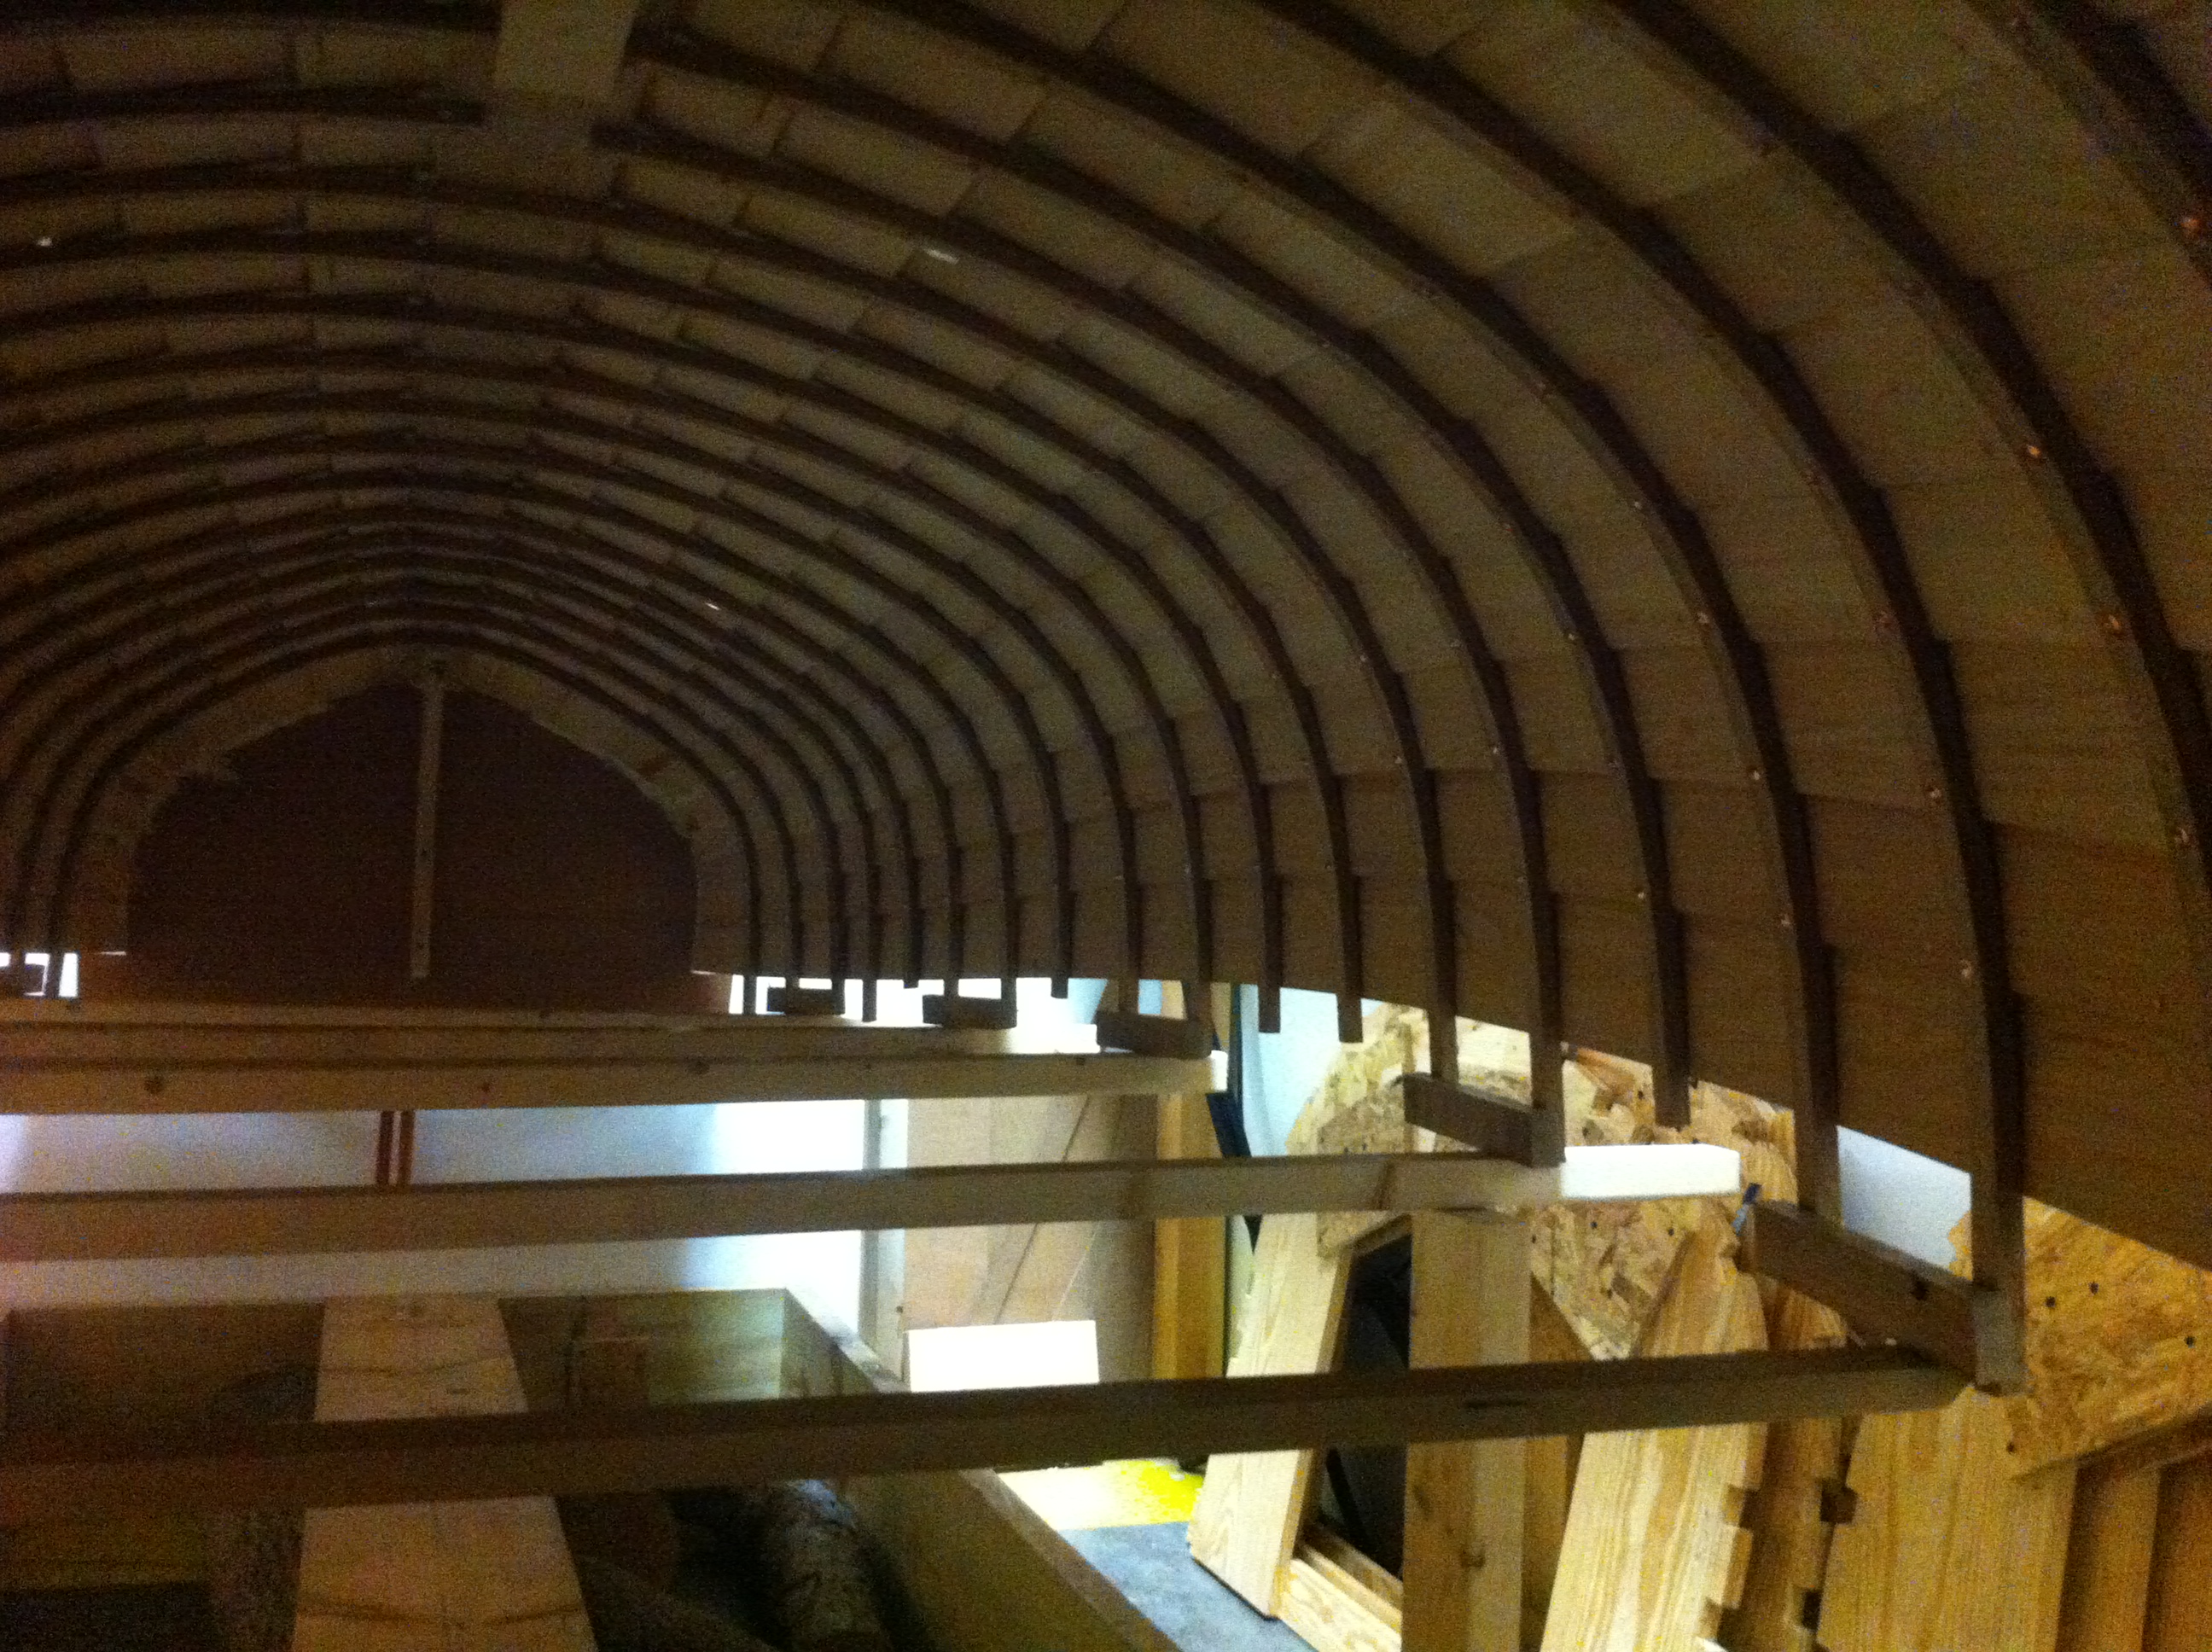
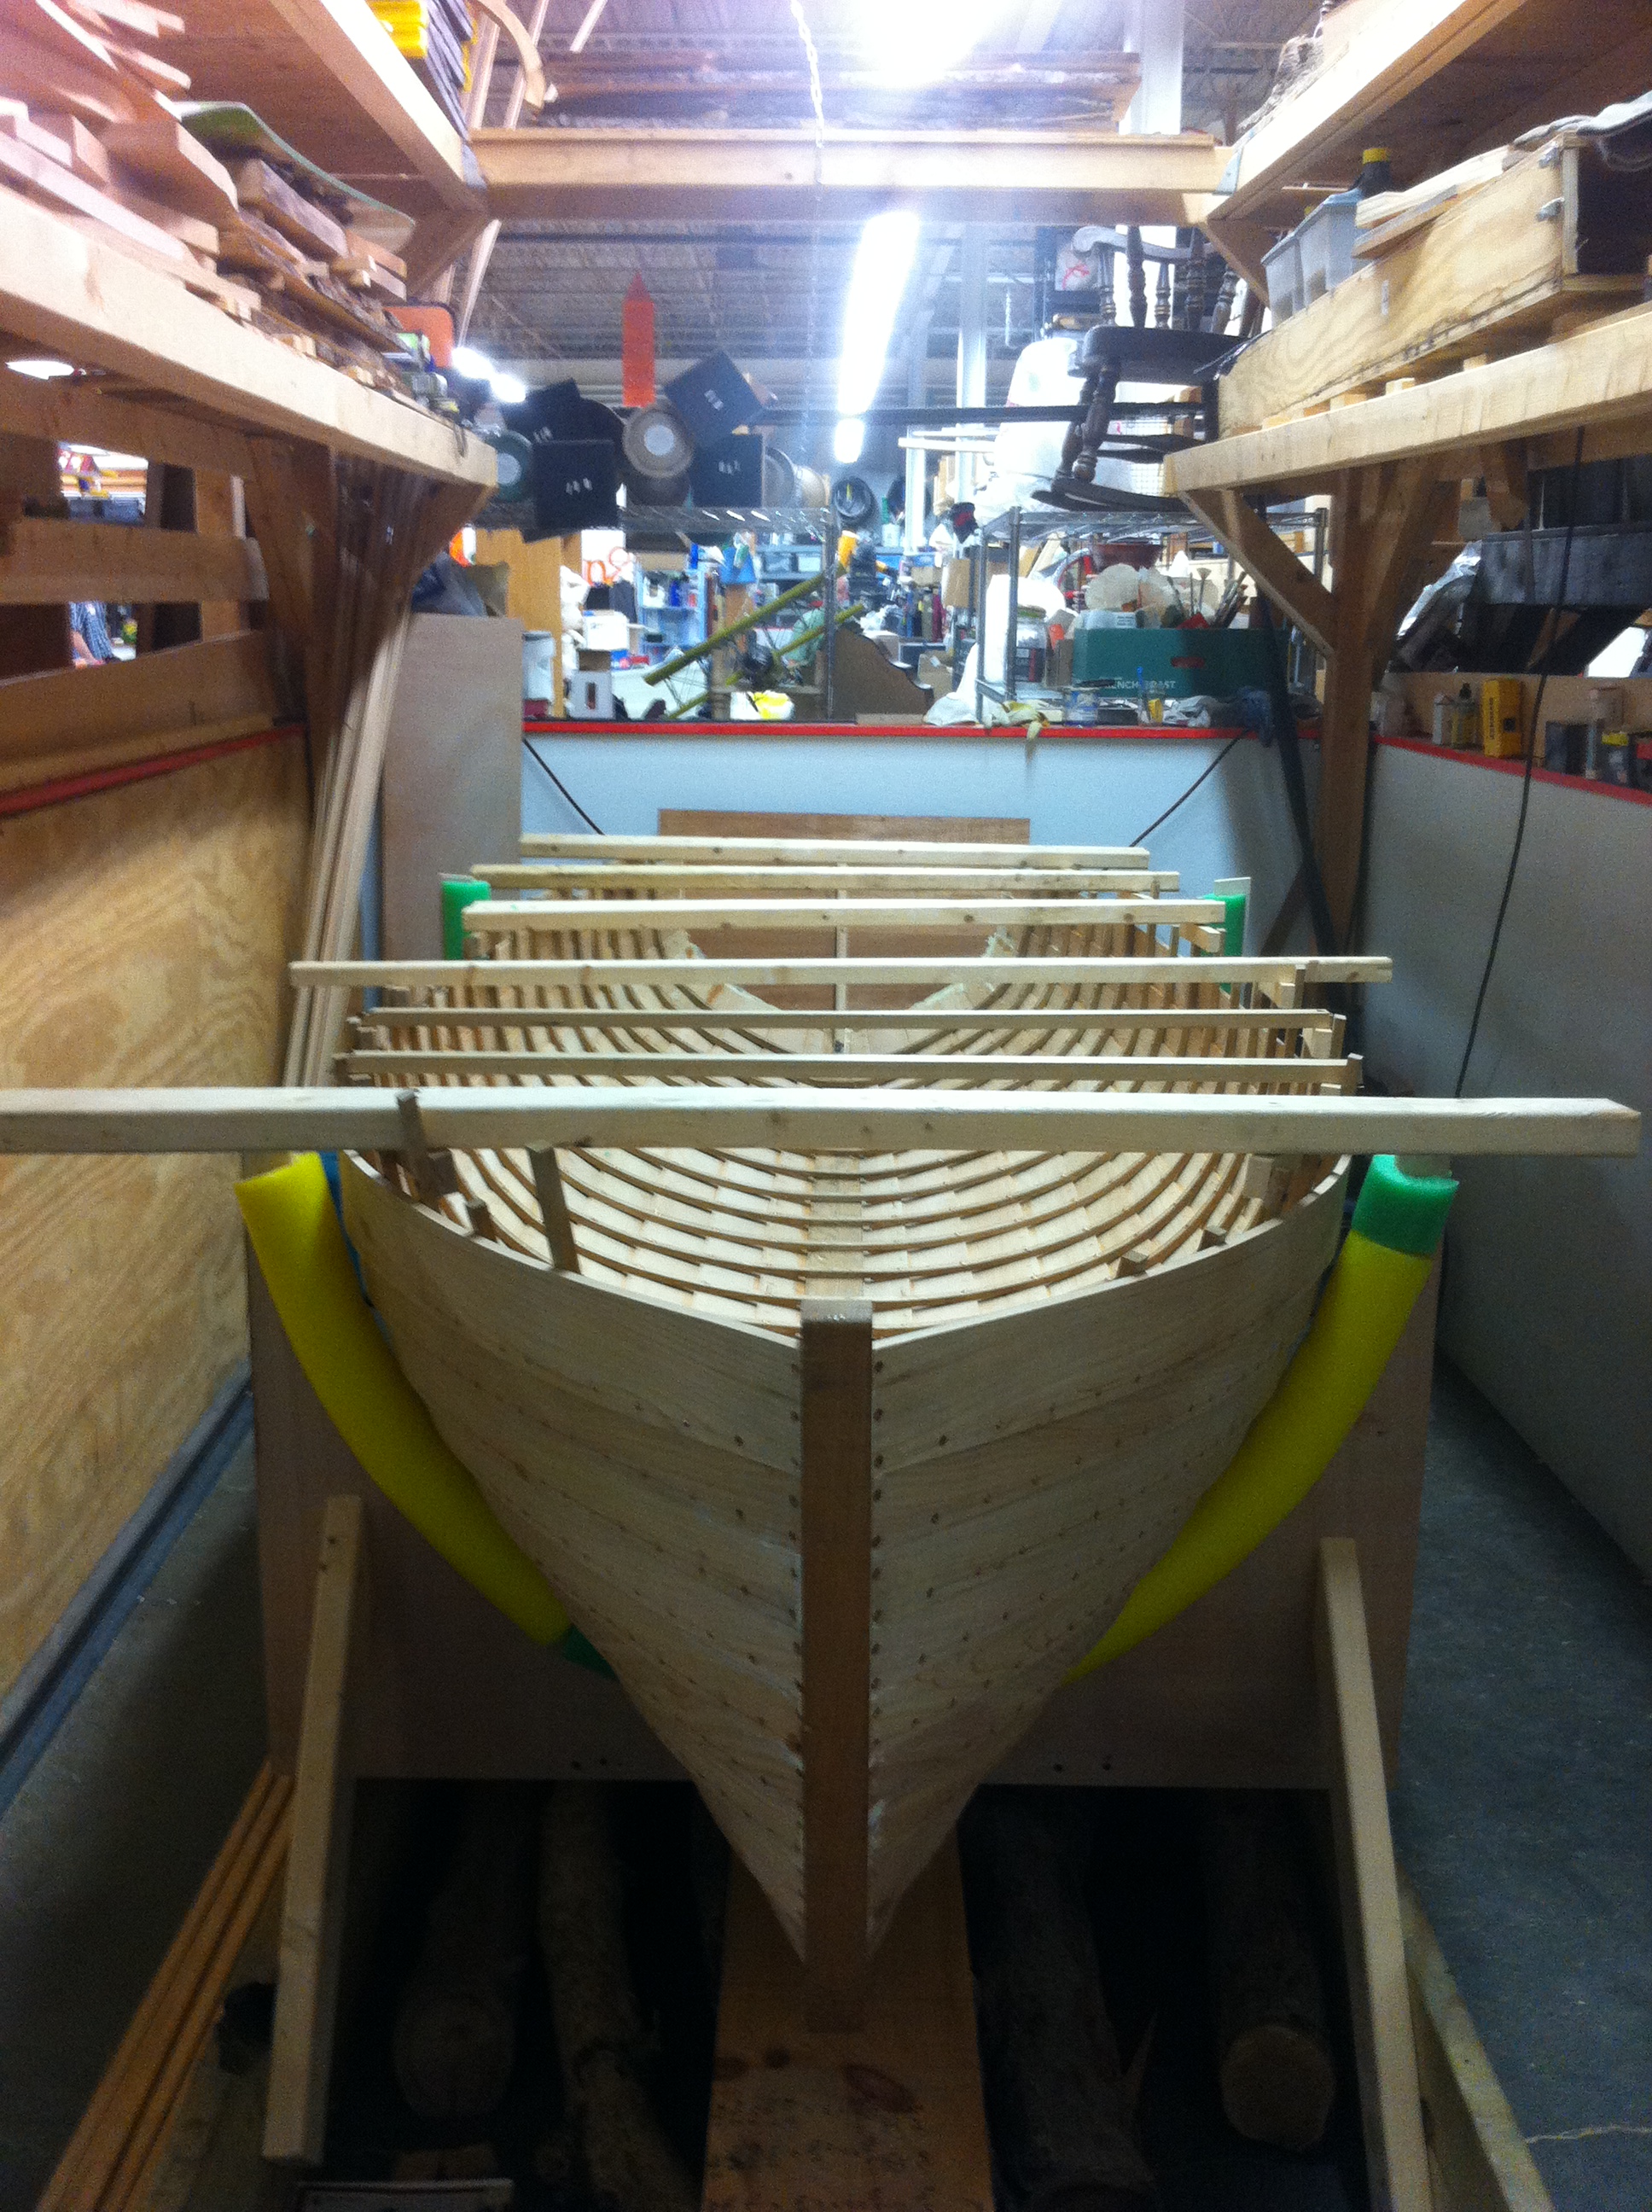
10) Molds and setup jig are removed from the inside of the boat:
 Cross spalls are screwed down from rail to rail to keep the shape of the boat from springing out or in since the boat is no longer attached to molds.
 11) A right-side-up cradle is made for the boat, which is finally flipped
Pingback: Latest work | lena.sherbakov